16
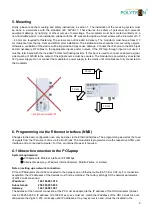
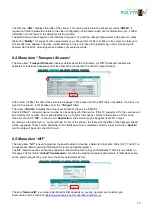
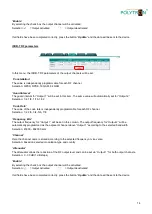
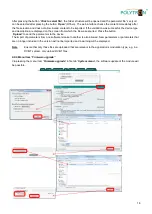
Each record has an event type that can be used to filter specific messages. These will be activated in the check
boxes in the block
“
Logs filtering
“. Messages will be filtered automatically. With the button “
Erase logs
“
,
the event
logs can be deleted from the system. The “
Download
“
button can be used to create a file from the event log
(„logs.json“) and to be used as a supplement to the error description if support is requested. Messages will be
reported only in English, regardless of language selection.
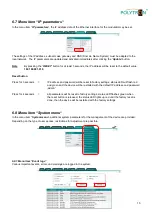
The table at the bottom of the screen shows an event log. Each record has a log time
“
Date, Time
“ at which the
event occured. (The time is displayed in the local time of the user as determined by the web browser.) The
“
Event
type
“ and a “
Event description
“ will be displayed. The device has 8 different event types, sorted by the severity of
the event. Only messages with selected event types are listed in the event log.
6.8.2 Menu item
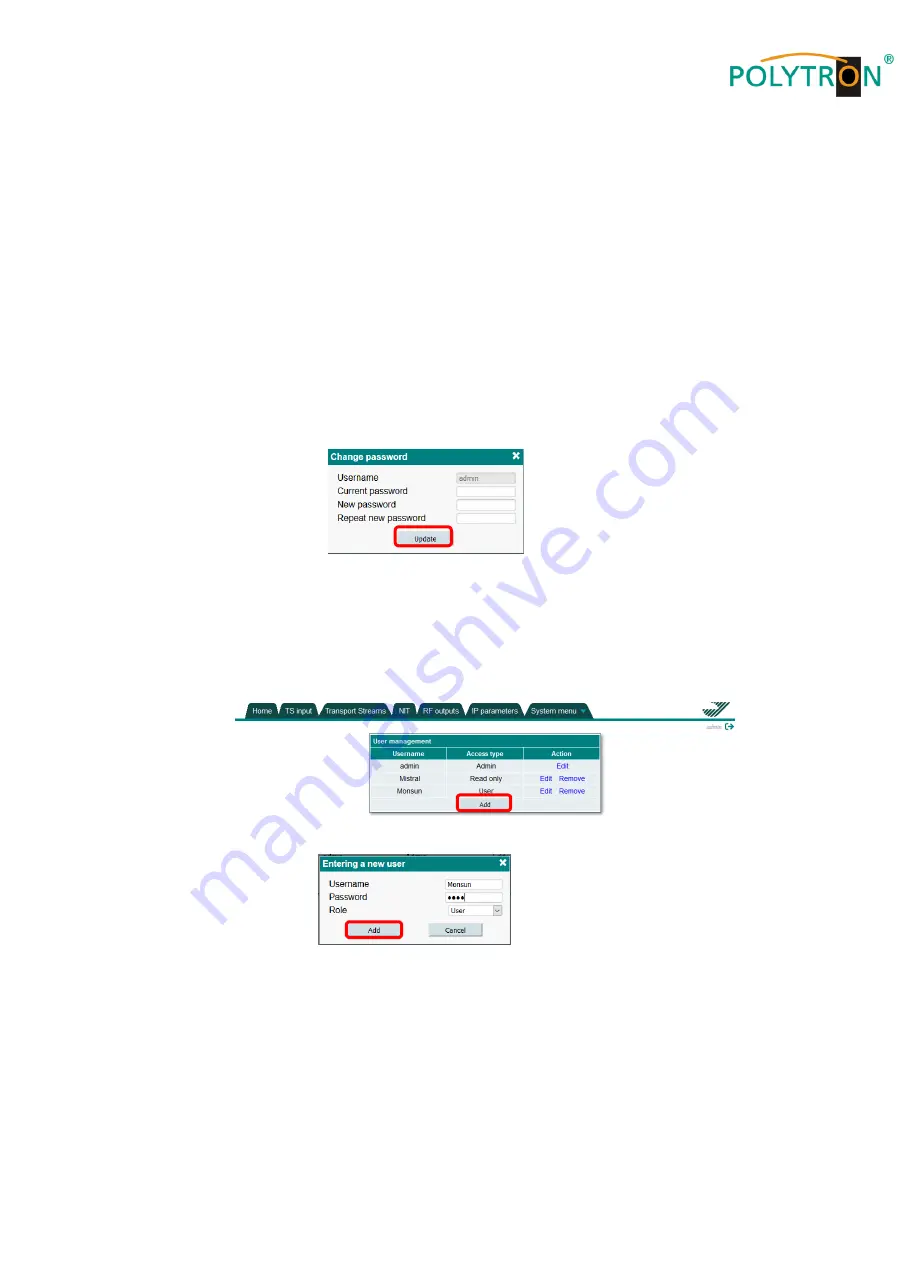
„Change password“
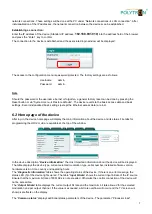
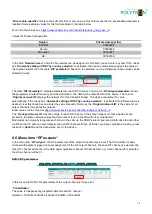
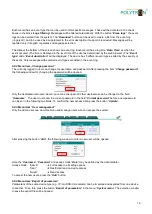
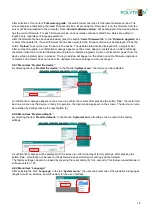
The currently logged in user can change his username and password. After pressing the item
“
Change password
“,
the following window for changing the password will be opened.
Only the dedicated username
“admin“ cannot be changed. All other usernames can be changed in the field
“
Username
“. The user must enter the current password in the field “
Current password
“ before a new password
can be set in the following two fields. To confirm the new access data, press the button
“
Update
“
.
6.8.3 Men
u item “User management“
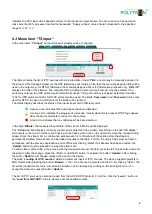
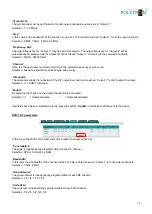
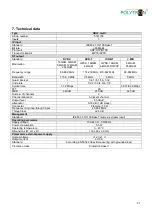
Only the admin user can view this menu and manage users who can access the system.
After pressing the button
“
Add
“
,
the following window to enter a new user will be opened.
Here the
“
Username
“, “
Password
” and access mode “
Role
“ may be defined by the administrator.
Access mode:
“Admin“
Full access to all setting options
“User“
Restricted read and write access
“Guest“
Read access
To accept the new users, press the
“
Add
” button.
6.8.4 Menu item
“Export of parameters“
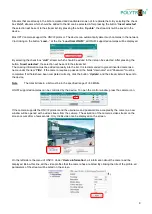
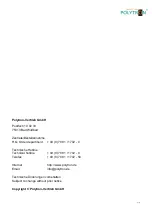
Parameters of the same device type (e.g. IP into DVB-C modulator) can be imported and exported from one device
to another. To do this, press the button
“
Export of parameters
“
in the menu
“
System menu
”.
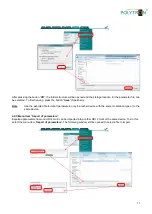
The selection window
to save the export file will be opened.
Summary of Contents for HDI 2 multi
Page 1: ...1 HDI 2 multi IP Modulator IP into DVB C DVB T ISDB T Manual 0902252 V1...
Page 22: ...22 Notes...
Page 23: ...23 Notes...

