Do the actual slicing
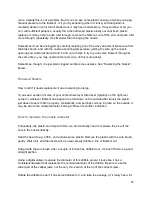
Press “Slice”. For large models this can take quite a while. You can see the progress in the
graphics window.
When it has sliced, there will be a time estimate on the lower right. You can easily scale the
model by typing in a new height in the Upper right-hand window with the thumbnail of the part.
Just type over the height. You can also rotate it on the bed.
Saving the GCODE
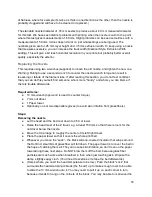
Once you are happy with all your settings (you may need to re-slice, if the time estimate has
disappeared), then you can Save.
After you have approved the output file name (which normally needs no changes) a black text
window will appear for a short while, as a post-processing script runs that improves the print
quality a bit. When that window disappears, the GCODE file is ready to be loaded into
Pronterface.
Printing Multiple Different Parts
The “Pro” version of Kisslicer ($42) allows loading many different parts onto the bed to print
them in one batch.
If you do not want to spend that money, you can still create a bedful of dissimilar parts, using
the “Slic3r” program that is included in the PolyPrinter install package (yellow icon).
NOTE: Slic3r is not set up to actually slice models and create correct gcode for the PolyPrinter
by default. We are waiting for a reliable version before recommending that it be used for
creating gcode. However, it does a good job of loading parts onto a bed and exporting them as
a set, so we include it in the install for only that purpose.
Making a Bed of Parts
Launch Slic3r.
You should see a gridded panel with “Drag your objects here/”.
Press the “Add...” button or drag and drop your STL files onto the panel.
You can move them around with the mouse - click and drag.
To save the set, use “Export STL...” and be sure to name it something like “Set of...” so that you
know what it was you put in there.
25


