Pre-installation requirements
The sub floor must be swept clean and be free from mortar residues.
Installation
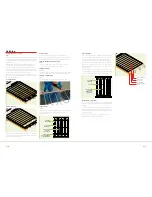
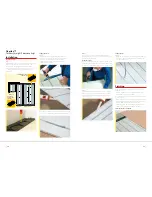
Laying the floating floor panels
Step 1:
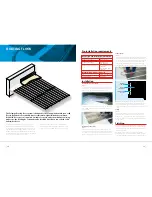
Lay the 1200 x 1200 x 50mm floating floor panels directly over
the entire floor area to be heated, ensuring the panel grooves are
aligned. The panels can be cut to fit where necessary.
A void in the insulation is often retained around the edge of the
room to allow for distribution pipes to be laid from the room
to the manifold.
Laying the spreader plates
Step 2:
Single heat spreader plates that have pre-formed grooves at
300mm centres need to be laid on top of the floating floor panels.
These plates ensure an even spread of heat across the floor area
and hold the pipe firmly within place in the floating floor panel.
Laying the pipe
Step 3:
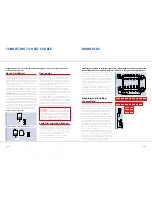
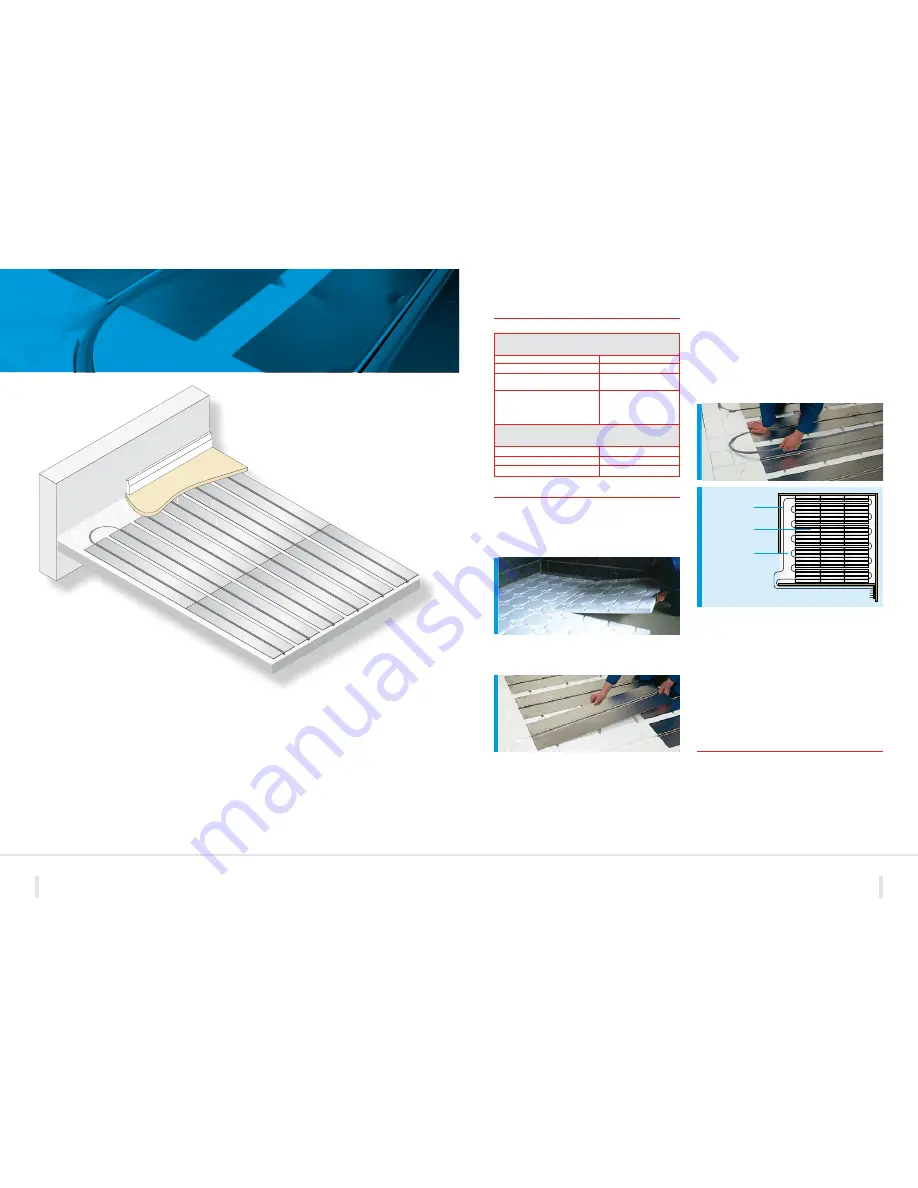
Once you have completed laying the floating floor panels and heat
spreader plates the pipe can be fitted into the pre-formed grooves of
the heat spreader plate. Start at the manifold position and use the
grooves in the floating floor panel to loop round the entire room.
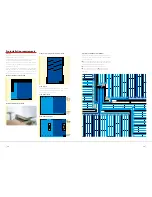
The maximum circuit length is 80m using 15mm pipe or 100m
using 18mm pipe. Pipe should be laid in the pattern shown below.
NOTE:
Areas of potential high point loading, e.g. under heavy
furniture kitchen units and appliances, will require additional floor
support. Timber battens (50mm x 50mm) should be positioned
between the floating floor panels and notched to allow the passage
of pipes.
Testing
Step 4:
Once the pipe circuits have been installed and connected to the
manifold the system should be pressure tested to 6 bar for a
minimum of 1 hour before the timber floor covering is laid. It is
recommended that the system remains under pressure whilst the
flooring is laid.
Finishing
The room can then be finished by fitting 18mm or 22mm tongue and
groove sheets of chipboard, glued on the edge, over the floating floor
system. Mark the position of the pipe where door thresholds or carpet
strip are to be installed.
When laying a ceramic or stone floor covering ensure that any
deflection in the floor is minimised. It is recommended that a slip mat
or uncoupling membrane is used rather than a second layer of wood.
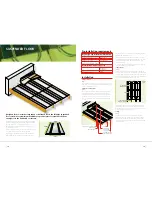
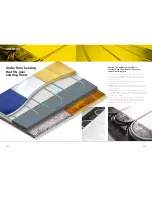
The Polypipe floating floor system is designed for use in applications where a solid
floor installation is not suitable due to structural weight limitations or where a
‘dry build’ floor option is required. Suitable for use in either new build or existing
properties, the floating floor panels can be installed directly on top of both solid
and timber floors.
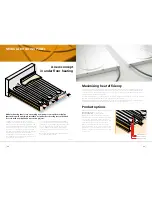
The 50mm thick high density polystyrene panels have a
thermal value of 0.036W/mK and can be used to enhance
the thermal insulation requirement of the floor structure as
required under current Building Regulations. However, care
should be taken when installing floating floor panels on top
of a primary insulation layer to ensure that excessive deflection
does not occur in the final floor construction.
It is therefore recommended that any other insulation
materials used below the floating floor panels are of a high
density construction (100kN/m
2
@ 10% compression min).
16
17
FLOATING FLOOR
Key design and installation information
Pipe
3.1m/m
2
at 300mm centres
Floating floor panel
1 panel/1.4m
2
Single spreader plate
3 plates/m
2
Material requirements (approx)
Maximum heat output
Approx.
70W/m
2
Recommended design flow temp
60°C
Maximum circuit length
80m (15mm pipe)
100m (18mm pipe)
Maximum coverage per circuit
25.8m
2
at 300mm centres
(15mm pipe)
30m
2
at 300mm centres
(18mm pipe)
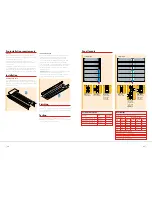
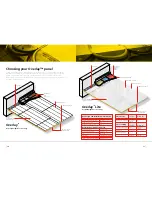
Polyplumb
barrier pipe
Single heat
spreader plate
Insulated floating
floor panel


