background image

20

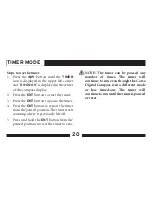
Steps to use the timer

1.  Press  the 

ADV 

button until  the 

TIMER 

icon is displayed in the upper left corner 

and “

00:00:00

” is displayed in the center 

of the compass display.

2.  Press the 

ENT 

button to start the timer.

3.  Press the 

ENT 

button to pause the timer.

4.  Press the 

ENT 

button to restart the timer 

from the paused position. The timer starts 

counting where it previously left off.

5.  Press and hold the 

ENT 

button from the 

paused position to reset the timer to zero.

 NOTE:  The  timer  can  be  paused  any 

number  of  times.  The  timer  will 

continue to run even though the Corsa 

Digital Compass is in a different mode 

or  has  timed-out.  The  timer  will 

continue to run until the timer is paused 

or reset.

TIMER MODE

Summary of Contents for Corsa X441

Page 1: ...OPERATION MANUAL X441 X473 DIGITALCOMPASS...

Page 2: ...Making Ordinary Products Extraordinary...

Page 3: ...gors associated with outdoor use care must be taken to assure its long life Avoid impacts and dropping the Corsa keep it away from extreme temperatures and store it out of the elements Features of Cor...

Page 4: ...1 resolution 5 accuracy Additional features of Corsa model X473 Backlight for use at night Bearing point storage Detachable bubble level IMPORTANT NOTE The Corsa Digital Compass is not gimbaled or ti...

Page 5: ...c mode 9 Features 9 Calibration 9 Arrow orientation 11 Compass time out 13 Backlight time out 15 Clock mode 17 Features 17 Setting the clock 17 Timer mode 19 Features 19 Bearing mode 21 Features 21 St...

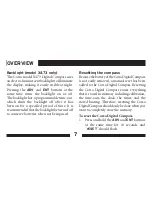
Page 6: ...re is available with model X473 only LIGHT Press and hold the ADV and ENT buttons at the same time to turn the backlight on or off The light feature is available with model X473 only NUMERIC HEADING H...

Page 7: ...t change in the surrounding magnetic fields such as when a pocketknife is brought close to the Corsa Digital Compass Metal from many objects cause inaccurate readings in magnetic compasses but unlike...

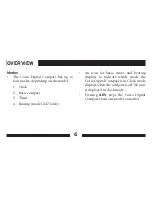
Page 8: ...pass 3 Timer 4 Bearing model X473 only An icon for basic timer and bearing displays to indicate which mode the Corsa Digital Compass is in Clock mode displays when the compass is off No icon is displa...

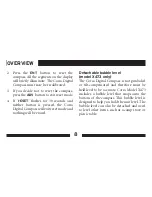
Page 9: ...turnedoff to conserve batteries when not being used Resetting the compass BecausethebatteryoftheCorsaDigitalCompass is not easily removed a manual reset has been added to the Corsa Digital Compass Res...

Page 10: ...pressed the Corsa Digital Compass will exit reset mode and nothing will be erased Detachable bubble level model X473 only The Corsa Digital Compass is not gimbaled or tilt compensated and therefore mu...

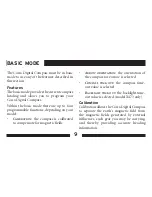
Page 11: ...N the compass is calibrated to compensate for magnetic fields ARROW ORIENTATION the orientation of the compass rose arrow is selected COMPASS TIME OUT the compass time out value is selected BACKLIGHT...

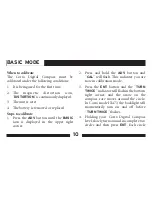
Page 12: ...BASIC icon is displayed in the upper right corner 2 Press and hold the ADV button and CAL will flash This indicates you are now in calibration mode 3 Press the ENT button and the TURN TWICE indicatorw...

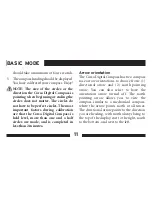
Page 13: ...e than one and a half circles are made and is completed in less than 2 minutes Arrow orientation The Corsa Digital Compass has two compass rose arrow orientations to choose from 1 directional arrow an...

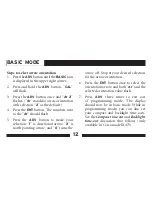
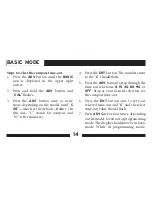
Page 14: ...ake your selection 1 is directional arrow 2 is north pointing arrow and 0 turns the arrow off Stop at your desired selection for the arrow orientation 6 Press the ENT button once to select the orienta...

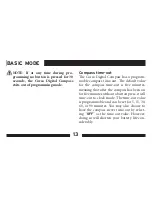
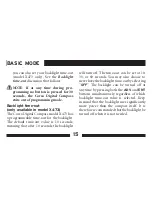
Page 15: ...e default value for the compass time out is five minutes meaning that after the compass has been on for five minutes without a button press it will time out to clock mode The time out value is program...

Page 16: ...ompass and 05 is five minutes 4 Press the ENT button The numbers next to the C should flash 5 Press the ADV button to step through the time out selections 5 15 30 60 90 or OFF Stop at your desired sel...

Page 17: ...e backlight The default time out value is 10 seconds meaning that after 10 seconds the backlight will turn off The time out can be set at 10 30 or 60 seconds You may also choose to neverhavethebacklig...

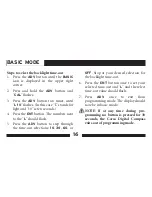
Page 18: ...umbers next to the L should flash 5 Press the ADV button to step through the time out selections 10 30 60 or OFF Stop at your desired selection for the backlight time out 6 Press the ENT button once t...

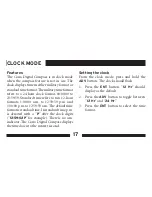
Page 19: ...1 00 00 p m to 12 59 59 a m The default time format is standard time In standard time p m is denoted with a P after the clock digits 12 59 02P for example There is no a m indicator The Corsa Digital C...

Page 20: ...e the flashing digit When the correct number is viewed press the ENT button to move to the next digit of the clock 7 Repeat step 6 to store the remaining digits of the time The digit flashing is the d...

Page 21: ...ass can be used as a compass while still using the timer When counting the timer starts at 00 00 00 If the timer reaches its maximum itresetsto 00 00 00 andbegins to count up again The counter can be...

Page 22: ...the timer 4 Press the ENT button to restart the timer fromthepausedposition Thetimerstarts counting where it previously left off 5 Press and hold the ENT button from the paused position to reset the t...

Page 23: ...a reference direction In bearing mode the Corsa Digital Compass can be used as a compass as well as to store a bearing point The flashing arrow on the compass rose points to the stored bearing direct...

Page 24: ...enter of the compass display and a flashing compass rose arrow pointing in the direction of the stored bearing should also appear 4 To store another bearing repeat step 2 Erasing bearings 1 PresstheAD...

Page 25: ...t 2032 These can be found at most major retailers that carry batteries Removal requires the use of a small Phillips screwdriver PH 1 or 1 Phillips Steps to change the battery 1 Place the compass on a...

Page 26: ...he screw holes are aligned properly since they are not symmetrical 7 Press case halves firmly to inspect around the rubber seal There should be a smooth gap free interface between the plastic and rubb...

Page 27: ...chase you may return the unit to PNI Corporation for repair or replacement by following these instructions 1 Obtain a return merchandise authoriza tion RMA number by contacting PNI Corporation Byphone...

Page 28: ...t 4 Write the issued RMA number on the outside of your package and send your proof of purchase and description of the problem to the following address PNI Corporation 5464 Skylane Boulevard Suite A Sa...

Page 29: ...r damage to the product as the result of improper usage neglect of care alteration accident or unauthorized repair If the product is found by PNI to be defective and you have provided proof of purchas...

Page 30: ...ot limited to consequential incidental and special damages relatingtotheuseof orinabilitytousethisproduct whether arising out of contract negligence tort or under any warranty theory or for infringeme...

Page 31: ......

Page 32: ...PNI Corporation www pnicorp com 10815 R04 1000351...

Reviews:

Related manuals for Corsa X441