6
5. SIDE GUIDE
—holds the paper in place to be scanned through the ADF. Pull side
guides out to hold the paper.
6. PAPER CHUTE EXTENSION
—extends to hold longer paper.
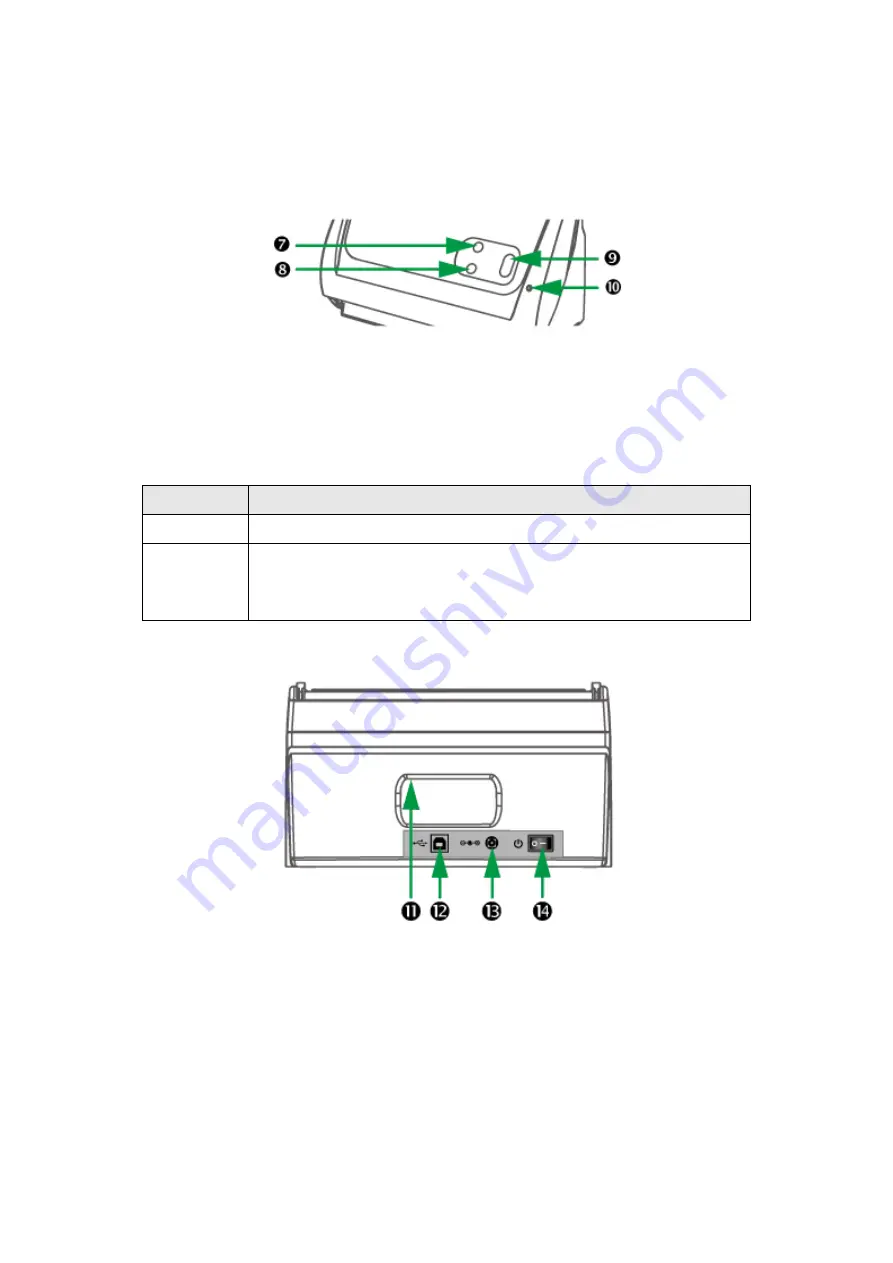
7. FILE BUTTON
—Press to perform a predefined scanning task.
8. CUSTEM BUTTON
—Press to perform a predefined scanning task.
9. SCAN BUTTON
—Press to perform a predefined scanning task.
10. POWER LED
—indicates the scanner status.
Light
Status
On
The scanner is turned on, ready to scan images.
Off
The scanner is off, either because the power is not turned on, or
because the AC adapter is not properly plugged into an AC power
outlet.
11. HAND HOLDER
—ergonomically designed for you to carry the scanner with ease.
12. USB PORT
—connects the scanner to a USB port on your computer by the
included USB cable.
13. POWER RECEPTOR
—connects the scanner to a standard AC power outlet by the
included AC adapter.
14. POWER SWITCH
—Use this to turn the scanner ON or OFF.


