


6
RJ-45
Connects to 10Base-T Ethernet or 100Base-TX Fast
Ethernet cabling. This Ethernet port built N-Way
protocol can detect or negotiate the transmission
speed of the network automatically. Please use
Category 5 cable to connect the Network Camera to
a 100Mbps Fast Ethernet network switch or hub.
In the LAN socket, there are two LED embedded:
LAN LED (green color)
This LED will be flashing while network accessing
via Ethernet.
Power LED (orange color)
This LED is used to indicate whether DC power
is on or not. In addition, this LED will be flashing
while network accessing via Ethernet.
Video In
You can install an analog camera and connect it to
video-in jack.
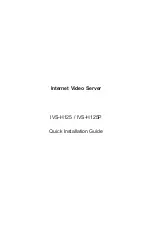
Right-hand side Panel for IVS-H125
5V DC
Micro SD
A/V Out
MIC In
Reset
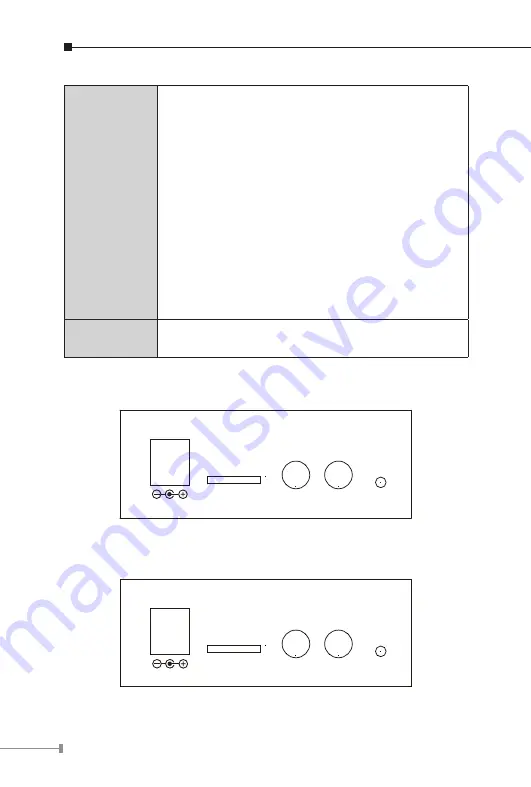
Right-hand side Panel for IVS-H125P
12V DC OUT
Micro SD
A/V Out
MIC In
Reset