LC3251 / LC4751 Product Manual
16
Troubleshooting Tips and Fundamentals
Video Input & Connections
A basic first step troubleshooting for displays is to verify the video input to the display. The display will
auto-sync to an available DVI-D or VGA video input. If no video input is detected the display will go
into sleep mode; turning the backlight off and resulting in a black screen. If a video input signal is
provided the display will come out of sleep mode and display the image.
Verify display is getting power. Cycle the power to the display and verify per normal operation the
backlight turns on and the Planar splash screen appears for 10 seconds.
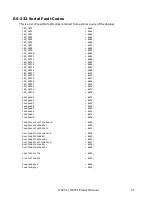
Fault Conditions – Read Through RS-232 Serial
The LC3251 and LC4751 displays are designed to self monitor and self regulate to do everything
possible on their own to remain functional even with a fault condition present. Redundancy in lamps,
ballasts, fans, and temperature sensors are designed into the product to enable this. In the event of an
issue the unit will raise a fault flag that can be accessed through the RS-232 serial interface.
The best first step for troubleshooting is to connect to the RS-232 serial interface and query the unit
for any faults. See
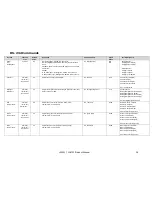
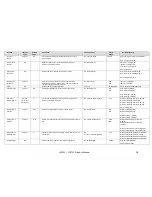
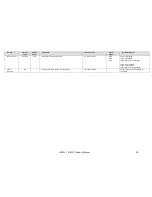
Appendix 1 – RS-232 Serial Interface
for information on connecting through the RS-
232 serial interface and for commands to access fault codes and to troubleshoot further using this
interface. Note the Planar Control Panel utility is also available for one-to-one display RS-232 Serial
troubleshooting.
Replace Failed Components
If the problem or fault condition is identified as a component failure then replace the faulty
component(s). See
Accessories and Field Replaceable Parts
for a list of available replacement parts.
After replacing components, reset the fault flags on the unit using the RS-232 Serial Interface and
query the status of the unit again to ensure no other faults exist.
Contact Support
If the problem cannot be resolved, contact Planar Support at
www.planar.com/support
or your place
of purchase for further troubleshooting assistance.
Summary of Contents for WeatherBright LC3251
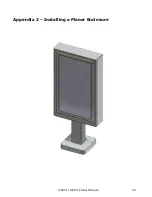
Page 30: ...LC3251 LC4751 Product Manual 30 Appendix 2 Installing a Planar Enclosure...
Page 31: ...LC3251 LC4751 Product Manual 31...
Page 32: ...LC3251 LC4751 Product Manual 32...
Page 33: ...LC3251 LC4751 Product Manual 33...
Page 34: ...LC3251 LC4751 Product Manual 34...
Page 35: ...LC3251 LC4751 Product Manual 35...
Page 36: ...LC3251 LC4751 Product Manual 36...
Page 37: ...LC3251 LC4751 Product Manual 37...
Page 38: ...LC3251 LC4751 Product Manual 38...
Page 39: ...LC3251 LC4751 Product Manual 39...
Page 40: ...LC3251 LC4751 Product Manual 40...
Page 41: ...LC3251 LC4751 Product Manual 41...
Page 42: ...LC3251 LC4751 Product Manual 42...

