4
1. Power/Colour Tempterature Adjustment
To control the Power output, rotate power dial (5) clockwise, the power will increase in increments of10%. if you
rotate the power dial in an anti-clockwise direction, power decrease in 10% increments for quick adjustments.
For more precise power adjustments, press power dial (5) in once, and the percentage on the display should
blink. Rotate the dial in a clockwise direction, and the power increase by increments of 1% for every click; Rotate
the dial in an anti-clockwise direction, and the power decrease by increments of 1% for every click;
The Power range goes from 0-100%. 100% represents full power status, and 0% represents off power status.
To control the Colour-Temperature, rotate the Colour-Temperature dial (1) cloackwise, and the Colour-Temper-
tature will increase up to 5600K (Daylight Balanced. If you rotate the colour-temperature dial anti-clockwise, it
decrease down to 3200K (Tungsten Balanced).
3. Memory Function
The parameter storage/recall buttons (2), from left to right, are M1, M2, M3, and M4. Press and hold for two
seconds to store parameter settings and short press to recall storage parameters. For example, if you want to
store certain power settings, press and hold the key M3 for 2 seconds. The “M3” appears in the lower right
corner of the LCD display, e.g. the current power and colour temperature parameters are stored. When the pa-
rameters are changed, if you need to use the previously stored power settings again, simply press the M3 key to
restore the original parameters.
4. Light ID and Group Settings (For Optional Remote Control)
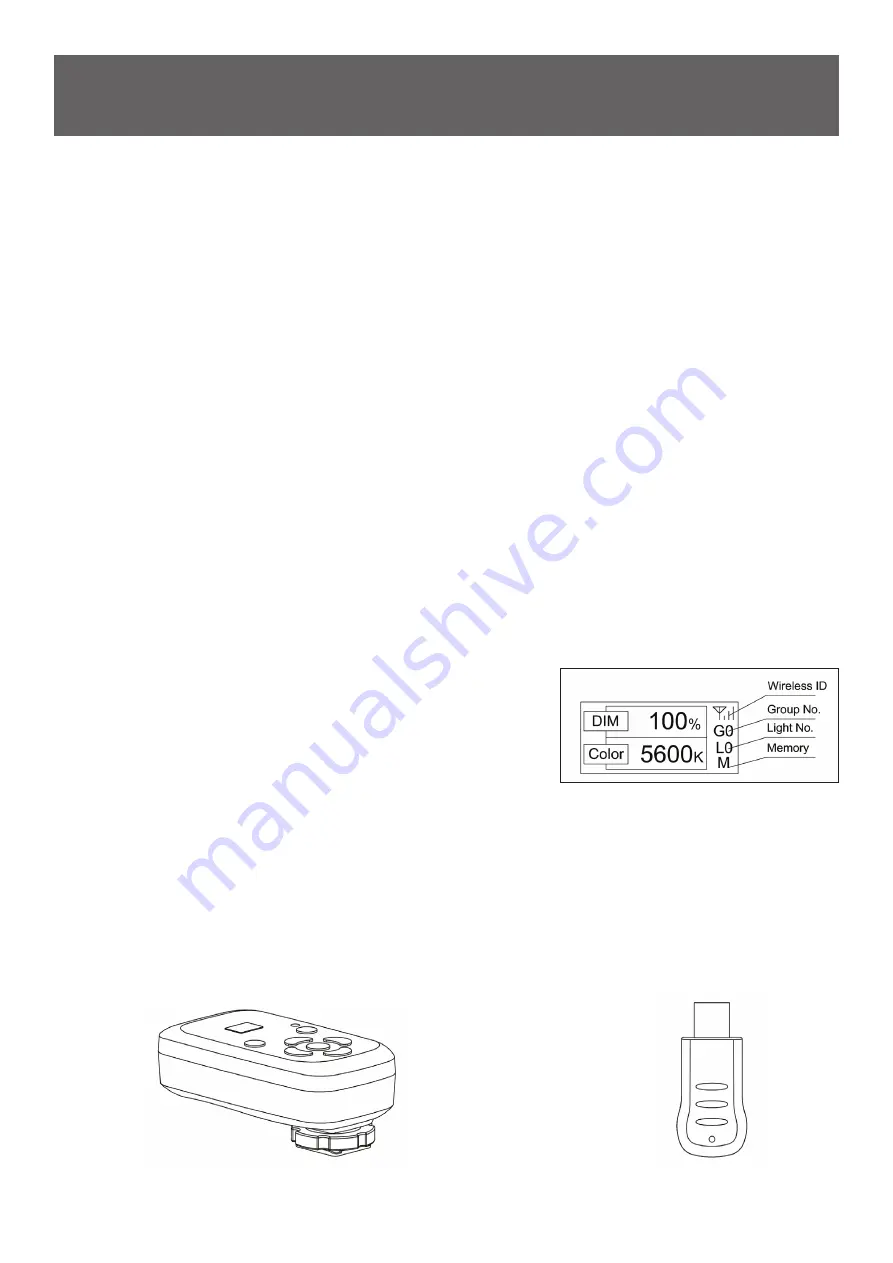
Insert the optional PiXAPRO 2.4GHz remote control receiver into the USB receiver socket (3) located at the
back of the LED100B MKIII unit. Together with the optional PiXAPRO
2.4GHz radio remote, you can wirelessly and remotely control the
power of your LED100B MKIII light
Simply insert the remote control receiver into the USB receiver port
(3) and turn on the main power switch (6). The red indicator light on
the remote receiver should flashes, indicating that the communication
connection is normal. At the same time, the LCD screen automatically switches to the interface shown in the figure
to the right. Set the remote transmitter to the same Light ID Number as set on the LED head, and you should now
be ale to remotely control the light.
Light ID number setting: After pressing and holding the power dial (5) for two seconds, the “G0” icon on the LCD
screen starts flashing. Now use the power dial (5) to set your groups on the flash ( G0-G9); Press the power dial
(5) again and the “L0” “ icon on the LCD screen should start blinking. Now use the power dial (5) to set your
light-number on the flash ( L0-L9). Once you are happy with your settings, press the power dial (5) in again to
How To Use
2.4GHz Wireless
Remote Control
2.4GHz Wireless
Receiver Dongle


