7
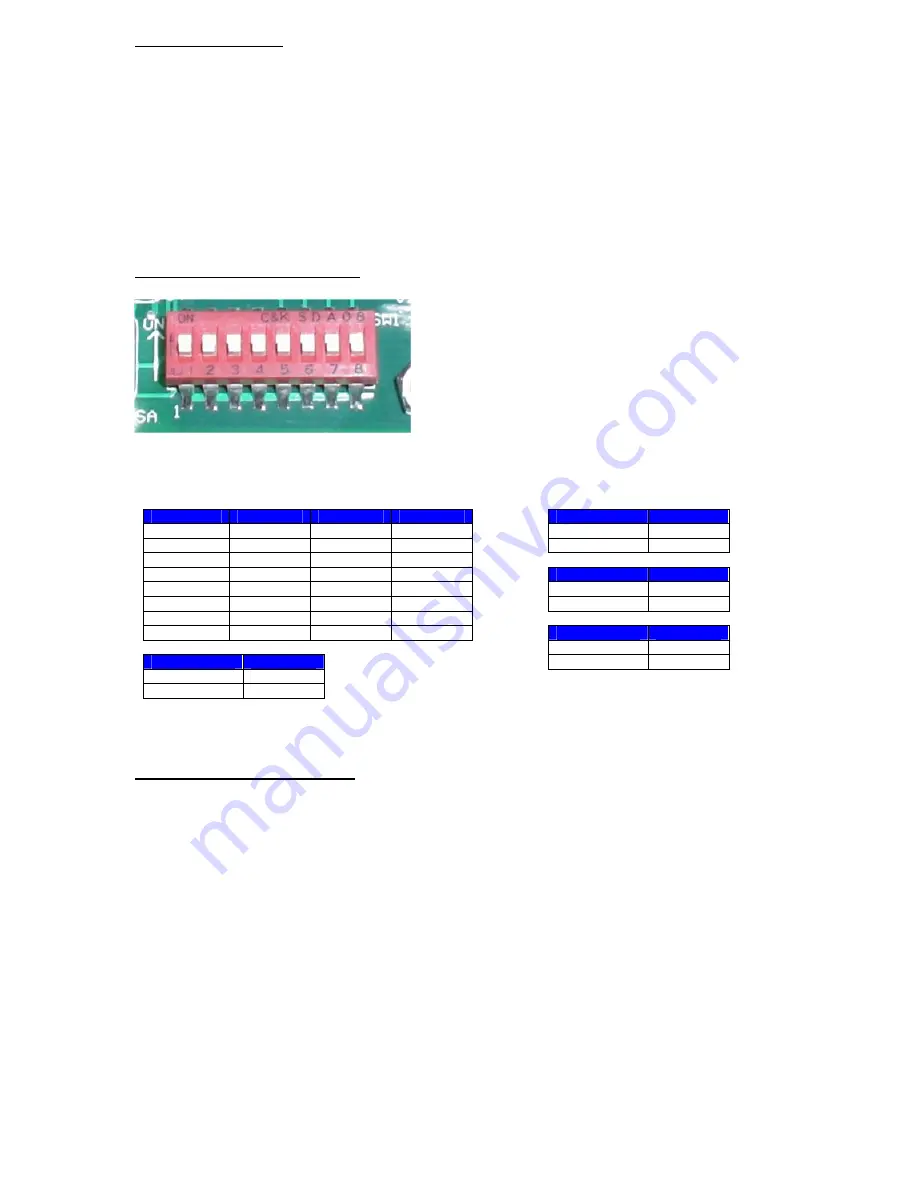
USER DIP Switch
The User Control Switch will let you customize how the Remote VideoEye™ will control the
camcorder, or camcorders. Here you can adjust the addresses of the camcorders to respond to
remote wireless commands, using camcorder zoom control, turning the LED on or off, putting the
unit into test mode, and using the sound indicator.
Note:
When changing the USER DIP switch settings you must power the unit off and back on.
Please make sure you keep the power off for 30 seconds before you turn power back on. Also,
make sure you unplug the camcorder from the Remote VideoEye™ when making User DIP
switch changes.
Default DIP Switch Setting
Switches
1-8 “Down”
– Address Code “A”, LED “On”, Test Mode “Off”, and Sound “Off”
Code
Switch 1
Switch 2
Switch 3
A
Down
Down
Down
B
Down
Down
Up
C
Down
Up
Down
D
Down
Up
Up
E
Up
Down
Down
F
Up
Down
Up
G
Up
Up
Down
H
Up
Up
Up
Zoom Control
Switch 4
Off
Down
On
Up
Red LED
Switch 5
On
Down
Off
Up
Test Mode
Switch 6
Off
Down
On
Up
Sound
Switch 7
Off
Down
On
Up
Note, Switch 8 is not used.
Setting the Address Code
Switches 1, 2, and 3 control the address code of the Remote VideoEye™ controller box. Both the
SlimFire Remote Control and Remote VideoEye™ controller box need to be set to the same
address code in order for the unit to function properly. There are 8 unique address codes you can
set the Remote VideoEye™ to respond to.
The Remote VideoEye™ is compatible with the X10 SlimFire remote and X10 wireless motion
sensors. The address code here is the “house code” from A-P, however, the Remote VideoEye™
only will recognize “house codes” A-H. For more information about setting the house code on
your SlimFire remote or X10 wireless PIR motion sensor please see the manual for these
products.
Out of the box both the SlimFire remote and Remote VideoEye™ will be defaulted to the
“A” Address Code.
Why set different address codes? There may be a situation when you want to have several
Remote VideoEye™ units in a recording session. You may want to only have several Remote


