background image


VideoEye™ units respond to SlimFire or X10 Wireless PIR motion sensors. For this you have the 
ability to set the address between each of these devices. It is a good idea to use a marking pen 
and write the address code on your SlimFire remote or X10 Wireless PIR motion sensor if not set 
in the default “A” address code. 


Zoom Control


Switch 4 controls the zoom of the camcorder. If this mode is turned on you can control the zoom 
feature of your camcorder, however, we suggest that your camcorder is close enough so you can 
view the camcorder LCD display screen. 


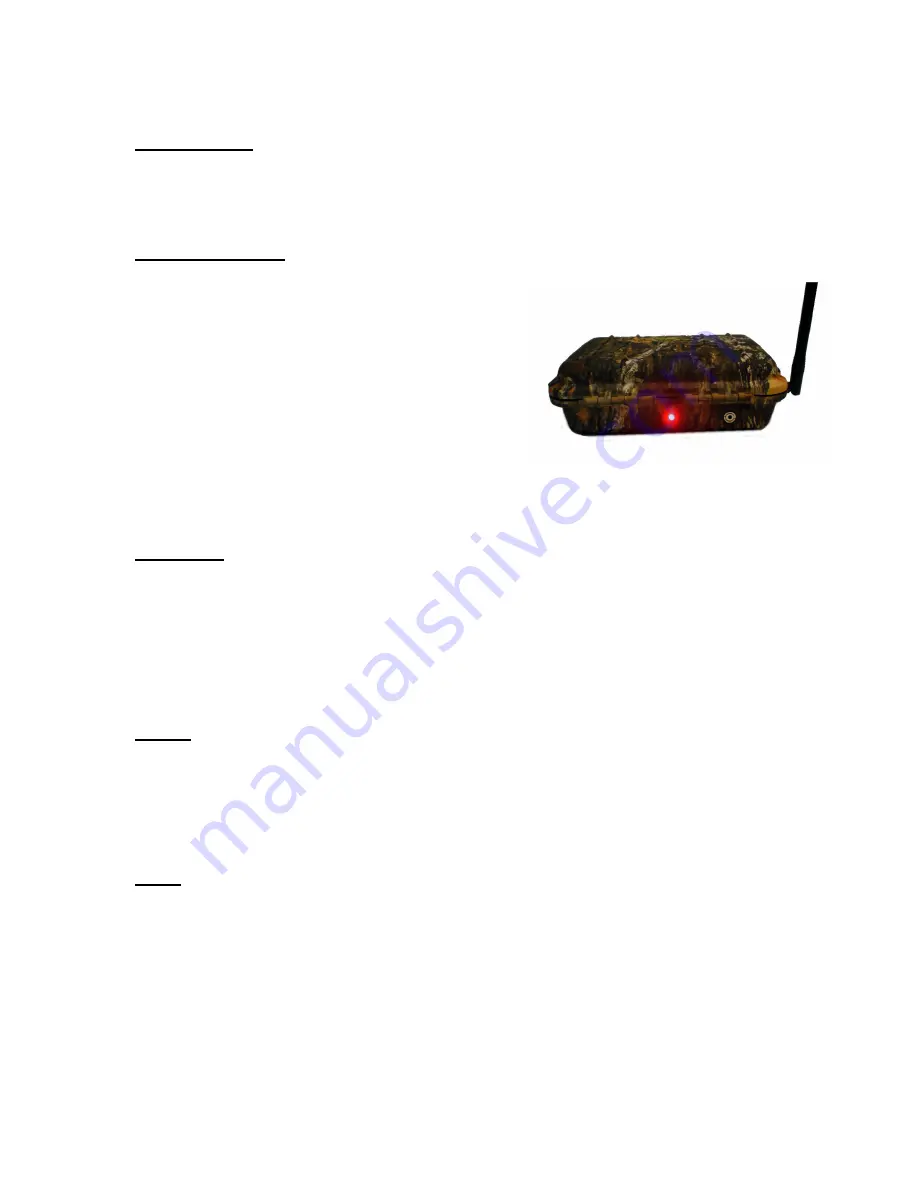
Super Bright LED 


Switch 5 controls the LED. This controls the LED 
display. In most cases you would like to know if your 
Remote VideoEye™ receives the wireless 
commands. When the LED is turned on it will light up 
upon the “On” command from your SlimFire remote 
or X10 Wireless PIR motion sensor.  
 

The default mode is in the “on” position.


Recording LED indicator can be seen from 200+ 
feet on the Remote VideoEye™ when recording. 


Test Mode 


Switch 6 controls Test Mode. When Test Mode is set to “On” it will let you test out the “line of 
sight” distance between the triggering unit, i.e., the SlimFire remote control and the Remote 
VideoEye™ unit. This is useful to be sure the camcorder units can see commands from the 
triggering units. 
 

Note:

  To put the Remote VideoEye back into “recording mode” when using Test Mode. 


Sound 

 
Switch 7 will let you control the sound indication. On the Remote VideoEye™ controller is a small 
speaker that can send out sound commands. The default mode is having this turned off, but there 
may be times when you would like a sound indication your unit is receiving the wireless 
commands. 


Note:  
 

When changing switch setting you must re-boot your Remote VideoEye.  When re-booting 
you must wait approximately 30 seconds before turning power on again.  Not doing so can 
result in the controller not working properly. Please disconnect the LANC cable when 
changing settings. 


Summary of Contents for Remote VideoEye

Page 1: ...ill now take on a whole new and exciting angle You can now film never before seen angles of your hunt or wildlife documentary Imagine a video camera setup from ground angle filming the shot from a tree stand all controlled from the hunter or camera man in the tree stand Remote VideoEye units are also addressable which means you can control several Remote VideoEye camcorders units independently in ...

Page 2: ...n ten 10 days following receipt by Buyer the products shall be deemed to have been accepted by Buyer All electronic products sent back for a full refund are subject to a 15 restocking within thirty 30 days from purchase Products authorized for return must be in their original unopened packaging to receive credit Unauthorized returns will not be accepted After thirty 30 days from purchase items may...

Page 3: ...tem Components Remote VideoEye Controller Box Remote VideoEye SlimFire Remote Control Unit Remote VideoEye Exterior Components Remote VideoEye User DIP Switch Remote VideoEye Power Switch Remote VideoEye Interior Components ...

Page 4: ...i8 Sony camcorders and on most high end Sony Canon camcorders LANC connectors are usually 2 5mm stereo mini plugs about the size of a Walkman headphone Some devices use a circular 5 pin DIN jack LANC connectors are normally labeled LANC Control L Remote or designated with a special LANC symbol that resembles an L inscribed in a circle see photo above To determine whether or not your camcorder is L...

Page 5: ...on Elura Elura 2 MC Elura 40 MC Elura 50 GL1 GL2 Optura Optura 100 MC Optura 200 MC Optura PI ZR10 ZR20 ZR25 MC ZR30 MC ZR40 MC ZR45 MC ZR50 MC Sony DCR Series DVD92 DVD100 DVD101 DVD103 DVD105 DVD200 DVD201 DVD203 DVD205 DVD300 DVD301 DVD305 DVD308 DVD403 DVD405 DVD408 DVD505 DVD508 HC16 HC20 HC21 HC26 HC30 HC32 HC40 HC42 HC65 HC85 HC90 HC96 HC1000 IP45 IP55 IP210 IP220 PC1 PC2 PC3 PC4 PC5 PC6 PC...

Page 6: ...he buttons on the remote control By pressing the On button note there are 2 sets of On and Off buttons which are redundant This will power up the camcorder and start it recording By pressing the Off button the camcorder will stop recording and power down the camcorder The Up and Down arrows are used for controlling the zoom on our camcorder The Remote VideoEye User DIP switch must be set in Zoom m...

Page 7: ... Red LED Switch 5 On Down Off Up Test Mode Switch 6 Off Down On Up Sound Switch 7 Off Down On Up Note Switch 8 is not used Setting the Address Code Switches 1 2 and 3 control the address code of the Remote VideoEye controller box Both the SlimFire Remote Control and Remote VideoEye controller box need to be set to the same address code in order for the unit to function properly There are 8 unique ...

Page 8: ...ode is in the on position Recording LED indicator can be seen from 200 feet on the Remote VideoEye when recording Test Mode Switch 6 controls Test Mode When Test Mode is set to On it will let you test out the line of sight distance between the triggering unit i e the SlimFire remote control and the Remote VideoEye unit This is useful to be sure the camcorder units can see commands from the trigger...

Page 9: ...ting 3 4 months of normal use Recording Indicator Super Bright LED Typical Field Setups Typical field setup using your Remote VideoEye system can include ground setup with a simple camo face net with a hole cut for the camera lens shown upper right photo to unmanned camcorders in a hunting tree stand shown lower right photo There are situations where you may want to use both a tree stand and a gro...

Page 10: ...able between the camcorder and the Remote VideoEye Be sure that power is turned off to both the Remote VideoEye controller box and the camcorder before connecting the LANC cable Next turn your camcorder on into recording mode and power on the Remote VideoEye controller box Q I do not see the red LED turn on when I power on the Remote VideoEye A Replace the AA batteries in the Remote VideoEye Q My ...

Reviews: