Menu Maker Helper
Page 10 of 38
To revert to the original background, follow the directions below.
4.
Click on the
Undo
button at the lower left section of the MMH window.
The MMH application returns you to the original view with the Create New Menu
button available.
5.
Click on the
Create New Menu
button again.
6. Choose
No
to select the previous background image and button template.
4.1
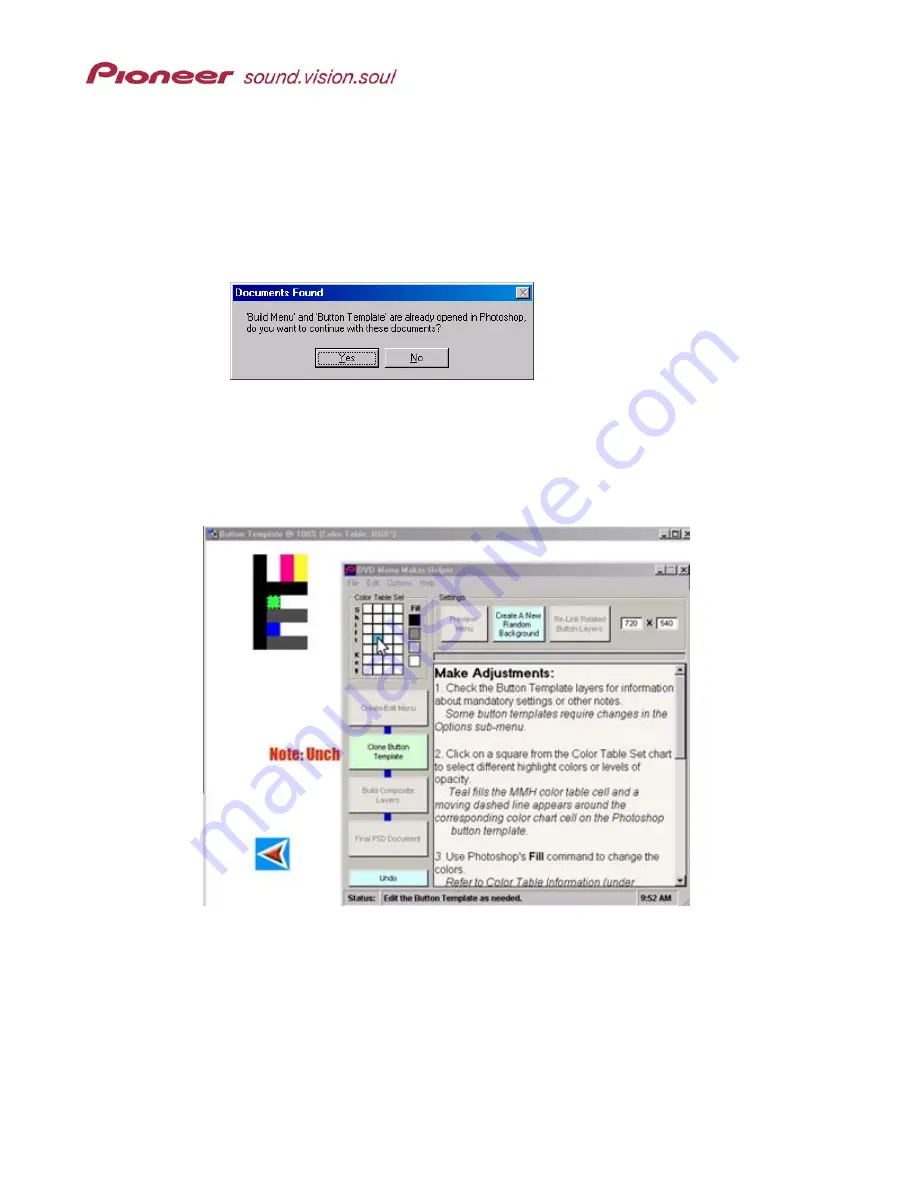
Changing Highlight Colors
There are several changes available at this stage of menu development. One change is
to choose new Select and Activate highlight colors. Each 20-pixel block on the Color
table denotes a cell of color or of an opacity level for button highlights.
Although some cells seem to be larger than a normal cell (40 pixels x 20 pixels, 20 pixels
x 80 pixels, etc.), this appearance is deceiving. Because the color table does not have
borders around each cell, similar-colored cells visually merge. However, a PRV-LX1
DVD Menu references a specific mapped location for each cell/color and each
opacity/contrast level.
Note:
The Shiny Ring Button template uses white within the button template layer set to
indicate highlight areas. For this exercise, do not change the Photoshop and
Normal color values from white.


