51
En
06
Software updating
The software of the player can be updated by connecting it to the
Internet using a LAN cable.
Before updating the software, make sure that you have connected
the player to the network and made the necessary settings (pages 19
and 49).
Caution
• Do not unplug the power cord during software updating.
Otherwise, the updating will be aborted and malfunction may
occur with the player.
• There are two processes for software updating, downloading
and updating. Both processes may take a certain period of time.
• Depending on the Internet connection conditions, downloading
may take a long time.
• Other operations are defeated during software updating.
Furthermore updating process cannot be canceled.
• When the front panel display is off, turn it on with
FL DIMMER
.
When updating the player’s software with the front panel display
off, do not unplug the power cord until the
FL OFF
indicator
turns off.
Note
• Steps
1
to
2
are the operations performed by the user (they are
intended to download the software from the Internet).
• Steps
3
to
5
are the operations performed (automatically) by the
player (they are intended to update the software).
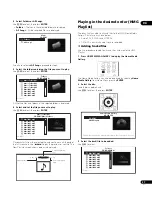
1
Select and set Options
Software Update
Start.
Use
/
/
/
to select, then press
ENTER
.
• If the player is already running the latest software, the message
“The player’s software is up to date and does not need updating.”
is displayed.
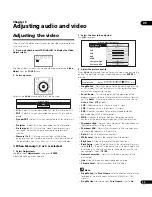
2
Select and set Yes.
Use
/
to select
Yes
, then press
ENTER
.
• The help menu is displayed if the player cannot connect to the
Internet. Check the connections and settings (pages 19 and 49).
3
Downloading of the software start.
The software download status is displayed on the screen.
• Depending on the Internet connection conditions, software
downloading may take a certain period of time.
4
Updating starts.
The front panel display shows messages such as
“DATA CHECK”
,
“WRT SYS1”
,
“WRT DRV”
and
“WRT FLC”
.
• Software updating may take a certain period of time.
5
Updating completes.
The front panel display shows
“DOWNLOAD OK”
and the player
turns off automatically.
Stretching widescreen pictures
vertically (Anamorphic Zoom)
Some discs include movies, etc., with a vertical-to-horizontal picture
rate of 2.35:1 recorded as 16:9 pictures with black bars at the top and
bottom of the screen. Turn this function on when projecting this type
of picture with a front projector equipped with an anamorphic lens.
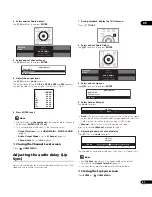
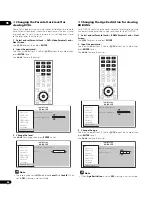
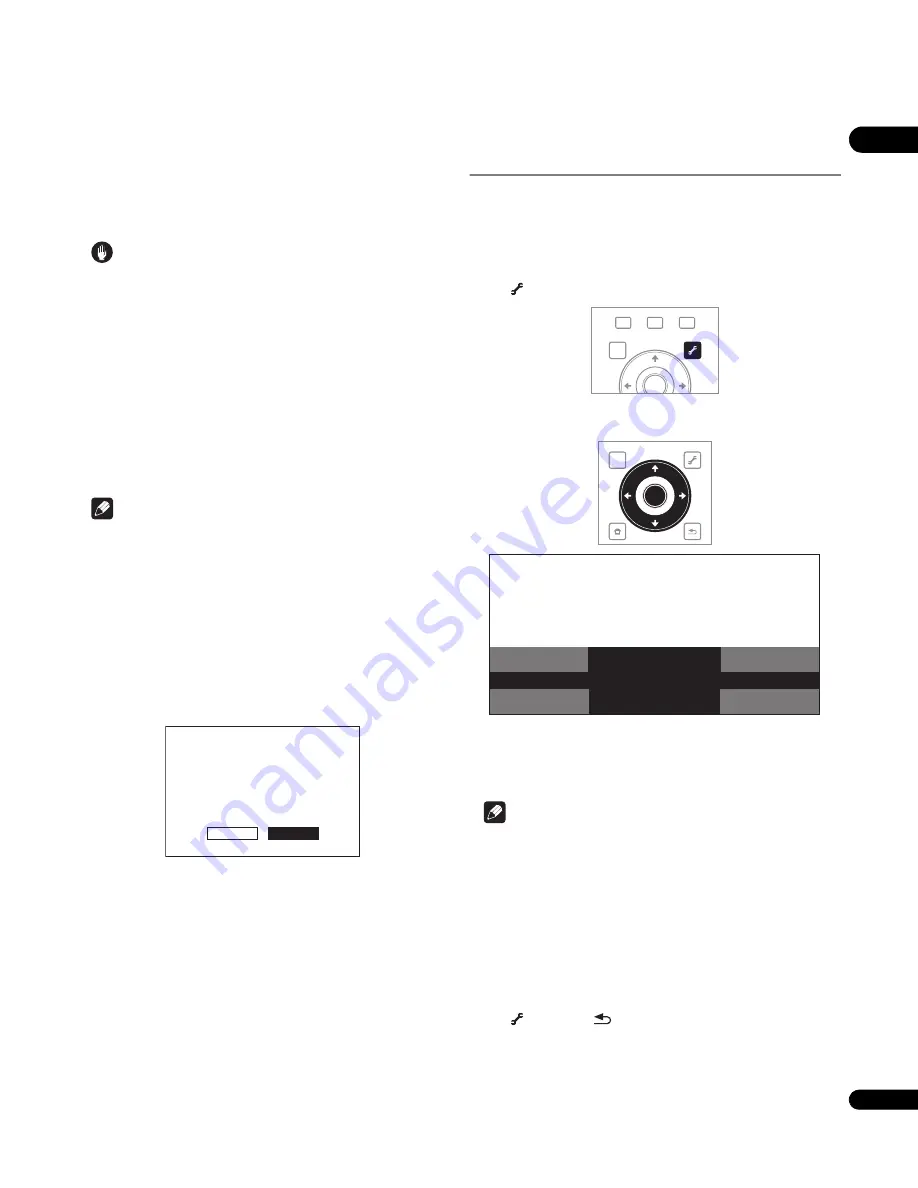
1
During playback, display the TOOLS menu.
Press
TOOLS
.
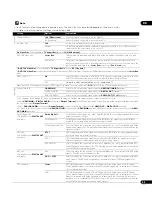
2
Select and set Anamorphic Zoom.
Use
/
to select, then use
/
to change the setting.
•
On
– 16:9 pictures are stretched vertically, cropping the black
bars at the top and bottom of the 2.35:1 picture for output.
•
Off
– 16:9 pictures are output as such, without stretching them
vertically.
Note
• This is valid when
TV Aspect Ratio
is set to
16:9 (Widescreen)
(page 43).
• When set to
On
, the top and bottom of 16:9 pictures with no
black bars at the top and bottom are also cropped.
• Even when set to
On
, the vertical stretch is canceled and the
original picture with the black bars reappears temporarily when
the Video Adjust screen is displayed. For other operation
screens, the top and bottom may be cropped, making the screen
hard to see.
To close the TOOLS menu
Press
TOOLS
or
RETURN
.
Yes
No
OK to start downloading
new software?
Current version X.XX
Latest version X.XX
Downloading takes
about XX minutes.
HOME MEDIA
GALLERY
MENU
DISPLAY
POPUP MENU
TOP MENU
TOOLS
ENTER
TOP MENU
TOOLS
HOME
MENU
RETURN
ENTER
BD PLAYER
TOOLS
Output Video Resolution
Play Mode
Anamorphic Zoom:Off
On

