39
En
05
Chapter 5
Adjusting audio and video
Adjusting the video
The quality of the playback picture can be adjusted according to the
TV you are using.
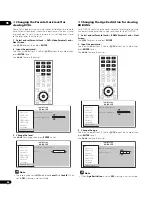
1
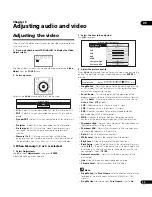
During playback, press VIDEO ADJUST to display the Video
Adjust screen.
The Video Adjust screen can also be displayed by selecting
Video
Adjust
from the
TOOLS
menu.
2
Select a preset.
Select using
/
according to the TV being used.
•
LCD
– Select this when connected to a liquid crystal display TV.
•
PDP
– Select this when connected to a plasma TV of another
brand.
•
Pioneer PDP
– Select this when connected to a Pioneer plasma
TV.
•
Projector
– Select this when connected to a front projector.
•
Professional
– With this setting, video signal processing is
restrained. Select this when connected to a professional
monitor.
•
Memory1 to 3
– Picture quality settings with adjusted
parameters can be stored in the memory. For a description of
the parameters, see
When Memory1, 2 or 3 is selected
below.
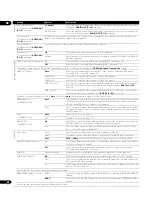
When Memory1, 2 or 3 is selected
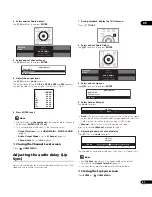
1
Select Adjustments.
Use
to select
Adjustments
, then press
ENTER
.
A detailed settings screen appears.
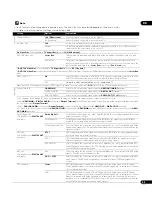
2
Select the item to be adjusted.
Use
/
to select.
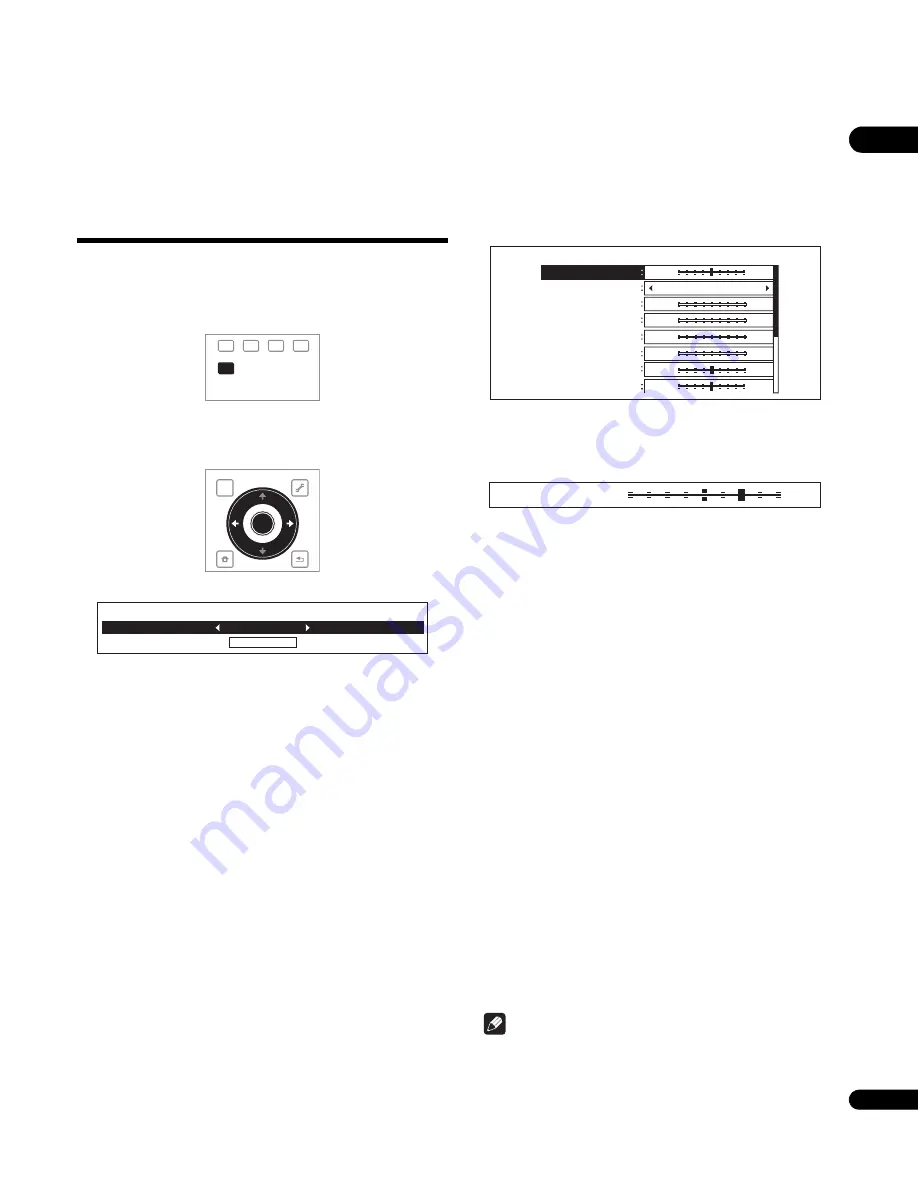
3
Adjust the picture quality.
When
/
are pressed, the adjustments can be made viewing the
picture. The detailed settings screen reappears when
ENTER
is
pressed.
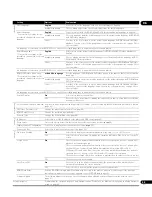
•
Prog.Motion
– Adjust according to the type of image (moving
or still image). This is effective mainly when outputting video
materials as progressive images.
•
Pure Cinema
– This setting optimizes the operation of the
progressive scanning circuit for playing film materials. Normally
set it to
Auto1
. If the picture seems unnatural, switch this to
Auto 2
,
On
or
Off
(page 40).
•
YNR
– Reduces noise in the luminance (Y) signal.
•
CNR
– Reduces noise in the chroma (C) signal.
•
BNR
– Reduces the block noise (block-shaped distortion
generated upon MPEG compression).
•
MNR
– Reduces the mosquito noise (distortion along the
contours of the picture generated upon MPEG compression).
•
Sharpness High
– Adjusts the sharpness of the high-frequency
(detailed) elements in the picture.
•
Sharpness Mid
– Adjusts the sharpness of the mid-frequency
(less detailed) elements in the picture.
•
Detail
– Adjusts the picture’s contours.
•
White Level
– Adjusts the level of the white portions.
•
Black Level
– Adjusts the level of the black portions.
•
Black Setup
– Select the black level as the setup level. Normally
select
0 IRE
. If the black is too dense and all the dark colors are
displayed in a uniform black due to the combination with the
connected TV, select
7.5 IRE
.
•
Gamma Correction
– Adjusts how the dark portions of the
picture look.
•
Hue
– Adjusts the balance between green and red.
•
Chroma Level
– Adjusts the density of the colors.
Note
•
Prog.Motion
and
Pure Cinema
have the effect only for pictures
recorded in the interlaced scan format (576i/480i or 1080i
signals).
•
Prog.Motion
is disabled when
Pure Cinema
is set to
On
.
RED
GREEN
YELLOW
BLUE
VIDEO ADJUST
TOP MENU
TOOLS
HOME
MENU
RETURN
ENTER
Adjustments
Video Adjust
PDP
Prog. Motion
Pure Cinema
YNR
CNR
BNR
MNR
Sharpness High
Sharpness Mid
Video Adjust [ Memory1 ]
Motion
Still
Soft
Fine
Soft
Fine
Soft
Fine
Soft
Fine
Auto1
Off
Max
Off
Max
Off
Max
Off
Max
Motion
Still
Prog. Motion


