


Black plate (36,1)
When
“
Heading Up
”
is selected,
is dis-
played.
!
North Up
:
The map display always has north at the
top of the screen.
When
“
North Up
”
is selected,
is dis-
played.
p
The red arrow indicates north.
p
The map orientation is fixed at
“
North Up
”
when the map scale is 25 miles (50 kilo-
meters) or more.
p
The map orientation is fixed at
“
Heading
Up
”
when the 3D map screen is displayed.
p
The map orientation is fixed at
“
North Up
”
,
when the current position is displayed re-
gardless of whether the 2D map screen is
displayed or the 3D map is displayed.
1
Display the
“
View
”
screen.
=
For details of the operation, refer to
2
Touch [Map Orientation] to switch the
vehicle
’
s direction.
Each time you touch the key the setting
changes.
Displaying one-way street
marks
You can display one-way street marks.
p
You can turn on or off the one-way street
display on the 0.1 mile (100 meters) scale.
1
Display the
“
View
”
screen.
=
For details of the operation, refer to
2
Touch [1-wy;100m Scale].
Each touch of the key turns on or off the one-
way street display on the 0.1 mile (100 meters)
scale.
Displaying POI on the map
Displays icons for the surrounding facilities
(POI) on the map.
p
POI icons are not displayed when the map
scale is 0.75 mile (1 kilometer) or more.
p
Up to 200 items or 100 preinstalled POIs
are displayed on the map.
Displaying preinstalled POIs on
the map
p
You can select up to 200 items from the
subcategories or detailed categories.
1
Display the
“
View
”
screen.
=
For details of the operation, refer to
2
Touch [Overlay POI].
3
Touch [Hide], and then touch [View].
p
If you do not want to display the POI icon
on the map, touch [
Hide
]. (Even if
“
Hide
”
is
selected, the POI selection setting is re-
tained.)
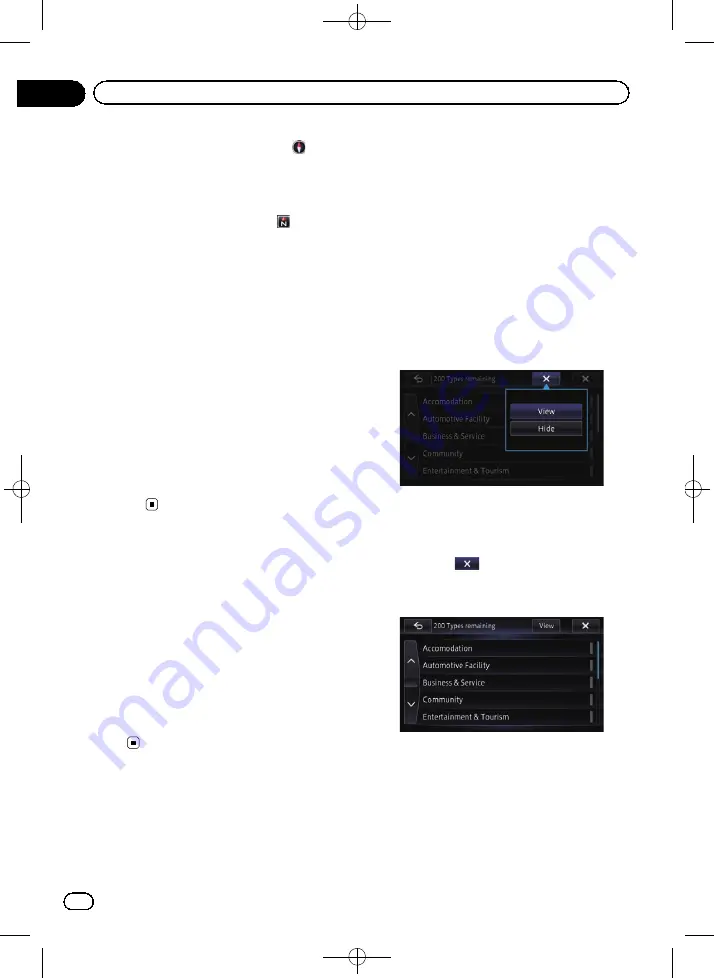
#
If you touch
, the pop-up menu is disap-
peared.
4
Touch the main category you want.
A list of subcategories under the selected
main category appears.
p
If you touch the item, the indicator on the
right of the list turns on and show that the
item is selected. If you touch the same
item, the indicator turns off and the selec-
tion is canceled.
<CRB4224-A>36
En
36
Chapter
03
How to use the map