39
Chapter 3
Setting a Route to Your Destination
NAVI
3
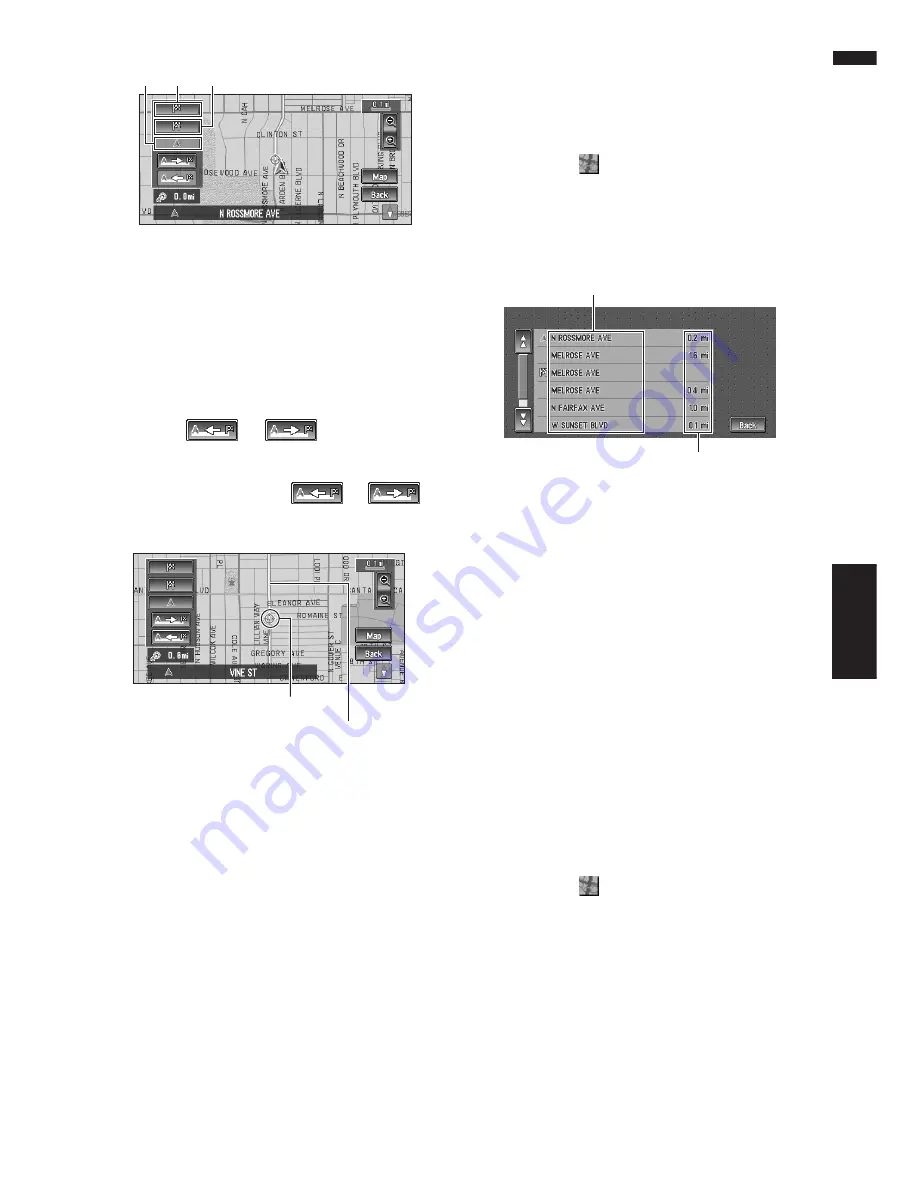
Touch the point to start scrolling.
You can select the following items:
(1) Starting Point
(2) Way Point (If this is set)
(3) Destination
❒
If you have selected “
Way Point
”, a list of
the way points on the route is displayed.
Touch the place you want to start scrolling
from and proceed to step 5.
4
Touch
or
to scroll the
map.
To continue scrolling after you release your
finger, touch and hold
or
.
If necessary, the scale of the map can be
changed.
You can select the following items:
Map :
The scroll screen is displayed.
➲
Searching the destination by map
➞
Page 33
5
Touch “Back”.
You can return to the previous display.
Checking the set route with text
This function is not available if your vehicle has
deviated from the set route.
1
After touching “Route Options” in the
main menu, touch “View Current Route”.
❒
“
View Current Route
” is displayed only
when the route is set.
❒
You can also see the destination by touch-
ing the
on the right of the list.
2
Touch “Profile”.
3
Check the contents on the display.
As necessary, scroll the list.
4
Touch “Back”.
You can return to the previous display.
❒
When a long distance route is calculated,
your Navigation System may not be able to
list all the roads. (In this case, the remain-
ing roads will be shown in the list as you
drive on.)
Checking the whole route over-
view
You can check the entire shape of current route.
1
After touching “Route Options” in the
main menu, touch “View Current Route”.
❒
“
View Current Route
” is displayed only
when the route is set.
❒
You can also see the destination by touch-
ing the
on the right of the list.
2
Touch “Overview”
A map of the whole route up to the destination
is displayed.
❒
You can also check the overview by using
the shortcut menu if “
Whole Route Over-
view
” is selected on the “
Short-Cut
Selection
”.
(3)
(1)
(2)
Scroll Cursor
Current Route
Name of the streets you are driving through
Driving distance
Summary of Contents for AVIC-D1
Page 28: ...26 Chapter 1 Basic Operation NAVI AV ...
Page 36: ...34 Chapter 2 Menu and Map Display NAVI ...
Page 70: ...68 Chapter 5 Customizing Your Navigation System NAVI ...
Page 80: ...78 Chapter 6 Using the AV Source Built in CD Drive and Radio AV RADIO ...
Page 98: ...96 Chapter 7 Using the AV Source Pioneer AV Equipment AV AUX AV ...
Page 108: ...106 Chapter 8 Customizing the Audio Source Setting AV Other Functions ...


