background image

2.3.5 Hardware Installation

If your monitor is too far away from your computer for the SmartNav's USB cable to reach,
simply unplug the SmartNav device, plug the USB extension cable into your computer's USB
port, and plug the SmartNav into the extension cable's female connector.

1. 

Your computer may briefly display a message indicating that it is installing the drivers for the
SmartNav.

2. 

Double click on the newly created NaturalPoint icon on your desktop to open the SmartNav
software program.

3. 

Remove a dot from the sheet included with your SmartNav unit and place it on the tip of your
index finger. With the dot facing the SmartNav unit, slowly move your finger back and forth in
front of the SmartNav unit from about an arms length away. If the green indicator light comes on
and the cursor moves along with your finger, you have installed the SmartNav unit and software
correctly. If the green indicator light does not come on or the cursor does not move, please consult
the trouble shooting guide at the back of this manual.

4. 

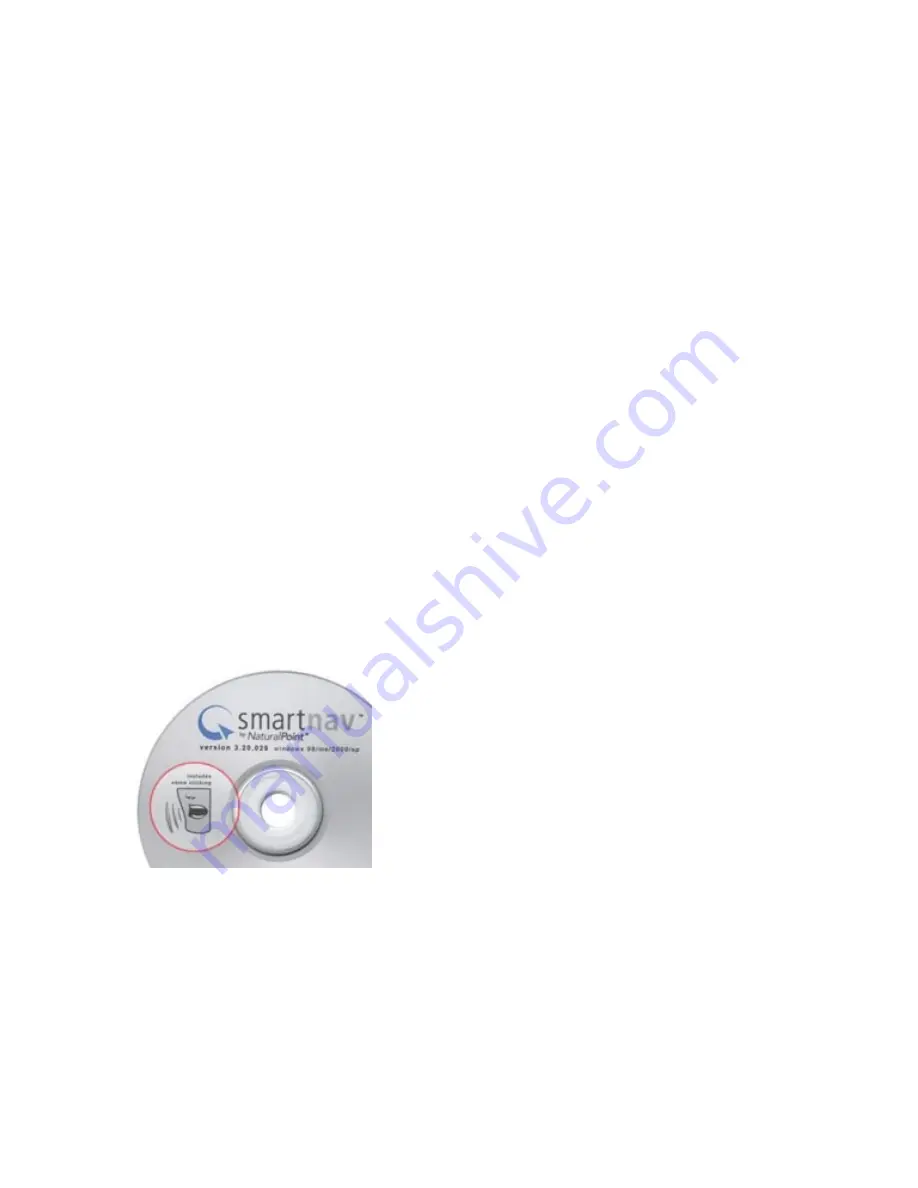
2.3.6 Voice Clicking Installation
The SmartNAV Software features built in voice recognition for command and control.

For available commands, please see section 3.1.6 (Voice Clicking)

If you purchased the SmartNAV Voice Clicking accessory CD, then you may install the voice recognition
package from the CD.

Insert the SmartNAV CD into your CD-Rom. You may be prompted to uninstall any previous versions,
follow the prompts as necessary to uninstall any older versions and run through the standard install
procedure. Once setup is complete the software will prompt you: 'Would you like to install Voice
Recognition Support for SmartNAV', click yes to proceed. This will launch the installer for the voice
clicking software, please follow the prompts to install the software.

NaturalPoint SmartNAV Users Manual : Getting Started

07/03/2008 03:35:45 PM

5/41

Summary of Contents for NaturalPoint SmartNav 4

Page 1: ...SmartNav 4 Manual Kontakt för mer information Leena Lundgren Tel 070 228 71 19 Email leena lundgren picomed se ...

Page 2: ...lation 6 3 SmartNav Desktop and Laptop Mounting Using The Adjustable Base 1 4 2 Using the SmartNav Head Control How To How it works 1 Set up 2 Use 3 Tips and Tricks 4 Cursor Modes 5 Clicking 6 Suggested Alternate Dot Placements 7 Status LED Indicators 8 1 3 Navigating the NaturalPoint Software Quick Access Panel 1 Control Panel Setup tab 1 Movement tab 2 Clicking tab 3 Behavior tab 4 Gravity tab 5...

Page 3: ...wners 1 2 About NaturalPoint NaturalPoint Inc is pleased to provide you with superior optical tracking devices we hope that you enjoy using your NaturalPoint SmartNav NaturalPoint 33872 SE Eastgate Circle Corvallis OR 97333 Telephone 541 753 6645 Fax 541 753 6689 www naturalpoint com 2 Getting Started 2 1 Minimum System Requirements Windows 98SE Windows ME Windows 2000 Windows XP Windows Vista Pen...

Page 4: ...lled and everything is working fine set another restore point Users that get into the habit of using this feature find they have fewer problems on their computers The System Restore program can be found by clicking Start Programs Accessories System Tools System Restore 2 3 2 Software Installation NOTE Windows 2000 and XP users must be logged in as an administrator If you only have one user set up ...

Page 5: ...nt SmartNav 9 It is recommended that you restart your computer after installation 10 If you encounter further problems with this procedure please consult the trouble shooting guide at the end of this manual 11 2 3 3 Special Note for XP Users If you accidentally plugged the SmartNav unit into your computer before loading the NaturalPoint software and the camera is not working unplug the SmartNav un...

Page 6: ...installed the SmartNav unit and software correctly If the green indicator light does not come on or the cursor does not move please consult the trouble shooting guide at the back of this manual 4 2 3 6 Voice Clicking Installation The SmartNAV Software features built in voice recognition for command and control For available commands please see section 3 1 6 Voice Clicking If you purchased the Smar...

Page 7: ...ed with installation accordingly 2 4 SmartNav Desktop and Laptop Mounting Setting up the SmartNAV unit on either a desktop or laptop is quick and easy The horizontal distance between the camera and the the user should be between 2 to 6 feet 61 cm to 183 cm The vertical position of the camera should be as close as possible to the vertical position of the user s head The camera should be adjusted so...

Page 8: ... How To 3 1 1 How it works The SmartNav works by tracking infrared light reflected off the dot on your forehead glasses headset or TrackHAT 3 1 2 Set up Put on the TrackHAT or peel a dot from the sheet and place it on your forehead bridge of your glasses or headset microphone etc 1 Place the SmartNav unit on top of your monitor or clip to the top of your laptop screen 2 Make sure the SmartNav unit...

Page 9: ... small natural head movements do the work for you SmartNav Speed For beginning users the smoothing and speed can be decreased Start with the speed near the middle try a setting around 5 and set the smoothing toward the middle of the scroll bar range Having either set too high is not usually necessary As you become more comfortable with the SmartNav you can increase the settings but it helps to sta...

Page 10: ...e easiest cursor control mode for a new user to get used to It works in the same kind of way that a regular mouse does bumping the cursor against the edge of the screen allows the user to change the relationship between their head position and the location of the cursor on the screen Pressing the Center Hotkey will re center the cursor on the screen Absolute Mode Absolute mode is intended for adva...

Page 11: ...ick on The Dwell Clicking software is a complete package which allows the user to perform all of the tasks that can be accomplished with a mouse such as Left Click Double Click Right Click and Drag Voice Clicking Available on All SmartNAV models Voice activated clicking allows you to issue mouse clicks and commands by speaking to your computer Simply say left click and a left click will be perform...

Page 12: ...ech recognition if it is not running 3 1 7 Suggested Alternate Dot Placements There are many different locations where the reflective dot can be placed for tracking here are two examples 3 1 8 Status LED indicators The SmartNAV camera has status LEDs which give the user visual cues about the status of the SmartNAV software There are two Status LEDs one is located on the front directly above the in...

Page 13: ...icking and 3 buttons to access the Advanced Settings menu and a status bar Cursor Positioning This allows the user to select between Relative and Absolute cursor positioning modes Profile The profile dropdown box provides a quick way to switch between profiles Dwell Clicking check box SmartNAV AT users only This turns on and off the Dwell Clicking software Status Bar The Status bar displays variou...

Page 14: ...ss Panel with a tracking window status indicator Control Panel access button and status bar Profiles Section Profiles allow the user to save all of the settings from the SmartNAV software into custom profiles This makes it easy for different users who share the same computer but have different preferences when using the SmartNAV Several default profiles are provided with the software to help get u...

Page 15: ...av software 4 2 2 Movement Tab This panel adjusts settings which affect how the cursor moves Horizontal Speed slider bar Use this bar to customize your speed values The further the bar is moved to the right the less head movement is necessary to move the cursor on the X axis Any adjustments you make to this setting will be stored under the profile that is loaded when you quit the SmartNav program ...

Page 16: ... a fixed relationship to be set up between the head location and the cursor position Bumping the cursor against the edges of the screen will not change the relationship of the cursor to the users head position Pressing the Center Hotkey will reset the relationship and re center the cursor on the screen Therefore the user should make sure that their head is positioned where they wish the new center...

Page 17: ...eing used as Hotkeys For example if the CAPS LOCK keyboard key is assigned to Left Click it will only perform Left Clicks while the SmartNAV software is running It will resume performing the normal CAPS LOCK function when the SmartNAV software is closed or if the Hotkey is re assigned or disabled Change buttons Clicking these buttons brings up a dialog box that allows the user to change the key as...

Page 18: ...ty switch will perform when it is activated Sticky The Sticky feature changes the way the Ability Switches work such that activating the switch once turns the assigned action on and activating the switch the Hotkey again turns the assigned action back off Show Dwell Clicking Toolbar SmartNAV AT users only When selected the Dwell Click toolbar will be enabled this enables the dwell clicking functio...

Page 19: ...keys from their keyboard and assign them to special functions of the SmartNAV software The action for each Hotkey is listed along with the currently assigned keyboard key whether it is enabled On Off and whether Sticky is enabled Pause Stops and starts cursor movement Center Moves the cursor to the center of the screen In Absolute positioning mode it also re sets the fixed relation between the use...

Page 20: ...e on and pressing the Hotkey again turns the feature back off Key Activated The Key Activated Feature prevents the cursor from moving unless the Move Key is pressed and held down The Move Key F12 takes the place of the Center Key while Key Activated is in use Start At Center This feature also only works when Key Activated is in use It automatically centers the cursor whenever cursor movement is in...

Page 21: ...ty Options These checkboxes allow you to designate which objects Windows controls you want the Gravity feature to work with If you only want Gravity to work with some objects and ignore others uncheck the appropriate boxes Buttons Icons Menus List items Time Until Snap This slider bar adjusts the amount of time that the cursor must be held over a windows object before the cursor will snap to it Th...

Page 22: ...NAV camera until the green dot the reflective dot on your head is near the middle of the black background Camera LED s On This checkbox turns on or off the SmartNAV camera s internal Infrared LED s This box is checked by default Greyscale Tracking Mode This checkbox turns on or off a tracking mode in SmartNav 4 cameras which can provide additional cursor precision Enabling this mode requires more ...

Page 23: ...tive holding the cursor still for a user defined amount of time 2 2 seconds will produce a Left Click Double Click Drag and Drop or Right Click Please note that Dwell Clicking is only available with the SmartNAV AT model 4 3 1 Enabling Dwell Clicking To use this feature enable the Show Dwell Clicking Toolbar checkbox on Quick Access Panel Or from the Clicking Tab of the Control Panel enable the Sh...

Page 24: ... change Dwell Clicking options Close Dwell Clicking and move drag the Dwell Clicking button tool bar to another location 4 3 2 How to Select and Perform a Click Dwell Clicking button bar color key Unselected The type of mouse click represented by this button has not been selected as either the default or a single use action Dashed NaturalPoint SmartNAV Users Manual Getting Started 07 03 2008 03 35...

Page 25: ...stem will revert back to whichever mouse click is default or Highlighted blue If the button is clicked on a second time the button will become highlighted blue and the selected type of mouse click will now be your default action Selecting the Type of Mouse Click To select what kind of mouse click to perform move the cursor to the button that corresponds to the type of click you wish to perform and...

Page 26: ...oks like a single cursor arrow pointed to the right and is used for right clicking 4 3 3 Dwell Clicking Configuration Options To open the Dwell Clicking Options box click on the sixth button from the left on the Dwell Clicking tool bar It has a picture of a wrench on it and is labeled Setup This button opens the Dwell Clicking configuration menu which is a pop up box that will open which allows yo...

Page 27: ...nore The Movement Threshold is also shown as a red target to the right of the Movement Threshold slider bar Button Bar size selector Use this menu to change the size of the Dwell Clicking button bar Float Over Windows The difference between On and Always On is that when set to On the dwell software will set itself to be at the top of the window stack With Always On the dwell software will set itse...

Page 28: ...rm all normal Hot Key functions Set Up If open shut down the SmartNav software 1 If using two single mono switches securely plug the Y split adapter into the SmartNav s stereo Ability Switch jack 2 Plug the cable s from switch es into the jack s and place switches in the desired location 3 Open the SmartNav software and place a dot on your forehead Move your head to ensure that the SmartNav unit i...

Page 29: ...ursor from point A to point B If you have difficulty moving the cursor to the top bottom or either side of the screen raise your finger slightly off the keyboard and press the center key Note It is advisable to use the Data Window to properly align the SmartNav unit with your finger 6 Software Updates In order to better serve your needs we continually update the SmartNav software package You may d...

Page 30: ...Y OF FITNESS OR SUITABILITY FOR A PARTICUALR USE OR PURPOSE AND NATURALPOINT INC SHALL IN NO EVENT BE LIABLE TO PURCHASER FOR INDIRECT OR CONSEQUENTIAL DAMAGES OF ANY KIND OR CHARACTER Some states do not allow the exclusion or limitation or incidental or consequential damages or allow limitations on how long an implied warranty lasts so the above limitations and exclusions may not apply to you In ...

Page 31: ...djusting the unit until a yellow dot appears near the center of the Data window Additional Solutions XP systems only System Restore If step 1c did not work then you can try restoring your system to an earlier time period If there are no unknown USB devices in the device manager unplug the camera and then uninstall the software otherwise remove the unknown USB device first then unplug the camera an...

Page 32: ...crease the smoothing 9 3 Problem Software loads and runs and green indicator LED is on but the cursor does not move Possible Cause 1 Key Activated Clicking box is checked 2 LEDs are turned off Solution 1 Uncheck the Key Activated box on the Behavior tab 2 Go to the Tracking tab and make sure the Camera LED s On box is selected 9 4 Problem All or some of my Hot Keys will not work Possible Causes Co...

Page 33: ...he Gravity feature the cursor locks onto undesired icons or does not lock onto desired icons Possible Cause Wrong icons selected for Gravity feature Solution Click on the Gravity tab Uncheck the boxes next to the icons that you do not want the cursor to lock onto 9 8 Problem None of the speed settings for Ring Dot feel right Possible Cause Incorrect speed settings Solution Click on the Movement ta...

Page 34: ...oftware prevents the SmartNAV from working Possible Cause By default SmartNAV cursor movement and clicking does not work with Zone Alarm running Solution The user will need to go into the Zone Alarm Program Control section and click the Programs tab They can then left click on SmartNAV and allow it to run normally After that mouse functionality should work 9 13 Problem Windows displays an Internet...

Page 35: ...ow to enable speech recognition then the speech recognition has not been installed properly Verify that the latest version of the SmartNAV software has been installed If you are installing from CD then make sure you click yes when prompted to install the speech recognition support Make sure the Use Speech recognition for clicking and hot keys is checked under the clicking tab NaturalPoint SmartNAV...

Page 36: ...l Programs then Accessories then Entertainment or Multimedia depending upon the version of Microsoft Windows and finally Sound Recorder When the application window has opened click the Record button and speak into the microphone The display in the window should now move in response to your voice input If the Sound Recorder application doesn t record your voice correctly open the Volume Control and...

Page 37: ...NaturalPoint SmartNAV Users Manual Getting Started 07 03 2008 03 35 45 PM 36 41 ...

Page 38: ...NaturalPoint SmartNAV Users Manual Getting Started 07 03 2008 03 35 45 PM 37 41 ...

Page 39: ...NaturalPoint SmartNAV Users Manual Getting Started 07 03 2008 03 35 45 PM 38 41 ...

Page 40: ...NaturalPoint SmartNAV Users Manual Getting Started 07 03 2008 03 35 45 PM 39 41 ...

Page 41: ...NaturalPoint SmartNAV Users Manual Getting Started 07 03 2008 03 35 45 PM 40 41 ...

Page 42: ...omputerhope com issues ch000282 htm http www microsoft com msagent support user sr asp http www hotcomm com FAQ FAQ_trouble_mic asp NaturalPoint SmartNAV Users Manual Getting Started 07 03 2008 03 35 45 PM 41 41 ...

Page 43: ...PICOMED AB Skansgatan 9 S 97253 Luleå tlf 070 228 71 19 www picomed se ...

Reviews: