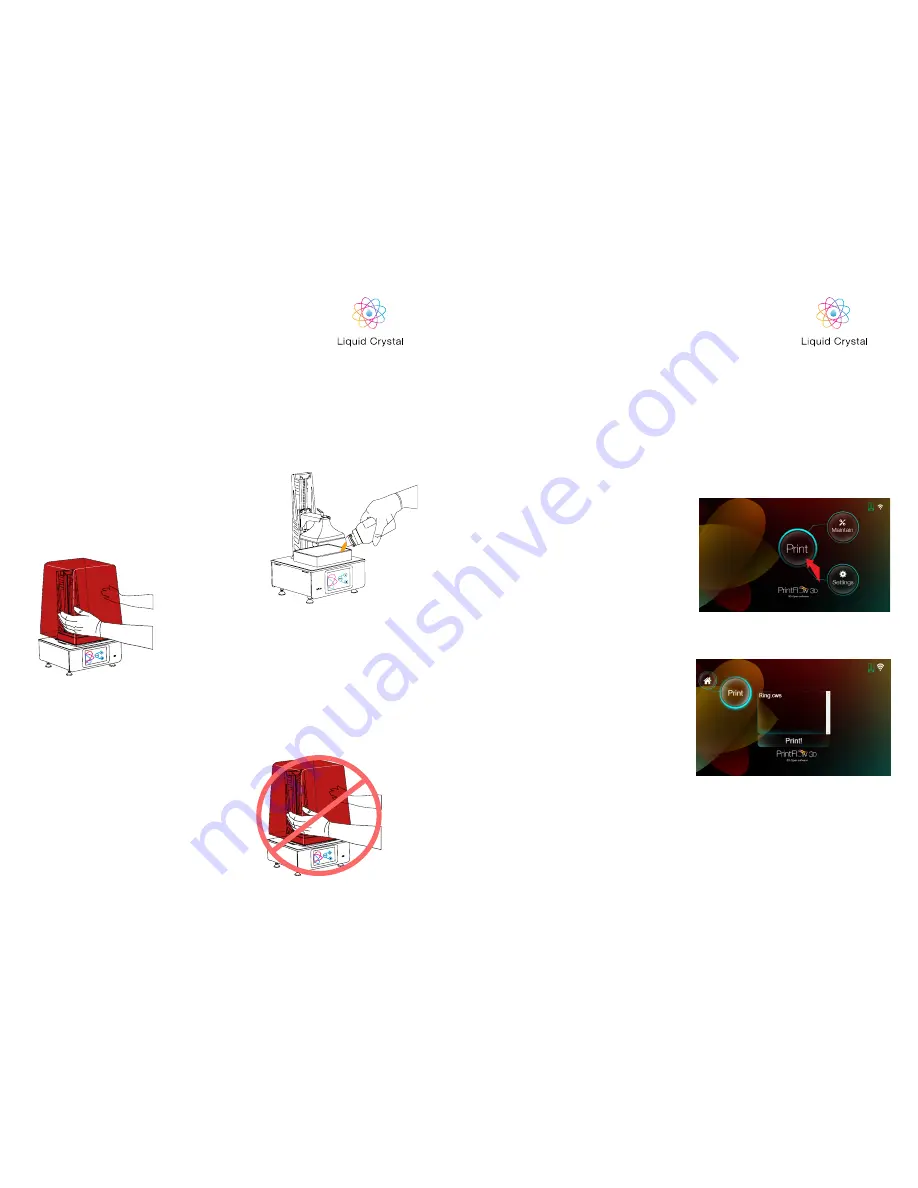
1. Once you have the printer assembled and
connected then press + 10 and pour your resin
into the vat. Once poured then press - 10.
2. With the vat filled with resin place the hood onto
the printer.
7
NOTE:
If you have an object that is 100 cm3 then it will use
115g of resin. Always overfill by at least 20% to ensu-
re consistent resin flow. For most prints, filling the vat
to 1/3 full is more than enough. Place the hood back
on the printer.
NOTE:
You can check the screen is working by pressing the
“Show calibration” button located in the “Maintain” tab
and a red grid will appear.
NOTE:
Don’t remove the hood during the operation or the print
will stop.
2. FILLING THE VAT
WITH RESIN
Now you have set up your printer lets make your
very first print! Your LCHR2 has been shipped
with a default test print pre-loaded. For your first
print use this print and the sample resin supplied
with your printer.
3. STARTING A
TEST PRINT
1. On the homepage, press the “Print” button,
which will display the following screen.
STARTING A PRE-SLICED FILE
FROM THE TOUCHSCREEN
2. Click the test file Ring.cws to highlight it and
press “Print!”. The print will then start.
8
HR2
HR2


