19
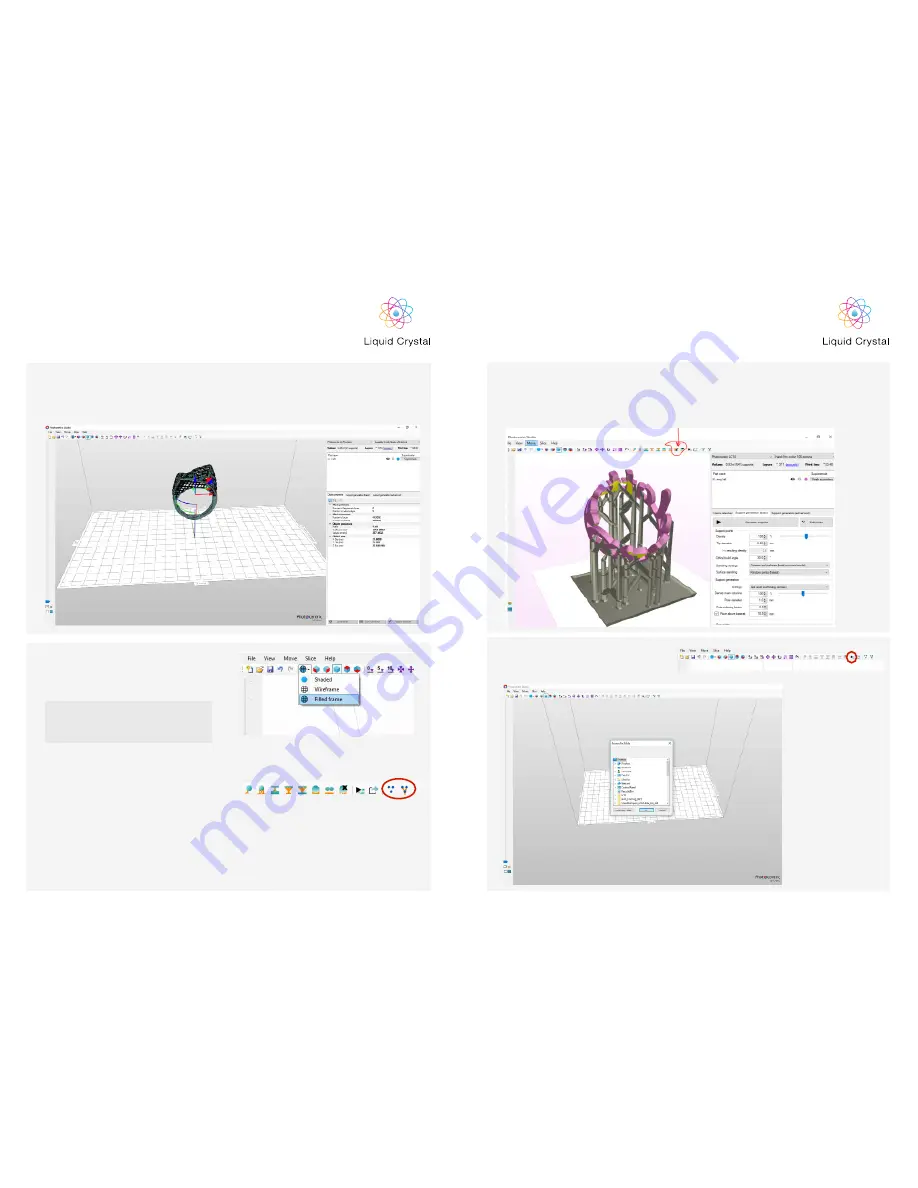
The two circled buttons allow you to flatten supports. This solves the problem of lattice
supports becoming slow, this can happen when very detailed supports are used. Typically
this would be used once you have finished with an object, allowing you to easily handle 20
objects.
To slice file, use the red circled button
shown, then choose the location to save
file and press OK.
6
7
20
HR2
Some stl models have a very shiny surface
which is difficult to see when adding
supports. To solve this issue you can
change the view to Filled Frame.
For designing different variations of manual
supports, adding and deleting supports
use the 8 buttons shown.
There is also the option to choose different
variations of supports in the automatic
menu.
The red circled buttons will show you the
skeleton of supports or point of support
contact to the 3D model, here you can
modify the joints and positions.
Support
For support you need to activate support mode by going to Help on
the top menu, Help documentation, Supporting.
5
5.1
To help further you can also change the colour of the
object surface in configuration mode.
NOTE
HR2


