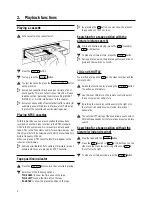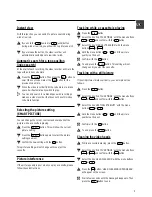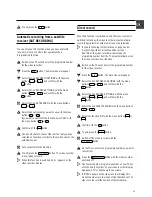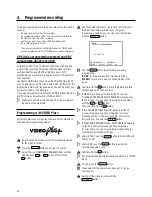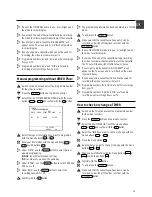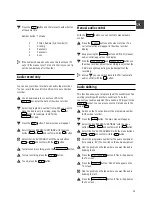
Starting synchro-edit
a
Switch on the TV set and select the programme number
for the video recorder.
b
Press the
MENU
button. The main menu will appear.
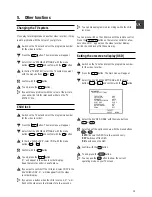
c
Select the line ’RECORD FUNCTIONS’ with the menu
buttons
P
=
or
P
;
and confirm with the
P
button.
d
Select the line ’SYNCHRO EDIT’ with the menu buttons
P
=
or
P
;
and confirm with the
P
button.
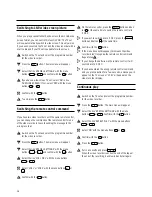
e
The on-screen display for the connected camera
recorder will appear on the TV screen.
f
Search the beginning of the recording on the video
recorder.
g
Press the
STILL/JOG ON
R
button. ’STILL’ will appear on
the TV screen.
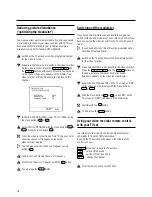
h
Use the
SELECT
button to switch to the picture of the
camera recorder.
i
Search the beginning of the recording on the camera
recorder. Then, switch the camera recorder to ’still
picture’.
The way you start copying will depend on the type of camera
recorder you are using.
*Method 1 applies if the video recorder is to control the
camera recorder.
*Method 2 applies if the camera recorder is to control the
video recorder.
Method 1 - If the video recorder is to control
the camera recorder
a
Start copying with the
n
RECORD/OTR
button on the video
recorder. The camera recorder will start to play and the
video recorder will start to record.
b
Stop copying with the
STOP
h
button on the video
recorder.
c
End copying with the
MENU
button.
Method 2 - If the camera recorder is to
control the video recorder
a
Start copying with the relevant button on the camera
recorder.
The camera recorder will start to play and the video
recorder will start to record.
b
Stop copying with the PAUSE or STILL button on the
camera recorder.
c
End copying with the
MENU
button.
Setting the ’preroll time’
This is the time that the tape moves before the recording
starts. If the beginning of the recording is missing, this means
the preroll time was too long. Select a shorter ’preroll time’.
If the recording has started too early, this means the preroll
time was too short. Select a longer preroll time. You can select
a preroll time of between 1 and 5 seconds.
a
Press the
MENU
button.
b
Select the line ’RECORD FUNCTIONS’ with the menu
buttons
P
=
or
P
;
and confirm with the
P
button.
c
Select the line ’RECORD SETTINGS’ with the menu
buttons
P
=
or
P
;
and confirm with the
P
button.
d
In the line ’PREROLL TIME’, adjust the ’preroll time’ with
the menu buttons
P
or
Q
.
D
You can also enter the preroll time with buttons
0-9
.
D
By using the
CLEAR (CL)
button, you can reset the preroll
time to suit your camera recorder type.
e
Confirm with the
OK
buton.
f
To end, press the
MENU
button.
21


