k
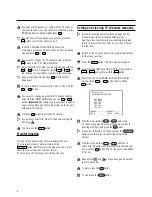
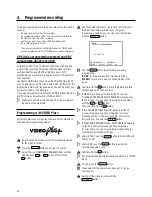
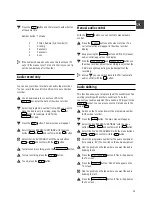
Press the
STOP
h
button.
l
Press the
n
RECORD/OTR
button. The video recorder will
start to record the sound from the audio equipment. The
normal soundtrack will be re-recorded, but the stereo
sound will remain.
The audio recording will stop automatically when the
counter reaches ’0:00:00’.
m
To end audio dubbing,press the
MENU
button.
D
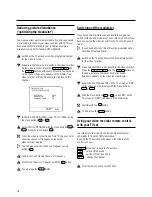
To play back the audio dubbing, read ’Selecting the
soundtrack’ in this chapter.
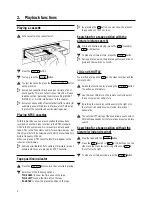
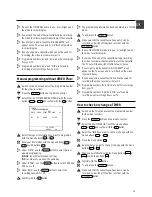
Headphone volume
a
Press
PLAY
G
, then press the
MENU
button. The main
menu will appear.
b
Select the line ’PLAY FUNCTIONS’ with the menu buttons
P
=
or
P
;
and confirm with the
P
button.
c
Select the line ’HEADPHONE VOLUME’ with the menu
buttons
P
=
or
P
;
and confirm with the
P
button.
d
Adjust the volume with the menu buttons
Q
or
P
.
e
Confirm with the
OK
buton.
f
To end, press the
MENU
button.
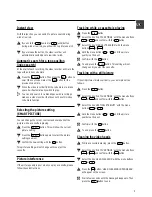
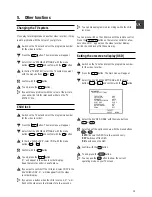
Selecting the soundtrack
You can select the soundtrack you want to record. This is
especially useful if the programme is multilingual.
a
Press the
SELECT
button. The current setting will appear
on the TV screen.
b
By pressing the
SELECT
button several times you can
select from the four possibilities displayed (’STEREO’,
’RIGHT’, ’LEFT’, ’MONO’).
D
While a tape is playing, you can select a fifth possibility:
the ’MIXED’ mode. In this mode you can play the mono
sound of the normal audio track together with the sound
of the stereo audio track.
D
If there is no stereo sound recorded on the cassette, the
video recorder automatically switches to mono sound.
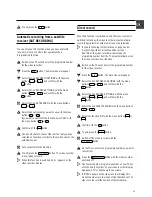
’Synchro edit’
You can copy between this video recorder and a suitable
camera recorder. Start both machines at the same time and
use the adjustable start delay (preroll time).
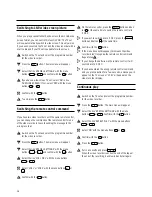
Adjusting the video recorder to the camera
recorder.
a
Connect the two machines with a synchro-edit cable
(socket
SYNCHRO EDIT
on the front left of the video
recorder).
Connect the video or audio source to the input sockets
L-AUDIO-R
and
VIDEO
of the video recorder.
D
Please also read the instruction manual for the camera
recorder.
b
Switch on the TV set and select the programme number
for the video recorder.
c
Press the
MENU
button. The main menu will appear.
d
Select the line ’RECORD FUNCTIONS’ with the menu
buttons
P
=
or
P
;
and confirm with the
P
button.
e
Select the line ’CAMERA LINK’ with the menu buttons
P
=
or
P
;
.
f
Switch the camera recorder to ’still picture’.
g
Confirm with the
P
button. The video recorder now
checks the camera recorder type.
h
When the check is complete, one of the following
messages will appear on the TV screen:
’VCR CONTROL DETECTED’ if the video recorder controls
the camera recorder; or ’CAMERA CONTROL DETECTED’
if the camera recorder controls the video recorder.
20

