b
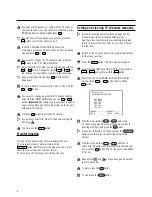
Press the
TV
m
button and the relevant number button
at the same time.
Number button TV make
0
Philips, Radiola (F), Schneider (F)
1
Grundig
2
Panasonic
3
Panasonic
4
Sony
D
If the number shown above does not work with your TV
set, or if the make of your TV is not in the list, you can try
out the numbers one after the other.
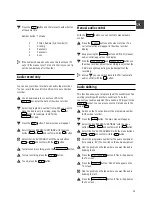
Audio record only
You can use your video recorder as an audio tape recorder.
You can record the sound from a hifi unit or a second video
recorder.
a
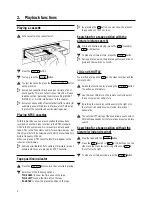
Use an audio cable to connect your hifi to the
AUX IN L R
socket at the back of the video recorder.
b
Select the programme number from which you want to
make the ’audio only’ recording, using the
P
;
or
P
=
button (for example, ’AUX’ for the
AUX IN L R
socket).
c
Press the
MENU
button. The main menu will appear.
d
Select the line ’RECORD FUNCTIONS’ with the menu
buttons
P
=
or
P
;
and confirm with the
P
button.
e
Select the line ’AUDIO ONLY’ with the menu buttons
P
=
or
P
;
and confirm with the
P
button.
f
To start sound recording, press the
n
RECORD/OTR
button.
g
To stop recording, press the
STOP
h
button.
h
To end, press the
MENU
button.
Manual audio control
With the
MANUAL
button you can switch to manual audio
control.
a
Press the
MANUAL
button on the video recorder. The
current selection will appear in the video recorder
display.
b
Keep pressing the
MANUAL
button until ’MAN’ (manual
audio control) appears on the display.
c
With the
PROGRAMME
;
and
PROGRAMME
=
buttons on
the video recorder, adjust the recording level so that the
’0 dB’ mark lights up during the loudest parts of the
recording.
D
At step
b
you can switch back to ’AUTO.’ (automatic
audio control) with the
P
button.
Audio dubbing
This function allows you to replace (dub) the soundtrack of an
existing recording with another soundtrack. To do this,
connect your audio equipment (for examle, a CD player) to the
L-AUDIO-R
socket. You can also connect a microphone to the
socket
MIC.
.
a
Switch on the TV set and select the programme number
for the video recorder.
b
Press the
MENU
button. The main menu will appear.
c
Select the line ’RECORD FUNCTIONS’ with the menu
buttons
P
=
or
P
;
and confirm with the
P
button.
d
Select the line ’AUDIO DUBBING’ with the menu buttons
P
=
or
P
;
and confirm with the
P
button.
e
Select the programme number for the audio equipment
(for example, ’E3’). Then switch on the audio equipment.
f
Find the position on the tape where you want the audio
dubbing to end.
g
Press the
STILL/JOG ON
R
button. ’STILL’ will appear on
the TV screen.
h
Press the
CLEAR (CL)
button. ’0:00:00’ will appear on the
TV screen.
i
Find the position on the tape where you want the audio
dubbing to start.
j
Press the
STILL/JOG ON
R
button. ’STILL’ will appear on
the TV screen.
19


