Getting the Maximum out of it
32
Editing Macros
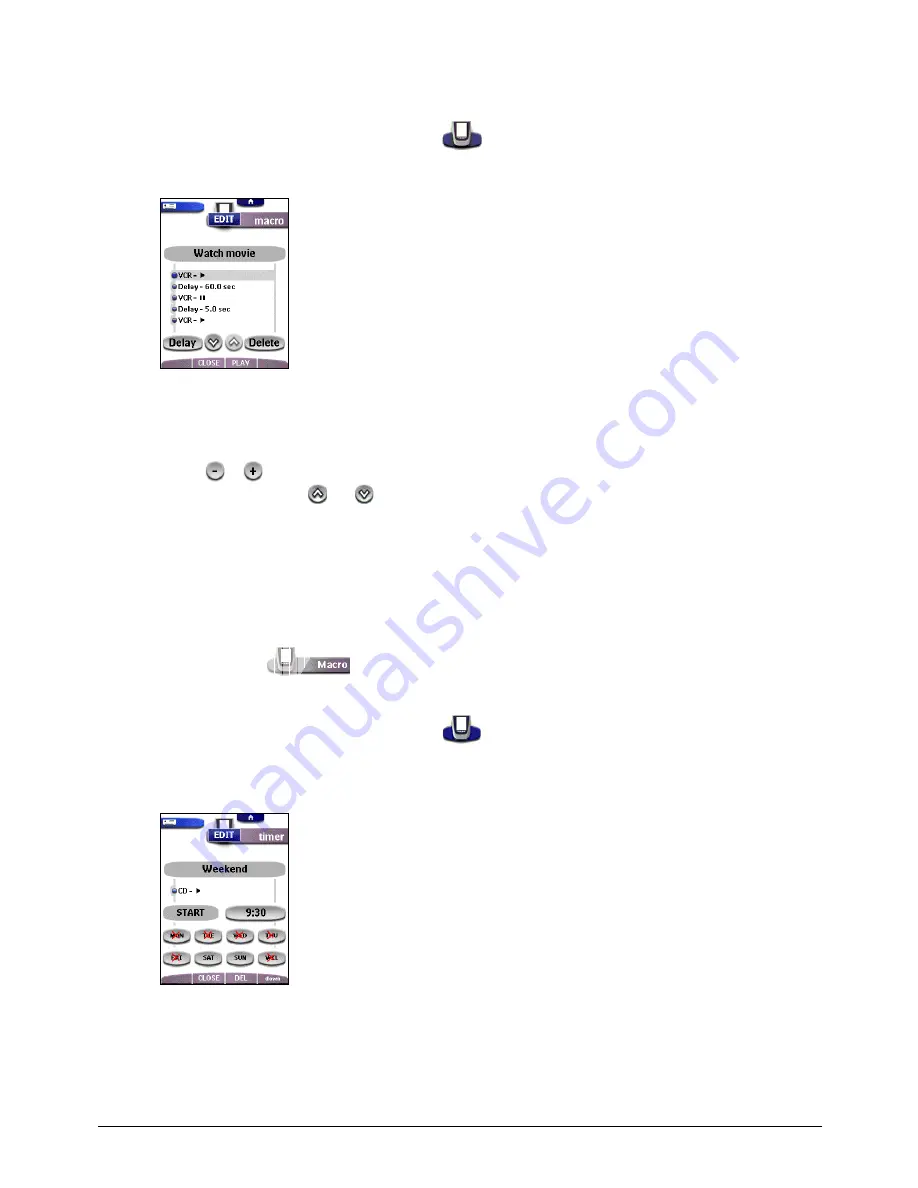
You can edit any macro you have recorded.
1. Open the macro group that contains the macro.
2. Switch to Edit mode via the Remote Control icon
.
3. Tap the macro you want to edit.
The contents of the macro appear.
4. Edit the macro.
You can move or delete listed commands or you can record new commands.
You can also add
delays
to the macro (for example, to insert a short pause between turning on a device and sending
commands to it allowing the device to warm up):
1. Tap Delay.
2. Tap
or
to decrease or increase the length of the delay.
3. Use the arrow buttons
and
to move the delay to the right place.
5. Press the left action button (labeled
Close
) to close the macro.
A confirmation screen appears where you can save or cancel the macro.
6. Tap Save.
You return to Use mode and the macro is ready to be used.
Setting Timers
To activate a device at the time you prefer, you can use the timer.
1. Tap the Macro tab
.
The Macro menu appears.
2. In the Macro menu select a timer group.
3. Switch to Edit mode via the Remote Control icon
.
Empty timer buttons appear in the timer control panel.
4. Tap the button you want to set a timer for.
The first timer control panel appears in which you can set the start time.
5. Enter the command the timer has to execute.
A timer can contain either a single command or a macro.
You can navigate to whatever control panel you want, just as you do in Use mode.
6. Tap the clock button and set the start time using the action buttons.
7. Tap one or more day buttons to select or deselect days for the timer.
You can choose to repeat the timer weekly.
8. Scroll down to display the second timer control panel in which you can set the stop time.


