Fast Forward
- Active only after a video clip has been captured, hold button down for fast forward, click button once to
move the video clip forward one frame at a time.
Slider Control
- Active only after a video clip has been captured, this displays the current position of the video/sound clip
and allows users to move to different points within the clip by clicking and dragging the slider handle; left = backward,
right = forward. Click once to either the left or right side of the slider handle to move the clip one frame at a time either
backward or forward respectively.
Mark In
- Referred to as “trim in” in professional systems, this button controls the starting point for playback (and saving)
of the video clip; more detailed information on its use can be found in Chapter 10 titled “Advanced Features.”
Mark Out
- Referred to as “trim out” in professional systems, this button controls the ending point for playback (and sav-
ing) of the video clip; more detailed information on its use can be found in Chapter 10 titled “Advanced Features.”
Grab Still
- This button freezes the video image as a photograph that can be saved as a BMP file. Refer to Chapter 7,
“Grabbing Still Images” for more information on its use.
Record Audio
- Activates audio-only capture and brings up a new tool bar as described in the next section.
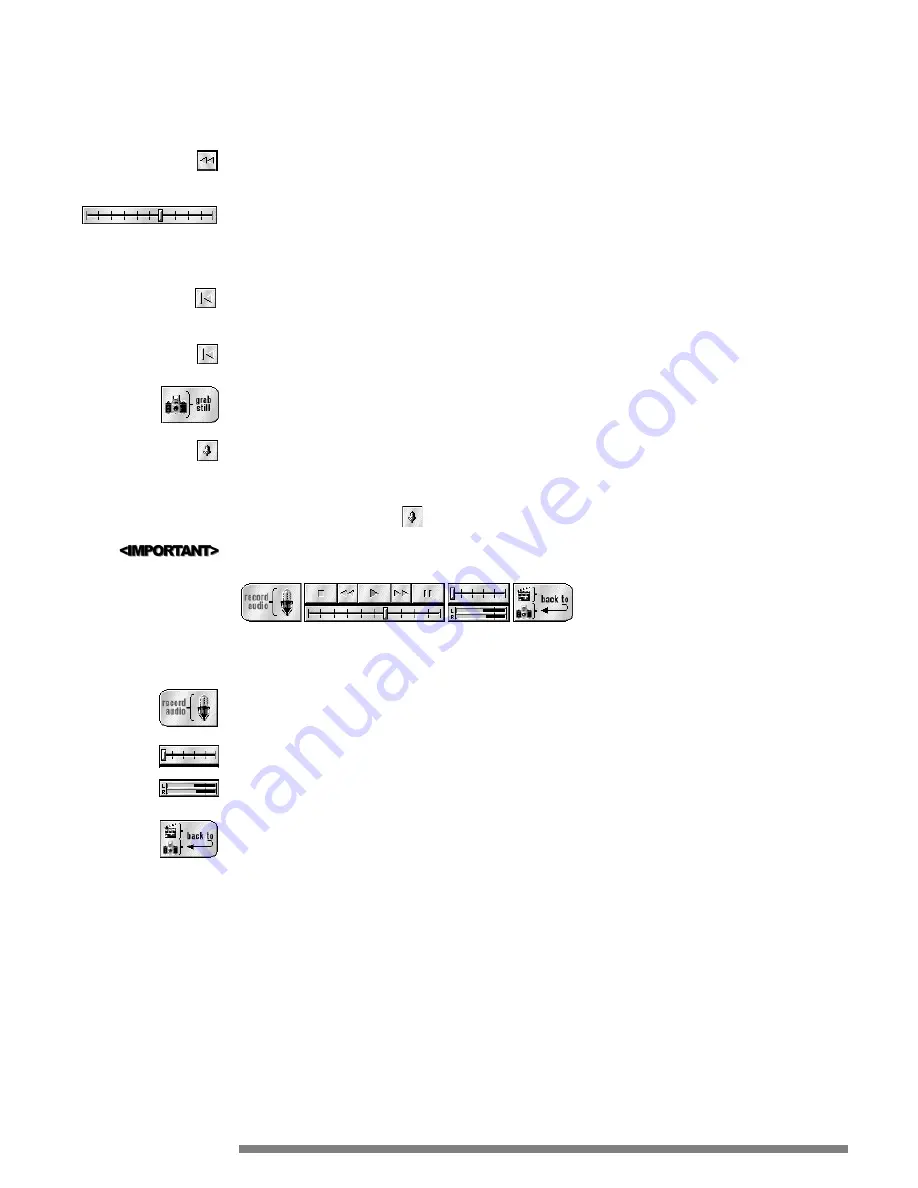
Sound Toolbar
Click the Record Audio button (
) in the Video Tool Bar to launch the Sound Tool Bar.
A sound card must be properly setup to access this area of the application (not included).
Many of these buttons are similar to the video buttons. However, they are applicable only to audio rather than video and
audio. The buttons are as follows:
Record Audio
- Activates sound capture.
Recording Volume Control
- Changes the level for the input audio source.
Left & Right Status
- Shows the audio levels for the left (L) and right (R) channels.
Back To
- Takes you back to the Record Video/Grab Still screen.
21


