26
Check if the stripped speaker wires are
•
clamped.
Left and right sound outputs reversed
Check the speaker connections and location.
•
No response from the apparatus
Disconnect and reconnect the AC power plug,
•
then turn on the system again.
As a power-saving feature, the system
•
switches off automatically 15 minutes after
track play reaches the end and no control is
operated.
Remote control does not work
Before you press any function button, fi rst
•
select the correct source with the remote
control instead of the main unit.
Reduce the distance between the remote
•
control and the unit.
Insert the battery with its polarities (+/– signs)
•
aligned as indicated.
Replace the battery.
•
Aim the remote control directly at the sensor
•
on the front of the unit.
No disc detected
Insert a disc.
•
Check if the disc is inserted upside down.
•
Wait until the moisture condensation at the
•
lens has cleared.
Replace or clean the disc.
•
Use a fi nalized CD or correct format disc.
•
No picture
Check the video connection.
•
Turn on the TV to the correct Video-In
•
channel.
Progressive scan is activated but the TV does
•
not support progressive scan.
Black and white or distorted picture
The disc does not match the TV color system
•
standard (PAL/NTSC).
Sometimes a slight picture distortion may
•
appear. This is not a malfunction.
Clean the disc.
•
A distorted picture may appear during
•
progressive scan setup.
The aspect ratio of the TV screen cannot be
changed even though you have set the TV display
format.
The aspect ratio if fi xed on the loaded DVD
•
disc.
The aspect ratio may not be changed for some
•
TV systems.
Maintenance
Clean the cabinet
Use a soft cloth slightly moistened with a mild
•
detergent solution. Do not use a solution
containing alcohol, spirits, ammonia or
abrasives.
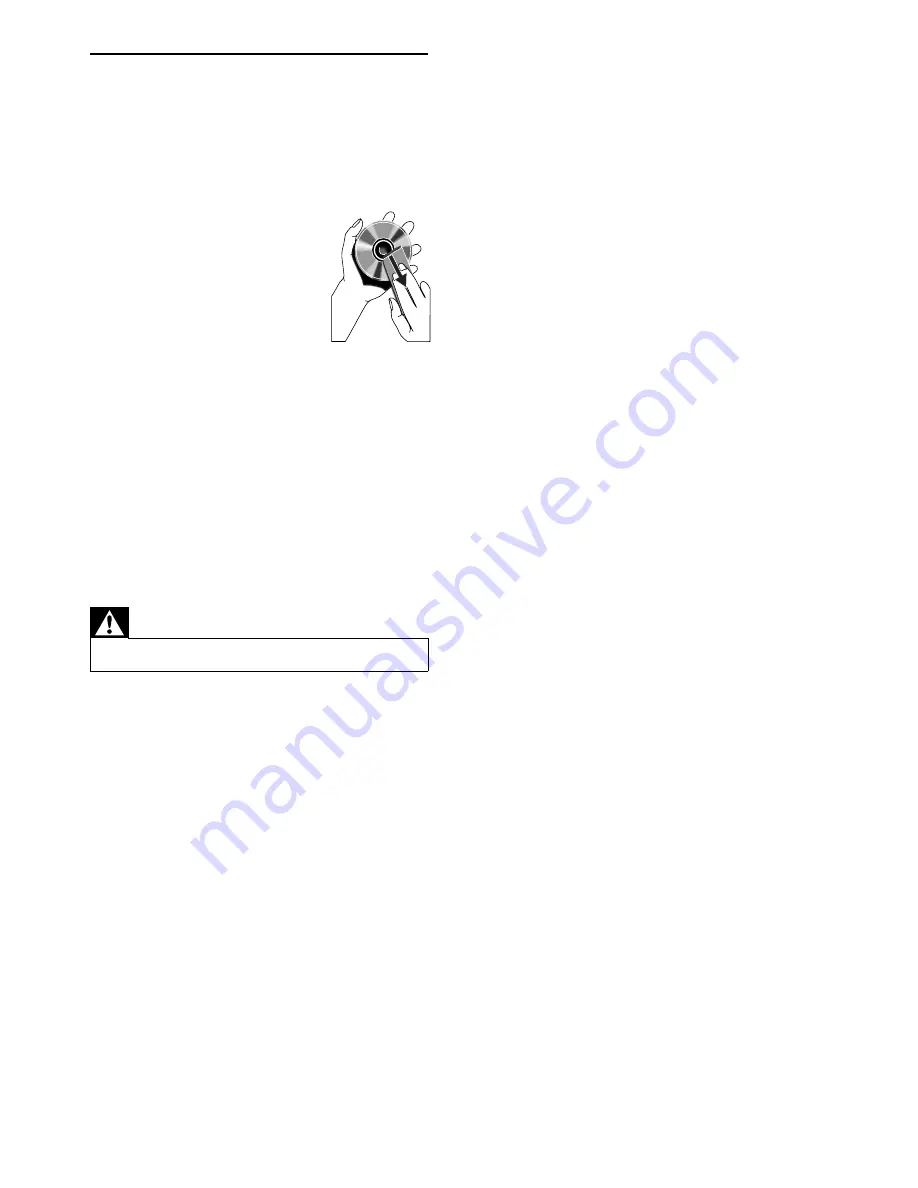
Clean discs
When a disc becomes dirty,
•
clean it with a cleaning cloth.
Wipe the disc from the
centre out.
Do not use solvents
•
such as benzene, thinner,
commercially available
cleaners, or antistatic spray
intended for analogue records.
Clean the disc lens
After prolonged use, dirt or dust may
•
accumulate at the disc lens. To ensure good
play quality, clean the disc lens with Philips
CD lens cleaner or any commercially available
cleaner. Follow the instructions supplied with
cleaner.
11 Troubleshooting
Warning
Never remove the casing of this apparatus.
•
To keep the warranty valid, never try to repair the
system yourself.
If you encounter problems when using this apparatus,
check the following points before requesting service. If
the problem remains unsolved, go to the Philips web
site (www.philips.com/welcome). When you contact
Philips, ensure that the apparatus is nearby and the
model number and serial number are available.
No power
Ensure that the AC power plug of the unit is
•
connected properly.
Ensure that there is power at the AC outlet.
•
As a power-saving feature, the unit switches
•
off automatically 15 minutes after track play
reaches the end and no control is operated.
No sound or poor sound
Adjust the volume.
•
Disconnect the headphones.
•
Check that the speakers are connected
•
correctly.
EN


