14
3
Press
/
to set the minute.
4
Press and hold
CLOCK
to select 12-hour or
24-hour format.
5
Press
CLOCK
to confi rm.
Turn on
1
Press
.
The unit switches to the last selected
»
source.
Switch to standby
1
Press and hold for more than 2 seconds to
switch the unit to standby mode.
The clock (if set) appears on the display
»
panel.
To switch the unit to Eco Power Standby mode:
1
During play, press .
The backlight on the display panel turns off.
»
Select the correct source on TV
1
Turn on the apparatus.
2
Press
DISC
to select the disc source.
3
Turn on the TV and then select the correct
video source.
You should see the blue Philips DVD
»
background screen.
Tip
See the TV user manual for details of how to select the
•
correct video source.
Select the correct TV system
Change this setting if the video does not appear
correctly. By default, this setting matches the most
common setting for TVs in your country.
1
Press
SYSTEM MENU
.
2
Press
to select
[Video Setup]
>
[TV Type]
and then press .
3
Select a setting and then press
OK
.
•
[PAL]
- For TV with PAL color system.
•
[NTSC]
- For TV with NTSC color
system.
•
[Multi]
- For TV that is compatible with
both PAL and NTSC.
4
To exit the menu, press
SYSTEM MENU
.
4 Get
started
Caution
Use of controls or adjustments or performance of
•
procedures other than herein may result in hazardous
radiation exposure or other unsafe operation.
Always follow the instructions in this chapter in
sequence.
If you contact Philips, you will be asked for the model
and serial number of this apparatus. The model
number and serial number are on the back of the
apparatus. Write the numbers here:
Model No. __________________________
Serial No. ___________________________
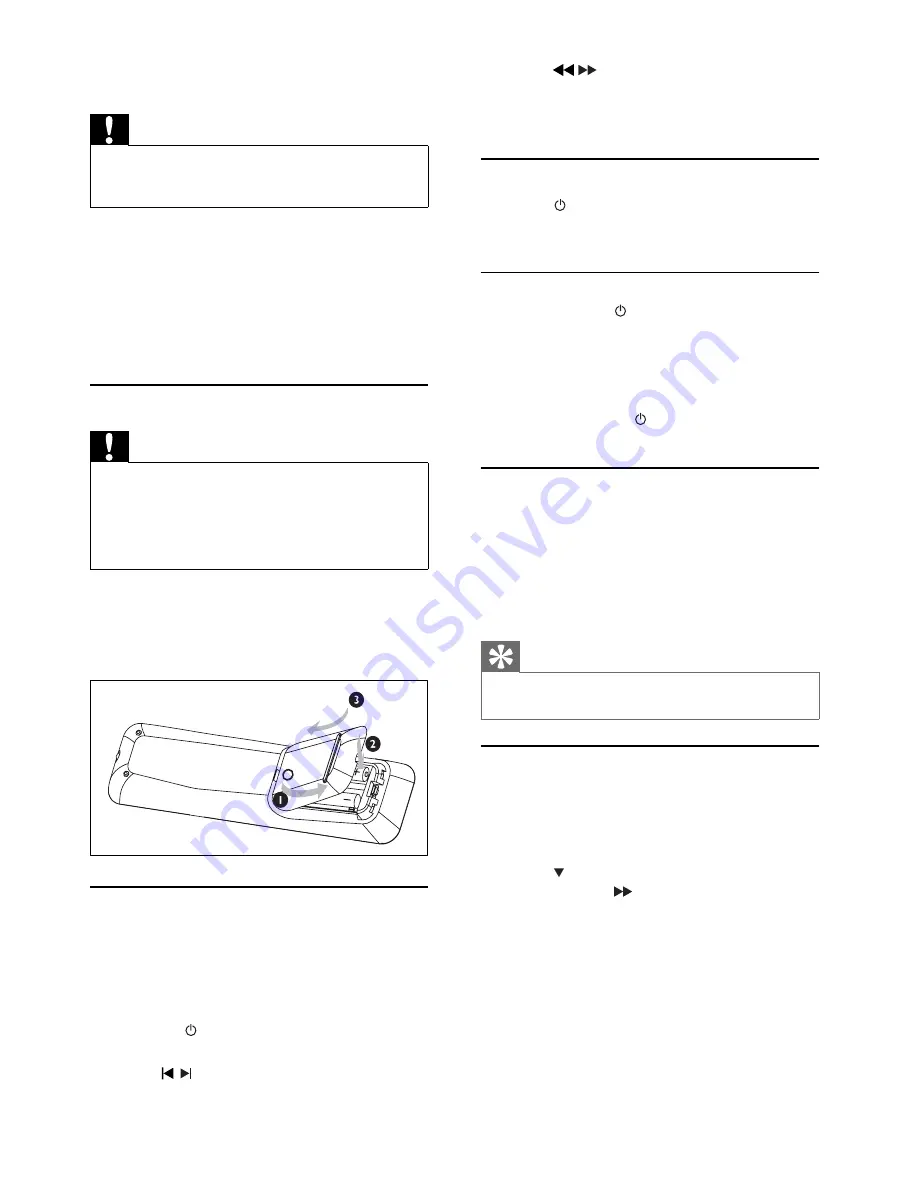
Install remote control batteries
Caution
Risk of explosion! Keep batteries away from heat,
•
sunshine or fi re. Never discard batteries in fi re.
Risk of decreased battery life! Never mix different brands
•
or types of batteries.
Risk of product damage! When the remote control is not
•
used for long periods, remove the batteries.
1
Open the battery compartment.
2
Insert 2 AAA batteries with correct polarity
(+/-) as indicated.
3
Close the battery compartment.
Set clock
1
In the standby mode, press
CLOCK
to
activate the clock setting mode.
The time digits are displayed and begin to
»
blink.
If the time digits are not displayed, press and
»
hold
for more than 2 seconds to switch
to standby mode, then repeat step 1.
2
Press
/
to set the hour.
EN


