15
Prepare the remote control
Caution
Risk of explosion! Keep batteries away from heat,
•
sunshine or fi re. Never discard batteries in fi re.
Risk of decreased battery life! Never mix different
•
brands or types of batteries.
Risk of product damage! When the remote control is
•
not used for long periods, remove the batteries.
Note
Perchlorate Material - special handling may apply. See
•
www.dtsc.ca.gov/hazardouswaste/perchlorate.
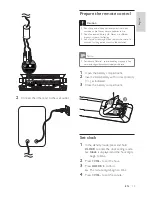
1
Open the battery compartment.
2
Insert 2 AAA battery with correct polarity
(+/-) as indicated.
3
Close the battery compartment.
Set clock
1
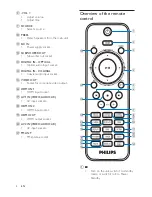
In the standby mode, press and hold
CLOCK
to enter the clock setting mode.
»
Clock
is displayed and the hour digits
begin to blink.
2
Press
+ VOL -
to set the hour.
3
Press
CLOCK
to confi rm
The minute digits begin to blink.
»
4
Press
+ VOL -
to set the minute.
2
Connect the other end to the wall outlet.
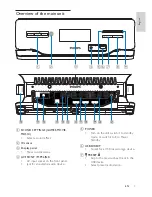
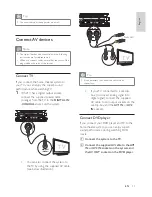
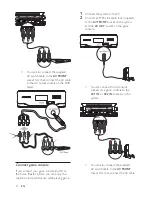
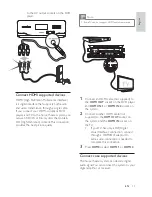
OPTICAL
HDMI OUT
HDMI IN 1
HDMI IN 2
English
EN


