Service Modes and Fault Finding
5.
How to Exit SAM
Use one of the following methods:
•
Switch the set to STANDBY by pressing the mains button
on the remote control transmitter or the television set.
•
Via a standard RC-transmitter, key in “00” sequence.
Note: When the TV is switched “off” by a power interrupt while
in SAM, the TV will show up in “normal operation mode” as
soon as the power is supplied again. The error
buffer will not be cleared.
5.2.4
Contents of the Factory mode:
Purpose
•
To perform extended alignments.
Specifications
•
Displaying and or changing Panel ID information.
•
Displaying and or changing Tuner ID information.
•
Error buffer clearing.
•
Various software alignment settings.
•
Testpattern displaying.
•
Public Broadcasting Service password Reset.
•
etc.
How to Activate the Factory mode
To activate the Factory mode, use the following method:
•
Press the following key sequence on the remote control
transmitter: from the “menu/home” press “1999”, directly
followed by the “Back/Return” button. Do not allow the
display to time out between entries while keying the
sequence.
After entering the Factory mode, the following items are
displayed,
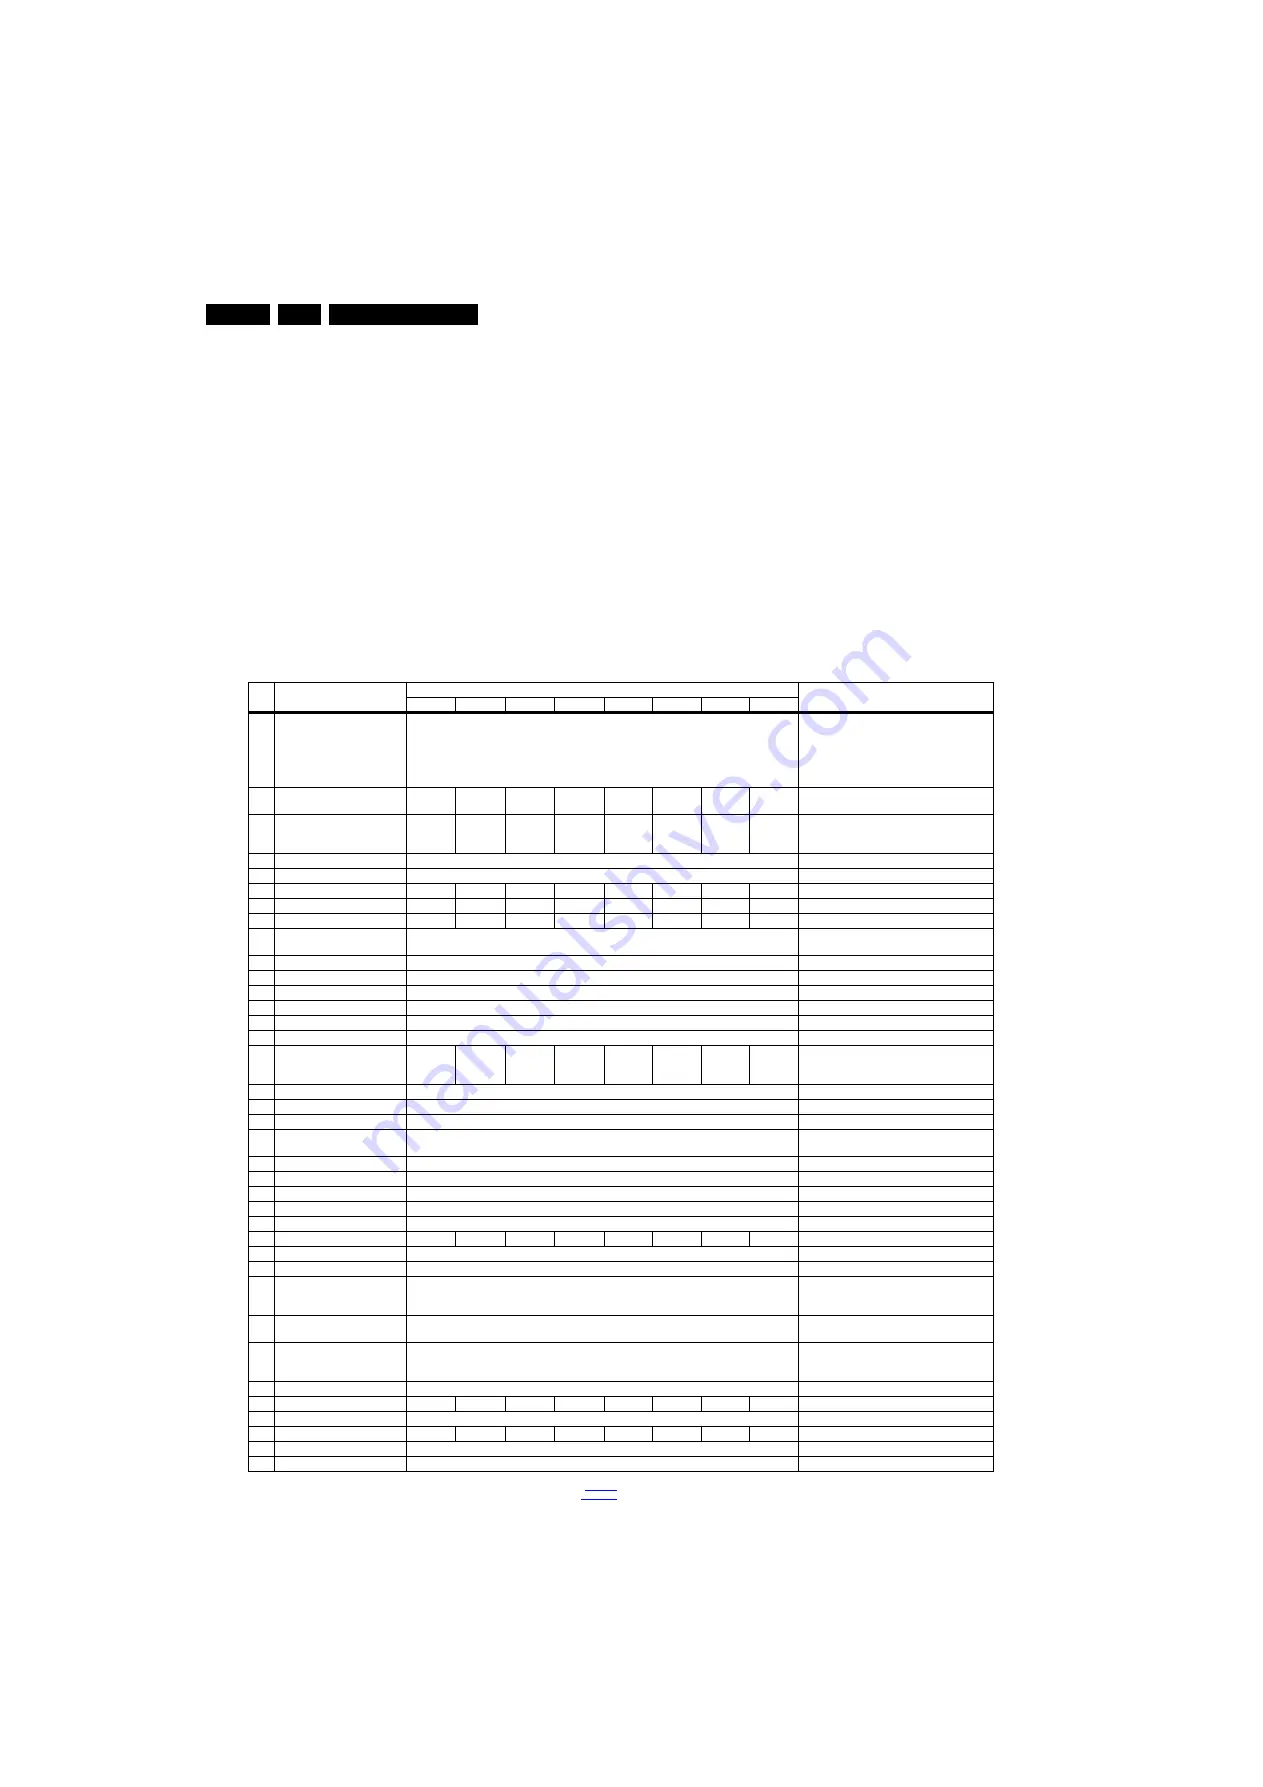
Table 5-2 Factory mode overview
Item Item value
Default value
Description
20"
22"
24"
32"
39"
40"
42"
47"
0
F/W VERSION
Press OK
Displays the software versions of the supplier,
Flash PQ, Smart Picture, BL Dimming,
Source Meter, the Picture Quality checksum,
the Dimming library, the Source meter library,
the Flash AQ, the MTK, MCU and OAD software
versions.
1
Board ID
715G6092 715G6092 715G6092 715G6079 715G6079 715G6092 715G6092 715G6094 Dispaly the Board ID; be careful changing this, it
can result in not correct displaying the screen!
2
PANEL_ID
17
18
19
6
8
9
11
11
Displays and changes the Panel ID with the left
and right cursor; be careful changing this, it can
result in not correct displaying the screen!
3
DB COPY TV to USB
Press OK
DB COPY TV to USB
4
DB READ USB to TV
Press OK
DB READ USB to TV
5
CLR_TEMP_R
68
68
68
128
128
118
128
128
Red colour temperature setting
6
CLR_TEMP_G
76
76
76
128
128
128
128
128
Green colour temperature setting
7
CLR_TEMP_B
128
128
128
128
128
126
128
128
Blue colour temperature setting
8
AUTO_COLOR
Press OK
PC: any pattern that has black and white,
YPbPr: SMPTE bar (colour bar), any timing.
9
ADC_GAIN_R
0
Red ADC gain
10
ADC_GAIN_G
0
Green ADC gain
11
ADC_GAIN_B
0
Blue ADC gain
12
ADC_OFFSET_R
0
Red ADC offset
13
ADC_OFFSET_G
0
Green ADC offset
14
ADC_OFFSET_B
0
Blue ADC offset
15
VIRGING_MODE
off
off
off
off
off
on
off
off
Use this to return the set to virgin mode.
Depends whether the set has been used
already.
16
E_Fuse
on
E-fuse mode
17
ORT_MODE
off
ORT mode
18
AGEING MODE
off
Use this for aging a new LCD panel
19
AUD_LIMITE_MODE
1
Three modes,0: off, 1: adaptive mode, 2: fixed
mode
20
AUD_THRESHOLD_BYTE1
100
Limit threshold
21
AUD_THRESHOLD_BYTE2
200
Limit threshold
22
AUD_THRESHOLD_BYTE3
100
Limit threshold
23
AUD_GAIN_LINEIN
0
Line-in audio gain
24
AUD_GAIN_HDMI
0
HDMI audio gain
25
AUD_GAIN_ATV
0
0
0
0
10
10
0
0
Analogue TV audio gain
26
AUD_GAIN_DTV
10
Digital TV audio gain
27
AUD_GAIN_USB
0
USB audio gain
28
TUNER_ID
0
Displays and changes the Tuner ID with the left
and right cursor. Not to be changed when the
tuner is replaced with the correct service part.
29
CIPLUS QUERY
Press OK
Shows the Validity of the CI+ key and the
supplier information
30
CIPLUS UPDATE
Press OK
Used to enter a new CI+ code into the NVM. This
can only be used when no CI+ code exists in the
NVM
31
CI Key Type Selection
ProductKey
CI Key Type Selection
32
AQ_TABLE_INDEX
6
6
6
3
3
3
5
5
Audio Quality index
33
EDID UPDATE
Press OK
Used to enter a new EDID codes into the NVM
34
LVDS SSC Ratio
3%
3%
3%
2%
2%
2%
2%
2%
LVDS SSC ratio
35
LVDS SSC Freq
30KHz
LVDS SSC frequency
36
DDR SSC Ratio
2%
DDR SSC ratio


