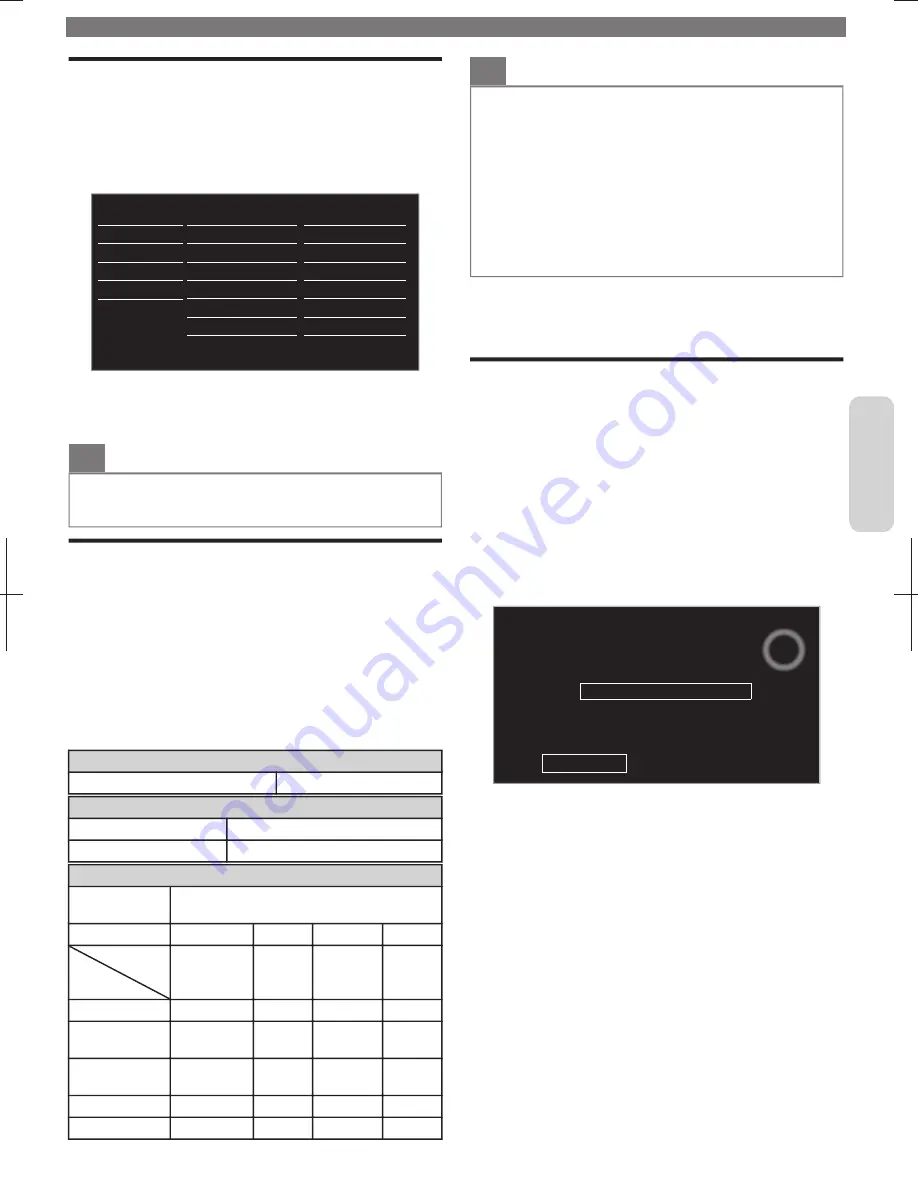
Setting your Location to Home
You can set the
Location
of your TV to
Home
or
Retail
.
Choosing
Home
gives you full flexibility to change predefined
settings for Picture and Sound.
1
Display
Setup
using Home Menu and use
H
I
to Select
Installation
, then press
OK
.
Reset AV settings
Network settings assistant
Location
Autoprogram
English
Restore default settings
Network
Preferences
Channels
Language
Software
Installation
Features
Sound
Picture
Settings assistant
2
Use
H
I
to Select
Preferences
, then press
OK
.
3
Use
H
I
to Select
Location
, then press
OK
.
4
Use
H
I
to Select
Home
, then press
OK
.
O
Note(s)
●
You must set
Home
in the Menu. Otherwise, personalized
Picture and Sound Settings will Not Be Memorized after the Unit
goes into Standby Mode.
Viewing Photos, Playing Music and
Watching Videos on a USB Memory Stick
Your TV is fitted with a USB connection that enables you to
view photos, listen to music or watch video files stored on a
USB Memory Stick.
1
Press
Q
and use
H
I
J
K
to select
Browse USB
, then
press
OK
.
2
Use
H
I
to select the
Picture
,
Music
or
Video
, then
press
OK
.
●
These Recorded Files must meet Specifications shown below:
Picture (JPEG)
Upper limit
16Mpixel
Music (MP3)
Sampling frequency
32 kHz, 44.1 kHz or 48 kHz
Constant bit rate
32 kbps - 320 kbps
Video (MPEG / VOB / AVI / MP4)
Maximum size
of a video
1920 x 1080
Extension
.mpg, .mpeg
.vob
.avi
.mp4
Video codec
Audio codec
MPEG1,
MPEG2
MPEG2
MPEG4 SP,
MPEG4
ASP
H.264,
MPEG4
Dolby Digital
YES
YES
YES
NO
MPEG1 audio
layer3 (MP3)
YES
NO
YES
NO
MPEG1 audio
layer2
YES
NO
YES
NO
LPCM
YES
NO
NO
NO
AAC-LC
NO
NO
NO
YES
O
Note(s)
●
This unit accepts USB Memory Stick only. Other storage devices
such as external HDD by USB Bus Power will not work.
●
Do not use an extension cord and USB Hub to connect devices
to this Unit. Always insert the USB flash memory in to this Unit
directly.
●
We cannot be held responsible if your USB Memory Stick is Not
Supported, nor will we accept any liability for damage or loss of
stored data.
●
The USB Memory Stick is Not Supplied with this TV.
●
A maximum of 1,023 folders or files can be recognized.
●
A file name exceeding 256 characters or contains a dot character
is Not Supported on this TV.
●
Progressive JPEG files are Not Supported.
5 Install Channels
Autoprogram
Be sure the RF cable is correctly connected to this Unit and
you are registered with your Cable TV provider when you
Install Cable channels.
1
Display
Setup
using Home Menu and use
H
I
to Select
Installation
, then press
OK
.
2
Use
H
I
to Select
Channels
, then press
OK
.
3
Use
H
I
to Select
Autoprogram
, then press
OK
.
4
Press
OK
to Select
Start now
.
●
Autoprogram
will start automatically.
0
0
Stop
complete.
Auto programming may take more than 20 minutes to
Analog channels found:
Digital channels found:
System searching. Please wait...
●
If you run
Autoprogram
when you have Locked Channels, a
Message appears asking to enter your PIN. Enter your PIN in
order to Complete the Installation. You need to set the
Channel Lock again after the Installation.
●
When the Scanning and Memorizing of Available Channels is
Completed, the Lowest Memorized Channel will be
Displayed.
5
Follow the On-screen Instructions to Complete the
Installation.
To obtain a more detailed electronic copy of this User Manual, go to
www.philips.com/support
13
English


