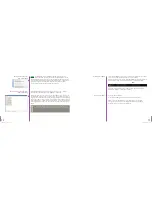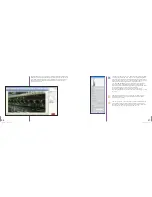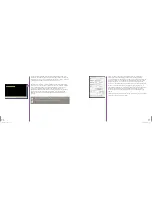
There are a number of settings available in the “Advanced Settings” section.
Here are some key ones:
•
“High Quality Image Mode” enables and disables HQ mode.
•
“Direct recording to CineMag” enables recording directly to the mag.
It is the equivalent of choosing “R/S” mode using the camera’s
on-board controls.
•
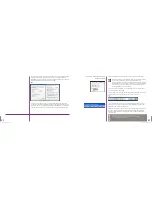
Enabling the options under “Start/End of recording actions” add
procedures that are performed automatically by the camera at the
beginning or end of a shot.The most common ones are “Auto save to
CineMag/built-in Flash” which saves the marked portion of a clip to the
mag immediately after recording and “Auto play Video Out” which begins
playback after recording.The range marked under “Auto play Video Out”
affects both playback and saving to the CineMag. If “Restart Recording”
is checked, recording will start automatically after the auto actions are
performed.
72
Phantom Flex Manual
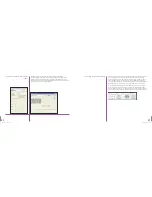
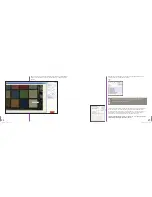
When working with a single camera, “Sync Imaging” should be set to
“Internal.” For information on syncing two cameras, such as in a 3D rig,
please read the chapter “Camera Setup.”
Once the camera is set, click the red “Capture” button to
begin recording. If the camera is in Loop mode, this will
begin recording to the camera’s RAM.
If the camera is in “Direct Recording to CineMag” (AKA R/S) mode, this will
begin recording to the CineMag.
73
Phantom Flex Manual
There is no user confirmation before the clip is erased from RAM
and recording begins when “Restart Recording” is enabled.
This feature should be used with care!
!
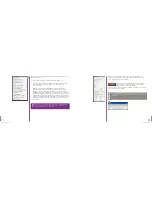
If there is already a clip in the camera’s memory, you will be asked if
you are sure you wish to delete it before continuing. If you are sure,
click “OK.”
N
O
T
E
Summary of Contents for Flex
Page 1: ...MANUAL ...
Page 2: ...MANUAL New York Chicago Los Angeles First Edition 09 20 10 www abelcine com ...
Page 52: ...94 Phantom Flex Manual ...
Page 53: ......

