37
Phantom Flex Manual
36
Phantom Flex Manual
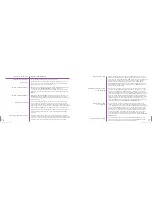
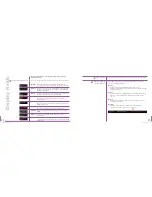
the camera's DRAM buffer. In this mode, after a cine file is recorded into
the camera's DRAM frame buffer, you can manually save it into the CineMag.
b. Run/Stop - In Run/Stop Mode the image data is recorded directly
into the Phantom CineMag.
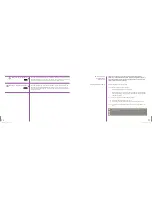
High Quality Mode reduces the need to black balance, as well as increase the
signal to noise ratio in the image. In LOOP mode, the maximum frame rate will
be reduced by approx half when this is switched on.
1. To turn on HQ MODE, hold in Menu knob and rotate clockwise.
2. To turn off HQ MODE, hold in Menu knob and rotate counter clockwise.
Automatic black reference or black balance. When this function is switched on,
the camera will automatically black balance as soon as the recording starts.
1. To turn on AUTO BREF, hold in Menu knob and rotate clockwise.
2.To turn off AUTO BREF, hold in Menu knob and rotate counter clockwise.
Genlock allows 2 or more cameras to synchronize their video outputs.
This is necessary when outputting to a switcher or 3D monitor.
1. To turn on GENLOCK, hold in Menu knob and rotate clockwise.
2. To turn off GENLOCK, hold in Menu knob and rotate counter clockwise.
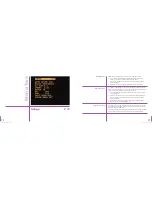
This field indicates the total length of recording time.The recording duration
is based on the amount of memory in the camera, along with the resolution
and frame rate settings.This field will change based on these variables.
This field indicates how many images or frames will be recorded within
the Duration time.This field is based on the amount of memory in the camera,
and how the resolution is set, and will change accordingly.
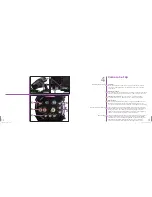
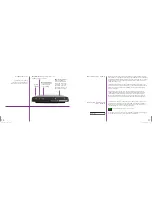
HQ Mode
Auto BREF
GenLock
Maximum Recording Time
(Non-Selectable)
Maximum Recordable Frames
(Non-Selectable)
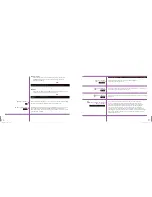
size. When a post trigger value has been defined the camera will only store the
maximum image count allowed for the particular capture settings.The camera
will only display the frames stored in the memory buffer, the last x images,
where x is the total number of images recorded or stored in the image buffer.
1. To move theTP, (Trigger Point), to the right, decreasing the number of
PostTrigger frames to be recorded, hold in Menu button and rotate
clockwise.
2. To move theTP, (Trigger Point), to the left, increasing the number of Post
Trigger frames to be recorded, hold in and rotate counter clockwise.
Resolution refers to the shape of the captured area in pixels. It represents the
number of pixels enabled to capture an image. For example, if 2560x1600 is set
(W x H), the full sensor space available, it is called 'Full Frame'.The Resolution
setting allows the user to change the dimensions, or aspect ratio, of the sensors
active pixel area.The aspect ratio is the width to height ratio of the image being
recorded.
Changing the Resolution settings to match the dimensions of the subject of
interest allows the user the option of recording at higher frame rates, or longer
recording times at the same frame rate. Smaller resolutions ‘crop’ the capture
image by enabling a subset of pixels, this allows you to customize the shape
of the capture area to the application.
1. To increase the Resolution hold in Menu button and rotate clockwise.
2. To decrease the Resolution hold in and rotate counter clockwise.
RESULT:The image aspect ratio will be displayed with the defined
Resolution setting.
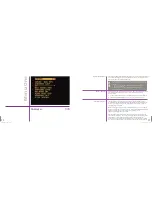
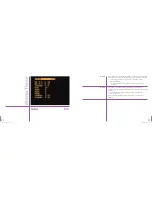
This field selects whether the camera is to run in either Loop or Run/Stop Mode.
1. Hold in the Menu button, and rotate to the desired parameter:
a. Loop - In the Loop Mode the camera stores the recorded image data into
Resolution
Capture (Operational Mode)
Summary of Contents for Flex
Page 1: ...MANUAL ...
Page 2: ...MANUAL New York Chicago Los Angeles First Edition 09 20 10 www abelcine com ...
Page 52: ...94 Phantom Flex Manual ...
Page 53: ......

