xiii. OPERATING THE SAW
1. After you have made yourself familiar with the
components of your saw, the machine has been
properly set up, the water tray is filled with water,
and the electrical connection is established in
accordance with the relevant safety regulations,
you may now begin with the cutting operation.
2. Before you start operation open the water shut-off
valve.
3. During the operation, the user must stand in front
side of the saw pulling on one of the two handles of
the cutting head when cutting. The workpiece must
rest on the work table and should be pressed
tightly against the cutting fence on the table.
4. Always turn off the saw before you leave the
machine unattended.
5. Prevent accidental restarting of the saw by
unplugging the power cable.
CUTTING AT CONSTANT DEPTH
When cutting at constant depth the cutting head must
be pulled against the work piece. The motor should be
turned off when adjusting the cutting depth.
1. Before starting the cut, hold the current depth by
firmly grasping the plunge handle extending from
the blade guard. Set the cutting head at the desired
cutting depth by first loosening the depth control
knob on the side of the cutting head where the
switch box is located.
2. Adjust the head to the blade depth/clearance
desired. Tighten the depth control knob.
3. Put the workpiece securely on the cutting table.
Have it positioned to achieve the desired cut.
4. Turn on the saw and slowly and uniformly pull the
head along the guide rail and across the workpiece.
5. Slowly return the cutting head to the original
starting position and turn off the motor.
PLUNGE CUTS
The handling of long or partial cuts can be made using
the plunge cutting method. In this case, the cutting
head will not be set to a fixed cutting depth/clearance
while performing a cut. The cutting head is freely
movable during seesaw cutting operations.
1. Before starting the cut, the cutting head must be
fully raised. Be sure to grasp the plunge handle
extending from the blade guard. Loosen the depth
control knob on the side of the cutting head where
the switch box is located.
2. Set the workpiece securely on the cutting table.
Have it positioned to achieve the desired cut.
3. With the head fully raised, move to the desired start
of cut along the path of the blade. Plunge the head
and pull until the desired cut is complete.
4. Slowly return the cutting head to the original
starting position and turn off the motor.
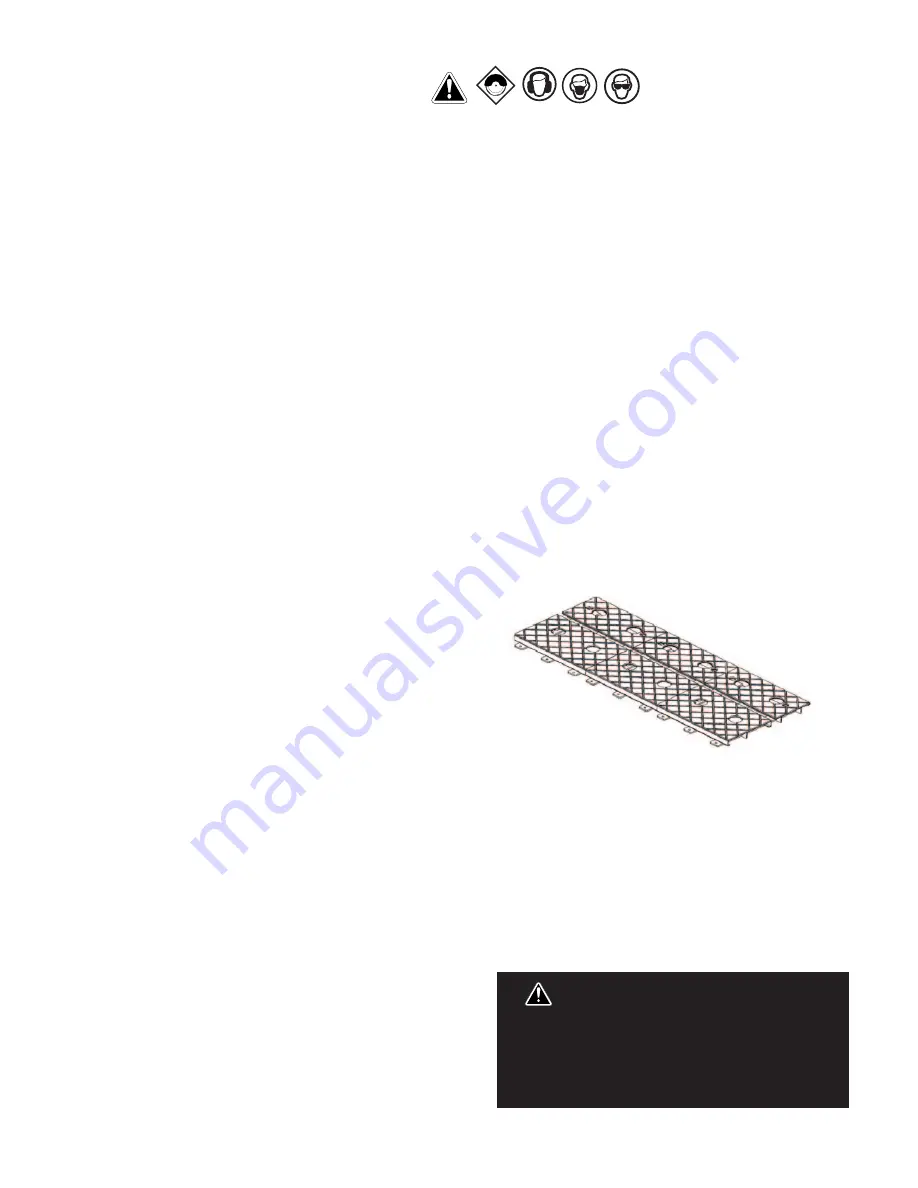
THE CUTTING TABLE
FEATURES:
• The easily removable cutting table is covered with
an anti-skid rubber coating, which allows the
material being cut to sit on the table while the
cutting head is pulled through it.
• Simply line up the material being cut with the
appropriate pre-marked lines on the cutting table.
STEPS TO MAKE MITER CUTS:
1. The bench saw is equipped with a hinged guide rail
that allows the user to make accurate miter cuts.
2. To pivot the guide rail, lightly loosen the knobs at
both ends of the saw.
3. Set the rail to the desired angle by using both hands
to firmly hold the rail and rotating it. While still
holding the rail at the desired angle, tighten each
knob.
Turn off the saw before
pivoting the guide rail. Do not attempt to
pivot the rail mid-cut. The saw blade must be
clear of the material being cut and the saw
must be turned off first!
WARNING!
– 11 –
Summary of Contents for VX RSPRO R
Page 27: ...27 NOTES...


