MODEL:
RF-
HEMiS™ Clone
Manager
Document Number:
PD196-391R3
User Manual
Page 10 of 13
PDi Communication Systems, Inc.
▪
40 Greenwood Ln
▪
Springboro, Ohio 45066 USA
▪
Phone 800.628.9870
1.
Update Name Entry: Allows the user to give the update a custom name.
2.
Update Group Selection: Allows the user to select the television group that this update will
target.
3.
Add TDF Button: Allows the user to select the TDFs they wish to add to the update.
4.
Add JPEG Button: If at least one TDF has been added to the update, a JPEG splash image can
be added. The image will be shown for a few seconds each time the TV is turned on. The
JPEG image should be no larger than the TV screen size in pixels. The sizes are typically
either 1920x1080 or 1366x768. See the TV User Manual for exact specification.
5.
File Clear Buttons: Removes the specified file from the update.
6.
Cancel Button: Ends the update creation process without saving.
7.
Save Update Button: Saves the update to later be broadcast. An Update Name and at least
one TDF file is required.
8.
Chosen Files: Names of the files currently attributed to the update.
9.
Target TV Model: The television model that the selected TDFs are meant for.
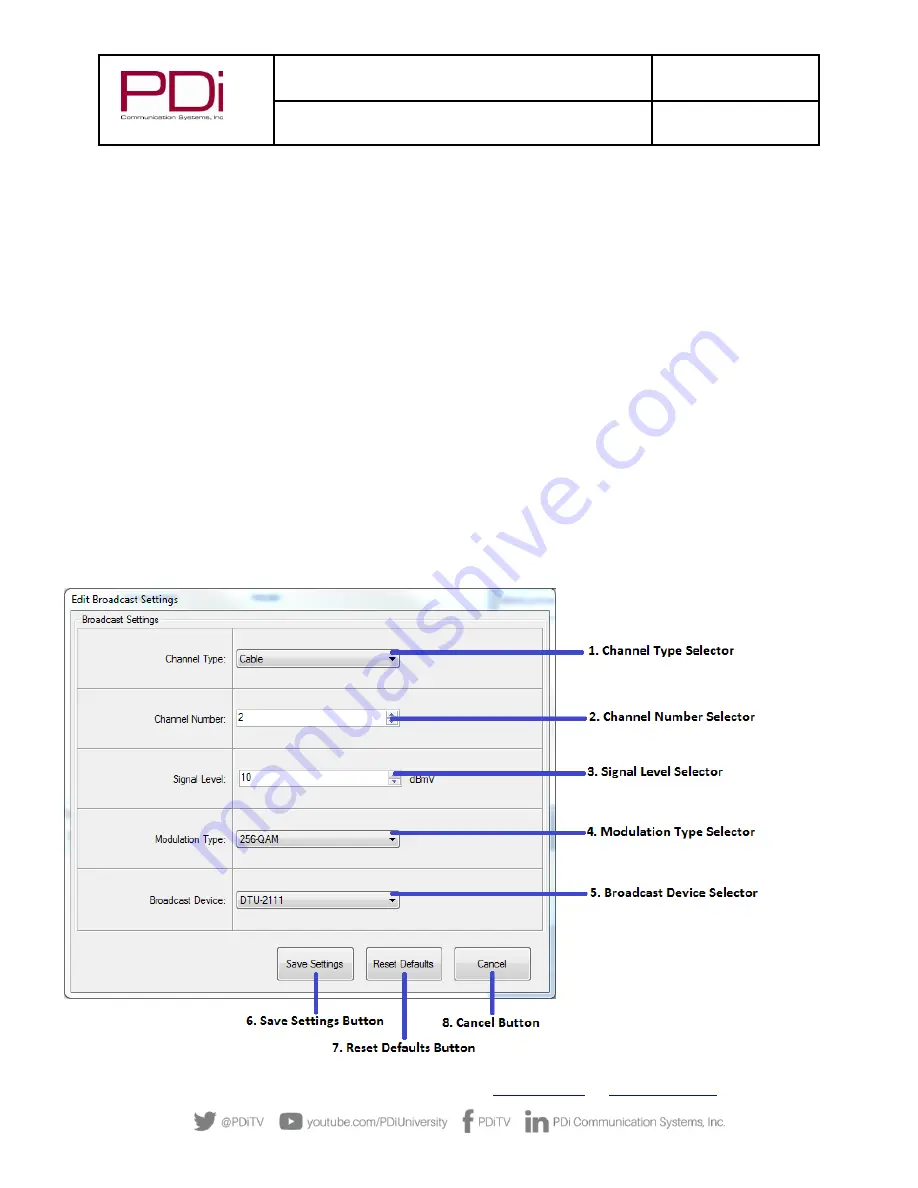
Broadcast Settings Menu
The Broadcast Settings Menu allows the user to adjust the RF broadcast settings. Channel type/number defaults to
Cable 2 on all PDi Televisions and in the Application. NOTE: It needs to be changed here, and on each TV, if channel
2 is already being used for TV programming. The signal level should be adjusted to match the other digital channel
signal levels on the cable plant.


