Connecting the SmartNode to the Network
50
SmartNode 4740 Series (48–128 Ports) User Manual
4
• Initial Configuration
Note
The modified configuration is applied immediately. It is not necessary to
reboot the device when changing any configuration parameter.
172.16.1.99(if-ip) [WAN]#
copy running-config startup-config
172.16.1.99(if-ip) [WAN]
The SmartNode can now be connected to your network.
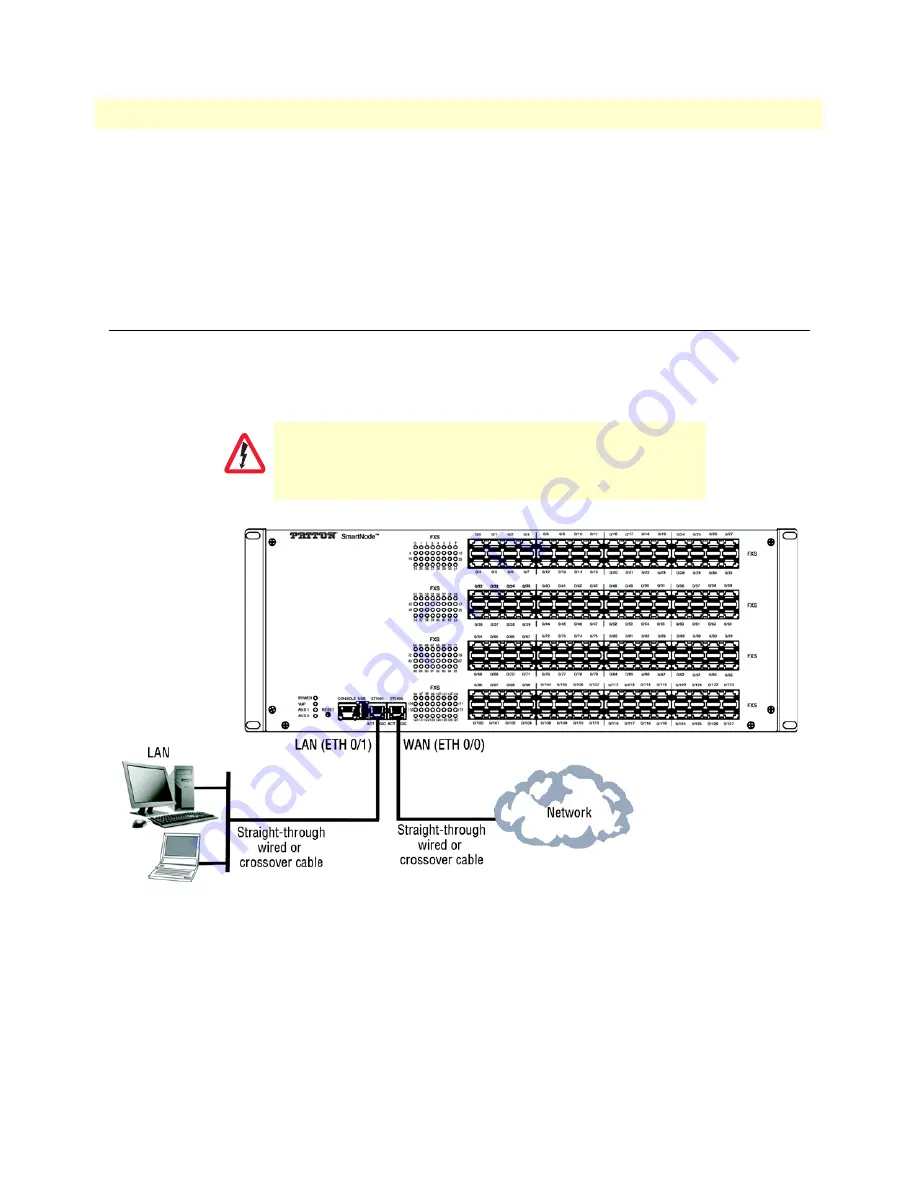
Connecting the SmartNode to the Network
In general, the SmartNode will connect to the network via the
WAN (ETH 0/0)
port. This enables the Smart-
Node to offer routing services to the PC hosts on
LAN (ETH 0/1)
port (IP Routing License Required at addi-
tional cost). The SmartNode 4740 Series is equipped with Auto-MDX Ethernet ports, so you can use straight
through or crossover cables for host or hub/switch connections. (See
).
Figure 25. Connecting the SmartNode to the network
You can check the connection with the ping command from the SmartNode to another host on the network.
172.16.1.99(if-ip)[WAN]#ping <IP Address of the host>
Note
If the WAN address is
not
set to DHCP, to ping a device outside your local
LAN you must first configure the default gateway. (For information on con-
figuring the default gateway, refer to section “Set IP addresses” in the Trinity
Software Configuration Guide.)
The interconnecting cables shall be acceptable for external use
and shall be rated for the proper application with respect to volt-
age, current, anticipated temperature, flammability, and
mechanical serviceability.
CAUTION


