


Installing the SN4554
21
SN4554 Getting Started Guide
3 • SN4554 installation
Connecting the SN4554 to the PBX or ISDN BRI NT
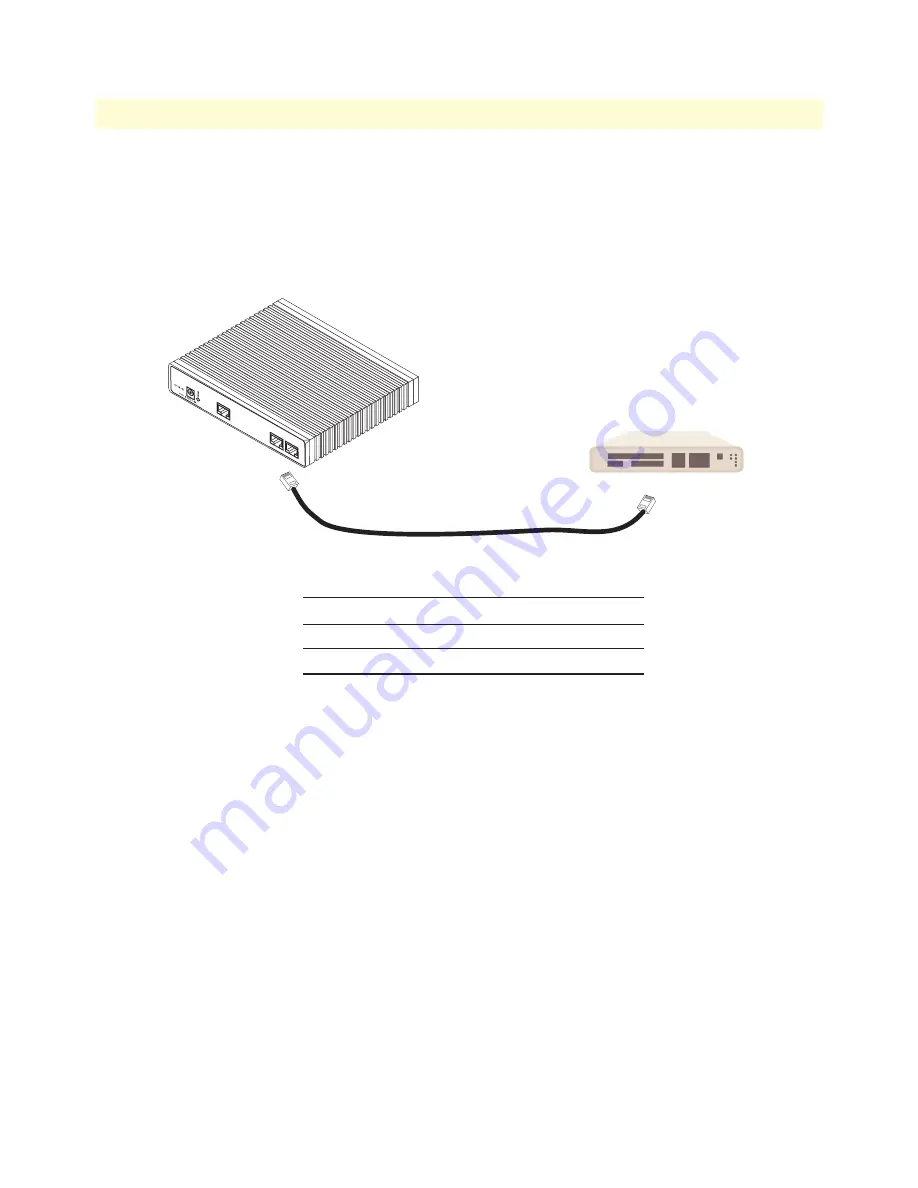
The SN4554 comes with two ISDN BRI (TE) ports located on the rear panel (see
figure 2
on page 15) for con-
necting to the NT of an ISDN PBX or ISDN NT. Install the connection as follows:
1.
Using an ISDN cable (see
Appendix C, “Cabling”
on page 45) connect the BRI (TE) port on the SN4554
to the NT PBX or ISDN NT.
Figure 5. Connecting to an ISDN NT
For details on the BRI port pinout and ISDN cables, refer to
Appendix C, “Cabling”
on page 45 and
Appendix
D, “Port pin-outs”
on page 48.
Connecting the SN4554 to the IP network
The SN4554 comes with a 10/100 Base-Tx Ethernet port for connection to an IP network. The Ethernet
WAN interface is factory-configured as a DHCP client, so you must connect the SN4554 to an IP network
that provides a DHCP server.
The Ethernet port (ETH) includes an automatic MDX (auto-crossover) feature that automatically detects the
cable configuration and adjusts accordingly. The feature allow you to use a straight-through Ethernet cable to
connect to an Ethernet hub or switch. Typically the hub or switch will connect to a router that provides the the
local-residential IP network with broadband Internet access.
LAN
ISDN 2
ISDN 1
RJ-45, male
RJ-45, male
3
4
5
6
3
4
5
6
ISDN NT
or PBX
VoIPon www.voipon.co.uk [email protected] Tel: +44 (0)1245 808195 Fax: +44 (0)1245 808299


