Configure the IP address
19
3088/I Getting Started Guide
2 • Initial Configuration
Connect to the local IP network
Now you can connect the G.SHDSL NTU to your local IP network and complete the remaining configura-
tion from your PC using a standard web browser.
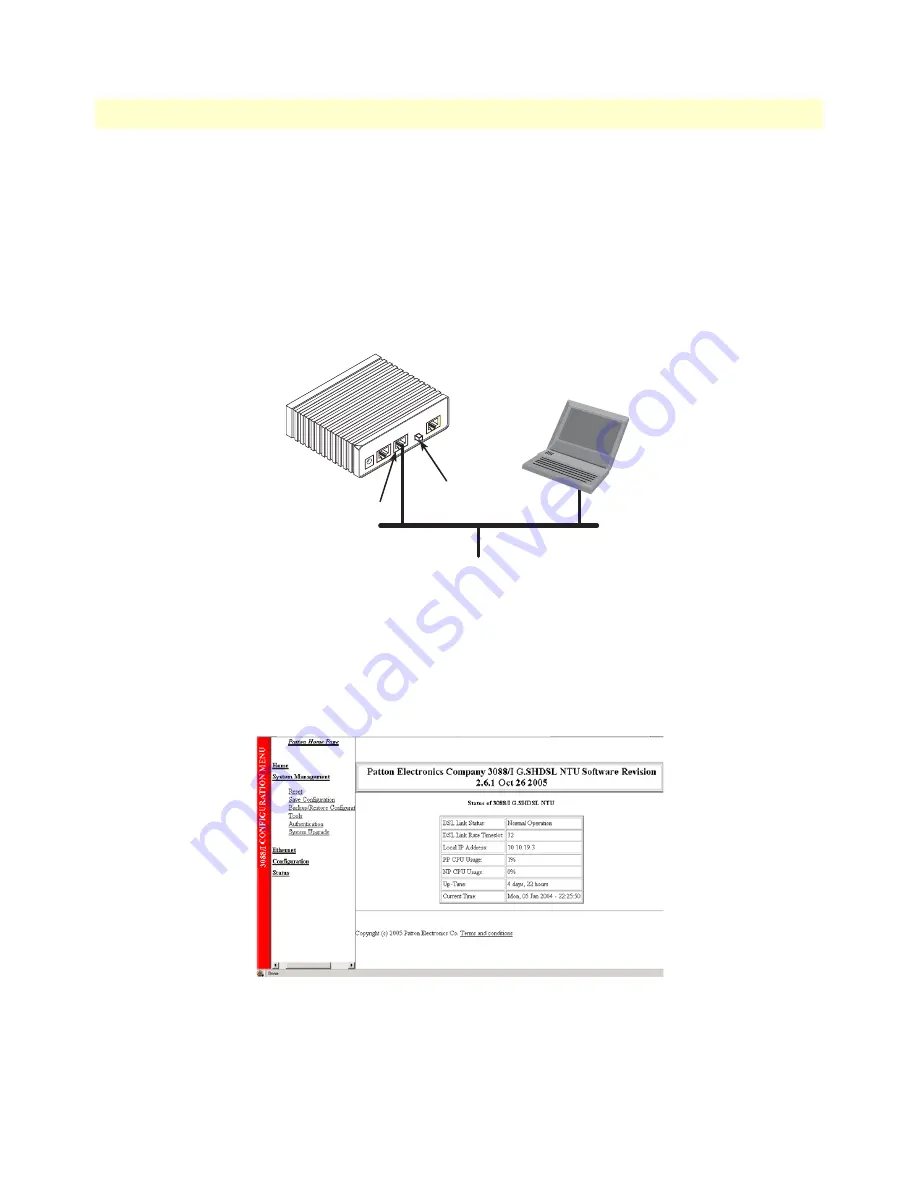
Connect the G.SHDSL NTU’s
Ethernet
port (green) to the same Ethernet segment as your PC (see
figure 4
).
The front-panel
Ethernet Link
LED should turn on. If it does not, press the rear-panel MDI-X switch so that
the
Ethernet Link
LED illuminates.
You can check the connection with the ping command. For example shown in
figure 4
, you would ping
10.10.4.10 from a PC on the IP network.
Figure 4. Connecting the G.SHDSL NTU to the local IP network (Model LB510A shown)
Log onto the web management interface
You will now access the web management graphical user interface (GUI) to configure the G.SHDSL NTU
using a standard web browser (such as Netscape Browser, Mozilla Firefox, or Internet Explorer).
1.
At your PC, open a web browser and enter the IP address you assigned to the NTU’s Ethernet LAN port
in step 2 of section
“Modify the IP address”
on page 18. (In this example, 10.10.4.10.) (see
figure 5
)
Figure 5. G.SHDSL NTU web management home page
2.
Log in to the web management home page using the username
superuser
and the password
superuser.
MDI-X
Line
Ethernet
Power
Console
Connect to Ethernet port
Ethernet port
PC
MDI-X switch
Summary of Contents for RocketLink-G 3088/I
Page 7: ...7 3088 I Getting Started Guide Table of Contents RS 232 console interface pin assignments 61...
Page 9: ...9 List of Tables 1 General conventions 13...
Page 14: ...14 Chapter 1 General information Chapter contents RocketLink G 3088 I overview 15 Features 15...
Page 56: ...56 Appendix D RJ 11 non shielded DSL port Chapter contents RJ 11 non shielded DSL port 57...


