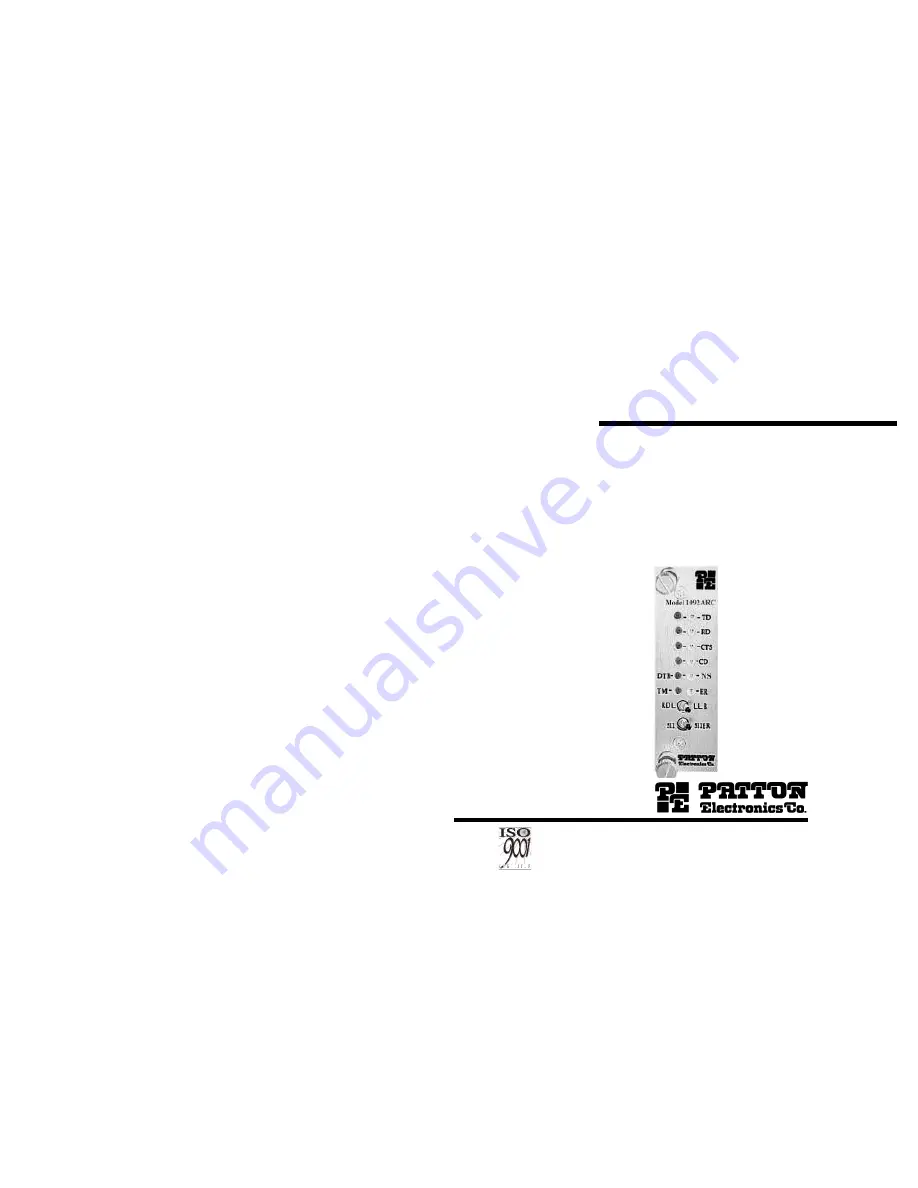
background image

USER
MANUAL

MODEL 1092ARC

High Speed, 2-Wire/4-Wire,
Synchronous and
Asynchronous Rack Mount
Modem Card 

SALES OFFICE
(301)975-1000
TECHNICAL SUPPORT
(301)975-1007
http://www.patton.com

Part# 07M1092ARC-C
Doc#  033041UB
Revised 03/23/00

An ISO-9001 Certified

Company

Summary of Contents for 1092ARC

Page 1: ...gh Speed 2 Wire 4 Wire Synchronous and Asynchronous Rack Mount Modem Card SALES OFFICE 301 975 1000 TECHNICAL SUPPORT 301 975 1007 http www patton com Part 07M1092ARC C Doc 033041UB Revised 03 23 00 A...

Page 2: ...into a different AC outlet such that the computing equipment and receiver are on different branches In the event the user detects intermittent or continuous product malfunction due to nearby high powe...

Page 3: ...supports 2B1Q encoding Automatic Equalization and Auto Gain Control The 1092ARC is fully SNMP manageable using Patton s Model 1001MC Management Card Software configuration is performed via the VT100 s...

Page 4: ...1092ARC showing configuration switches and interface board SW1 SW2 SW5 Interface Driver Board THIS SIDE UP FOR V 35 FRONT Figure 2 Close up of configuration switches NOTE The ON position is oriented...

Page 5: ...Reserved Off Off On 19 2 kbps Reserved Possible Bit Rate Settings Switch S1 1 S1 2 and S5 1 3 1 1 Reversible Interface Driver Board The Model 1092ARC Series features switchable interface driver board...

Page 6: ...upplies and increment the numbers by one as you go from left to right Setting the addresses in this manner will make configuration easier as you start using the web page management An example of this...

Page 7: ...Appendix C to order a pre made cable 2 Power up the terminal and set its RS 232 port as follows 9600 Baud 8 data bits 1 stop bit no parity Local echo CR CR LF on inbound data ANSI VT 100 emulation 3 P...

Page 8: ...play the configuration of the software switches To use the software configuration for the Active Configuration select MAIN MENU Option 5 Then select Use Software Switches Finally select MAIN MENU Opti...

Page 9: ...ust be a Master Clock either internal or external and the other must be Slaved to the Receive Clock MAIN MENU Option 4 Setup Software Configuration Select Option 4 to edit the software configuration o...

Page 10: ...or software switch settings as the active configuration After changing this setting select MAIN MENU Option 8 to implement the changes 18 2 Wire 4 Wire Selection 1 4 Wire Mode 2 2 Wire Mode 4 DSR Duri...

Page 11: ...and 511 and starts the internal 511 generator and detectors Remote Digital Initiates the Remote Digital Loopback test Loop and and starts the 511test patterns In this test 511 with errors the 511 pat...

Page 12: ...ap Function Position 1 2 Position 2 3 JB3 DTE Shield Pin1 FRGND Connected Open JB4 FRGND SGND Connected Open Indicates default setting 3 3 CONFIGURE THE REAR INTERFACE CARD The Model 1092ARC Series ha...

Page 13: ...ted Open Indicates default setting 24 3 3 2 Model 1001RCM13445 Rear Card Strap Settings Figure 7 shows the strap location for the Model 1001RCM13445 M 34 RJ 45 rear card This strap determines whether...

Page 14: ...he power supply slides in from the front and the rear card slides in from the rear They plug into one another in the middle of the rack The front card is then secured by thumb screws and the rear card...

Page 15: ...ype cable are not acceptable 28 4 2 INSTALL THE MODEL 1092ARC SERIES INTO THE CHASSIS The Model 1092ARC Series is comprised of a front card and a rear card The two cards meet inside the rack chassis a...

Page 16: ...d from the remote modem Green indicates that the remote modem s carrier is being received DTR glows green to indicate that the Data Terminal Ready signal from the terminal is active 30 Figure 11 The M...

Page 17: ...o the remote Model 1092ARC and looped back To perform an RDL test follow these steps 32 Figure 13 Remote Digital Loop Local 1092ARC Remote 1092ARC Important Do not send a 511 test pattern from the tes...

Page 18: ...screws washers 10 25M 35M 1 Cable 6 ft DB 25 male to M 34 male 1010 10 Terminal Block 2 Position Male 07M1092ARC User Manual 34 1 Activate RDL This may be done in three ways Move the front panel toggl...

Page 19: ...Remote Digital Loop 24 XTC External Transmit Clock 36 APPENDIX B MODEL 1092ARC TERMINAL INTERFACE PIN ASSIGNMENT M 34F Connector DCE V 35 Interface Pin Signal B SGND Signal Ground C RTS Request to Se...

Page 20: ...re Tip 4 Tip 5 Ring 6 4 Wire Ring 7 N C No Connection 8 N C No Connection Copyright 2000 Patton Electronics Company All Rights Reserved APPENDIX C PATTON MODEL 1092ARC CONTROL PORT PIN ASSIGNMENT RJ 4...

Reviews: