36 |
P a g e
5
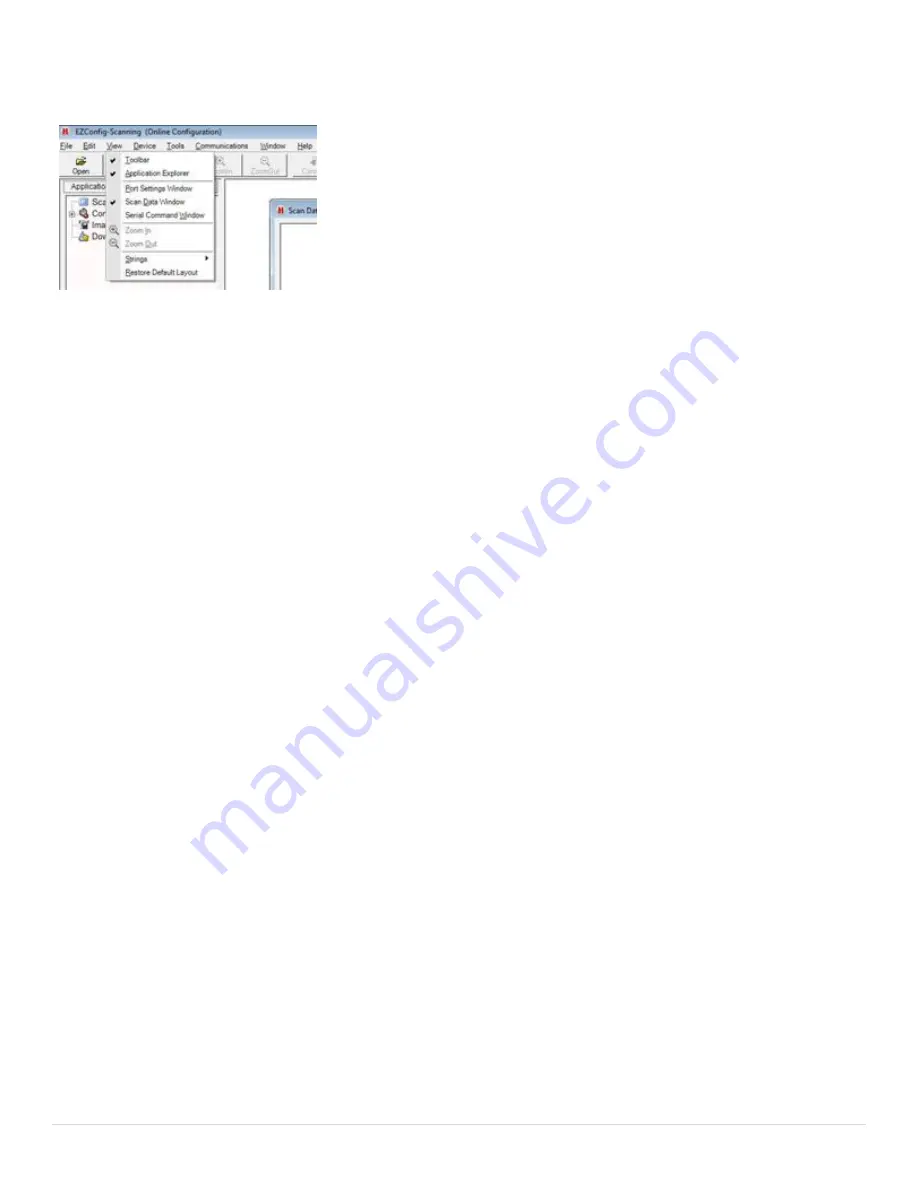
. On the main menu, click on "
View
", then ensure that "
Scan Data Window
" is check-marked. If it isn't,
check-mark it.
6
. Make sure "
Scan Data
" is highlighted in the "
Application Explorer
" window. If you can't see the
"
Application Explorer
" window, click on "
View
", then check-mark "
Application Explorer
".
7
. Click in the white area of the "
Scan Data Window
" to the right of the "
Application Explorer
". You should
see a cursor blinking.
8
. Place the desired barcode in front of the reader, then press the Hot Key assigned to the barcode trigger. The
factory default is button 1. Some practice may be needed to find out the proper distance/angle from the scanner
you need for an appropriate scan. You should see a green line projected onto the barcode. Use this to help you
position the barcode in the correct place. If the scan is successful, data from the barcode will show up in the
"
Scan Data
" window. If the reader does not scan an appropriate barcode in approximately 10 seconds, it will
time out and shut off. Re-trigger it by pressing the Hot Key assigned to the barcode trigger to try again.


