5. Connect the Gigabit LAN port and, finally, connect the power cord.
6. Hardware installation is completed. You can power on the system to start the related setup and
application.
7. You can use related management interfaces to make the respective configurations. Please refer to
Chapter 3.
2.3. Initial Setup
CORZA supports the use of the graphic user interface (GUI) for system management. You can manage
settings via the GUI. It takes about 2 minutes to start CORZA after the power is turned on. Before the
startup is completed, the system will be unable to find the CORZA.
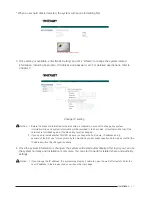
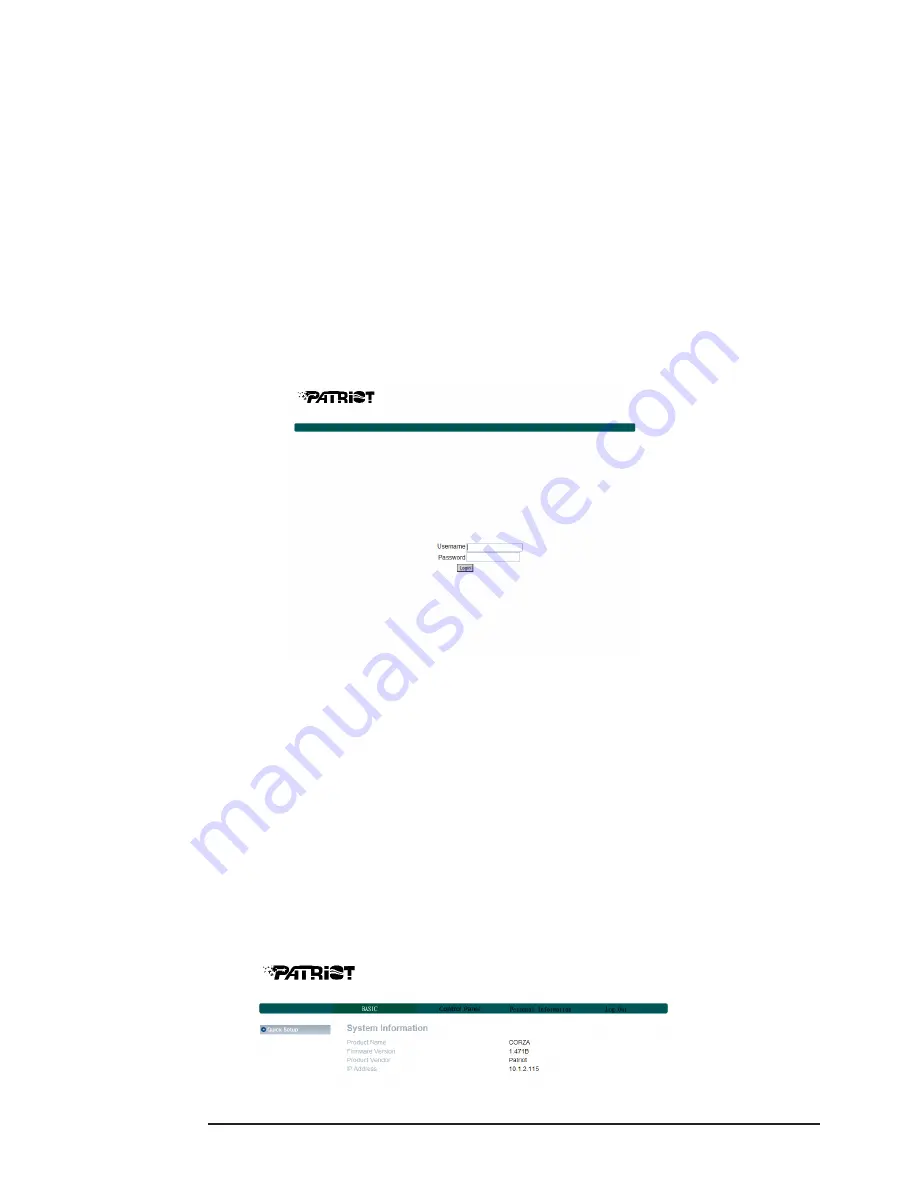
1. Open the browser and enter the IP address, e.g. http://10.1.2.200 (your own host IP address).
Change the IP address of CORZA first (the factory default IP address is 192.168.1.1)
to 10.1.2.XXX. For operation methods, refer to Chapter 3.
The default account and password are as follows:
Login Username: admin
Default Password: admin
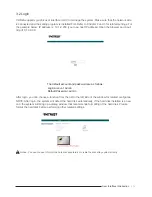
2. If you use formatted hard disks, the system will display current system information and setting will
be available. If you use 2 new hard disks, you need to format the hard disks or create a disk array
first. Enter “Maintenance” and click “Disk Utility” if you want to format the hard disks separately or
“Disk Array” if you want to set the disk array directly. Once formatting or disk array setting is
completed, the system will restart. After login, the system will display the present system information
and setting is available. For detailed descriptions of system setting and hard disk formatting, refer to
Chapter 3.
* If you use formatted hard disks, the system will display the present system information and be ready
for setting.
10
Installation


