ParkerVision CameraMan 1-CCD Operation Manual Download Page 16

Page 14

CameraMan® 1-CCD Camera Control Keypad Operations Manual  •  © 1999 ParkerVision, Inc.

Appendix A : Troubleshooting and Specifications

If you have any problems with your Camera Control Keypad, please refer to the following Troubleshooting section. If you have 

questions or problems after troubleshooting, please contact your authorized ParkerVision reseller, or contact ParkerVision Product 

Support directly at 904-737-1367.

Troubleshooting

Problem:                The Camera Control Keypad will not control the CameraMan 

camera when used in the wireless RF mode.

Solution:                  1.  Verify that the batteries are installed in the keypad properly. (See 

     page 3).

                               2.  Verify that the BASE UNIT ADDRESS switch on the back of the

     CameraMan camera, and the BASE UNIT ADDRESS switch in the

     battery compartment of the keypad are set to the same setting

     (see page 3).

                               3.  Verify that the RF command switch on the back of the

     CameraMan Camera is set to ENABLE. (see your 

1-CCD 


CameraMan Installation and Operations Manual

).

                               4.  Verify that the light on the front of the Camera Control Keypad

     illuminates for a few seconds when the batteries are first plugged      

     in.

                               5.  Be sure that you have pressed the 

CAMERA SELECT 

button on 

     the Camera Control Keypad that corresponds to the camera you 

     want to control. (see page 6) If only using one camera be sure to 

     press 

CAMERA SELECT 1

.

Problem:                The Camera Control Keypad will not communicate with the 

CameraMan Camera in the hard-wired mode.

Solution:                  1.  Verify that the CameraMan Keypad Cable is connected from the

     PVI COM port on the back of the camera to the RJ-11 jack in the

     battery compartment of the Camera Control Keypad (see page 3).

                               2.  Verify that the BASE UNIT ADDRESS switch on the back of the

     CameraMan camera, and the BASE UNIT ADDRESS switch in the

     battery compartment of the keypad have the same setting

     (see page 3).

                               3.  Does the light on the front of the keypad come on for a few

     seconds when the keypad is first plugged in? If not, replace

     the cable with a ParkerVision–supplied cable only.  

                               4.  Be sure that you have pressed the 

CAMERA SELECT 

button on 

     the Camera Control Keypad that corresponds to the camera you 

     want to control (see page 6).  If only using one camera be sure 

     to press 

CAMERA SELECT 1

.

Specifications

Wireless Mode:

RF Range:...........................60 ft./18.28 m from camera (typical)
Power:................................(2) AA DURACELL® battery

Hard-Wired Mode:

Range:................................250 Ft./76.2mf from camera (typical)
Power:................................supplied through cable
Keypad Dimensions: ...........US: 7.0"L x 2.20"W x 0.85"H

INTL: 17.78cm L x 5.59cm W x 2.16cm H

Return To Default


The 

return to default

 command resets the cameras 

maximum pan/tilt position and pan/tilt orientation to their 

factory settings, and clears 

Location Presets 1

2

, and 

3


(presets 

4-99

 will not be reset). 

Please use with caution.

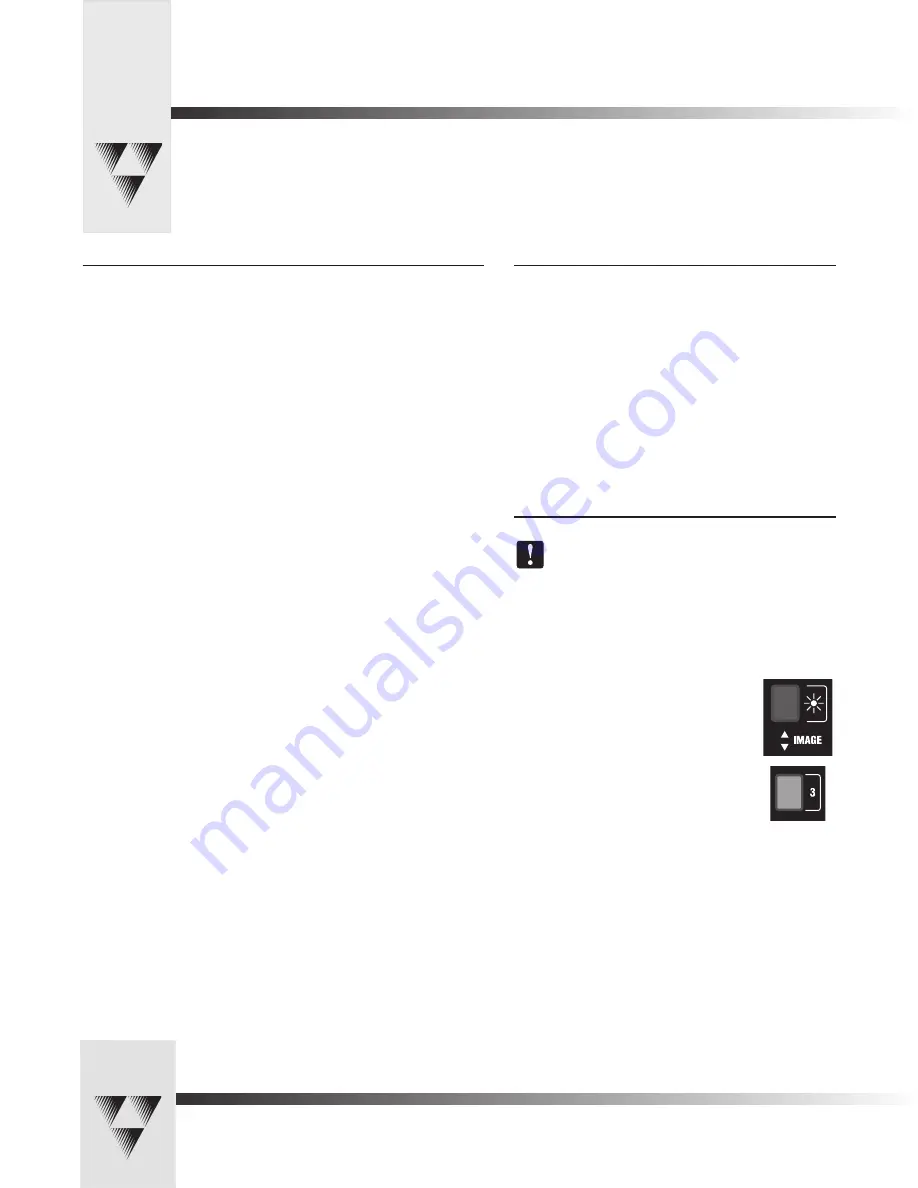
Returning to the Factory Defaults:

1.   Press and hold the 

IMAGE

 (

sun

) button and button number 

3

 for approximately one second.

2.   Release the buttons.

3.   If off-center, the camera will return to the 

default home position.

Summary of Contents for CameraMan 1-CCD

Page 1: ...CameraMan 1 CCD Camera Control Keypad Operations Manual...

Page 2: ...ter IMAGE and Digital RF 900 and are registered trademarks of ParkerVision Inc in the United States of America The terms CameraMan and ParkerVision are registered logos in the United States of America...

Page 3: ...intenance of your Camera Control Keypad This icon alerts you to tips or noteworthy suggestions in the operation use or maintenance of your Camera Control Keypad This icon refers you to the 1 CCD Gener...

Page 4: ...toIMAGE Button Used to enable camera to adjust the brightness automatically for each camera view t Enter Used to enter data or change a camera location preset t Location Preset Control Buttons 0 9 Use...

Page 5: ...ry again If a battery with a low charge is installed the keypad will emit a long beep If the batteries are inserted improperly it will not damage the keypad it simply will not work For Hard wired Mode...

Page 6: ...ications however in which you do not need to face the camera example 2 In these situations the default setting would work These applications require that you re orient the PAN arrows see below Some ex...

Page 7: ...change the maximum position settings 1 Select the camera you want to adjust see page 6 Multiple Camera Keypad Usage 2 Press and hold the ENTER button 3 While holding the ENTER button use the PAN TILT...

Page 8: ...amera Control Keypad to match the BASE UNIT ADDRESS on the first camera See page 3 for more information on setting the KEYPAD ADDRESS 3 Set the BASE UNIT ADDRESS on the second and third cameras to suc...

Page 9: ...or three will be received by camera one and sent to the proper camera using RS 485 communications 1 Make sure your cameras are daisy chained together See your 1 CCD CameraMan Installation and Operati...

Page 10: ...second and third cameras to successively follow the address that you used for the first camera Example Camera Base Unit Address Keypad Address 1 0 0 2 1 3 2 5 Set the RF Command configuration switch...

Page 11: ...ther IMAGE button the camera s image control automatically becomes a manual adjustment overriding autoIMAGE Manual Press and release the top IMAGE button sun to open the iris Press and release the bot...

Page 12: ...mera you want to program using the CAMERA SELECT buttons if you are using only one camera press CAMERA SELECT 1 2 Use PAN TILT arrows to move the camera to the desired location 3 If desired use ZOOM I...

Page 13: ...camera Adjusting Shutter Settings 1 Press Enter and ZOOM IN to adjust the Shutter UP 2 Press Enter and ZOOM OUT to adjust the Shutter DOWN Adjusting Gain Settings 1 Press Enter and IMAGE lighten sun t...

Page 14: ...th the overlay card The following procedure will enable you to adjust Gen Lock settings with the Gen Lock Setup overlay card 1 Press and hold down the buttons labeled Gen Lock and Mode After 2 3 secon...

Page 15: ...lease the 0 and 8 buttons The Gen Lock Setup menu appears To reset the menu items to the default values press button number 1 3 Press the up and down PAN TILT arrows to move the arrow on screen and to...

Page 16: ...ill not communicate with the CameraMan Camera in the hard wired mode Solution 1 Verify that the CameraMan Keypad Cable is connected from the PVI COM port on the back of the camera to the RJ 11 jack in...

Page 17: ...make a claim as provided above or continued use of the product shall constitute an unqualified acceptance of such product and a waiver by purchaser of all claims Product Warranty Registration Form The...

Page 18: ...Page 16 Notes 1999 ParkerVision Inc Meet Your Camera Control Keypad...

Page 19: ...1999 ParkerVision Inc Literature Part Number L1202101 ref LPMCCK01 Revision D 1...

Reviews: