Installing and Connecting the Hardware
2-20
8600-A2-GN20-20
October 1997
Procedure
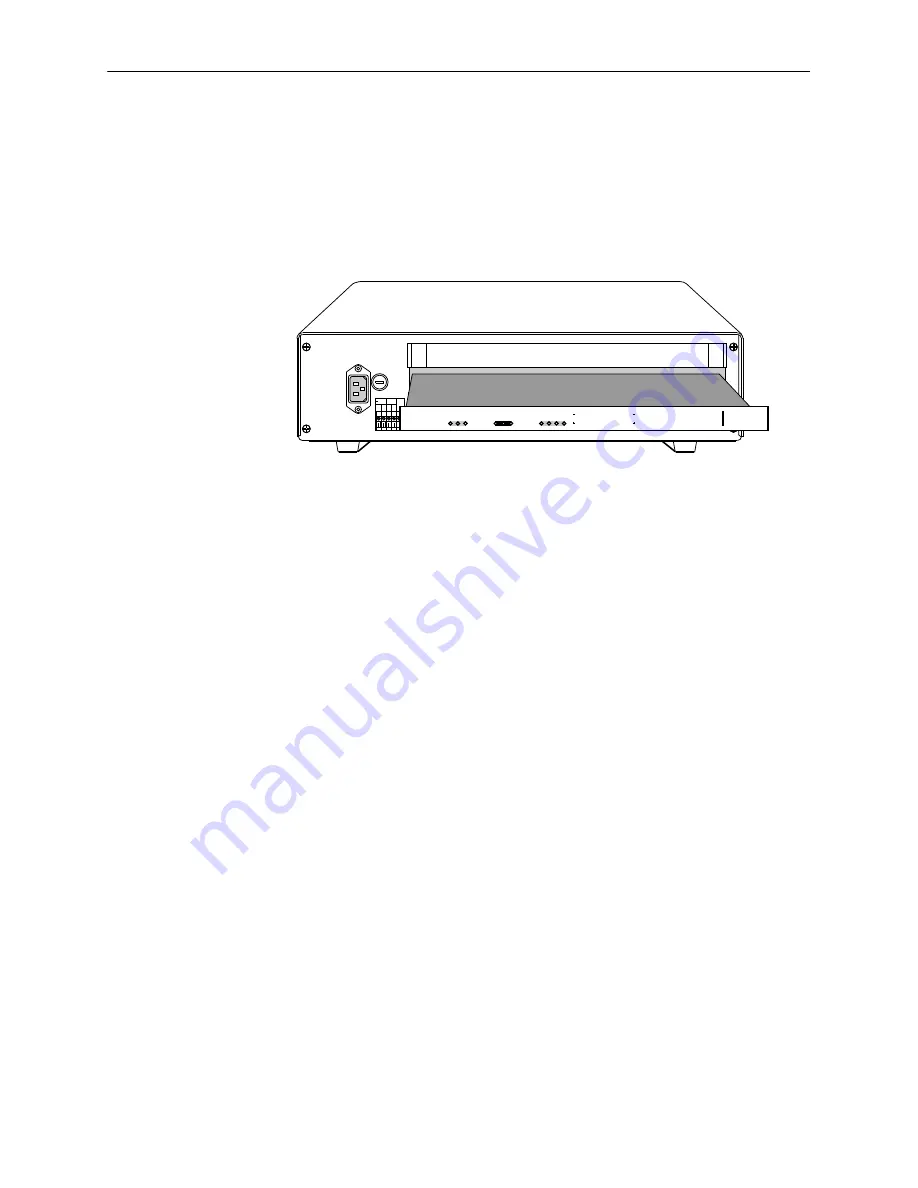
To install a DSL card:
1. Remove the filler plate from the desired slot.
2. Hold the DSL card horizontally with the components on top and insert it into
the left and right card guides.
A
AC
INPUT
AC
48VDC CLASS 2 OR
LIMITED PWR SOURCE
RTN
48V
A
A B
B
T5A
250V
LAN/WAN SLOT
2
4
6
B
..
.
3
.
1
2
POSITION
STACK
ALM
A
IN
B
DC FUSES
5
DC PWR
FAN
OUT
SERIAL
MCC
1
MANAGEMENT
3
LINE
1
2
3
97-15374-01
SYSTEM
OK Alrm Test
TX RX Col
ETHERNET
RADSL
8000
SYSTEM
OK Alrm Test
TX RX Col
1
2
3
4
ETHERNET
DSL
POR
T
3. Slide the DSL card into the slot until it engages the mating connectors on the
backplane.
4. Press on the right side of the DSL’s front panel with one hand and on the
back of the 8600 chassis with the other until the DSL’s connector seats in its
mating connector.
5. Make sure the OK SYSTEM indicator on the DSL card faceplate is ON
(green). For a more detailed explanation of the LEDs on the DSL card, refer
to the appropriate DSL card documentation.
6. Secure the DSL card by fastening the screws on each end of the faceplate.
NOTE:
The DSL cards may be replaced without system disruption (i.e., you can
remove and re-install a card without powering down the 8600 chassis and
disrupting service to the other cards). To remove a DSL card from the
8600 chassis, unfasten the screws on both ends of the faceplate. Then,
simply push the ejector handles outward and slide the card out.
When swapping the old DSL card with a new DSL card, it is important to note
that the 8600 DSLAM retains the Media Access Control (MAC) address, also
referred to as the physical address. This means that the new DSL card will
have the same MAC address as the old one.


