


Installing and Connecting the Hardware
2-17
8600-A2-GN20-20
October 1997
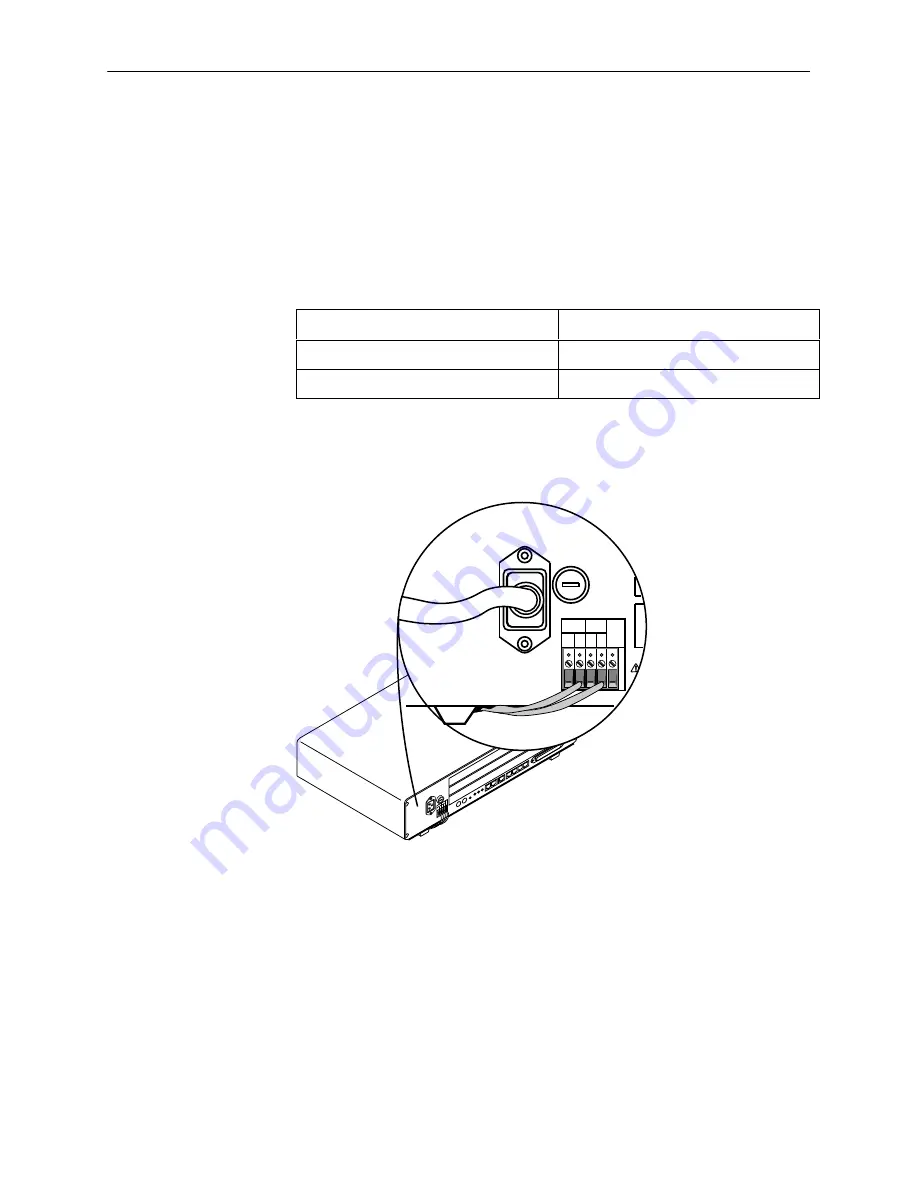
1. Plug the ac power cord into the AC INPUT connector on the Interface Panel.
2. Insert the following wires in the appropriate terminal and securely fasten each
wire by tightening the screw above it. The insulation should be fully within the
terminal block and no bare wire should be exposed outside of the block.
NOTE:
You should clearly label these power source wires as – 48V and RTN
respectively.
Insert Power Source B’s . . .
Into the . . .
Wire
– 48V B input terminal.
RTN wire
RTN B (return) terminal.
3. Dress the wires under the 8600 chassis to the left and behind the front left
support foot.
97-15447-01
-48V
RT
N FG
A B
A B
48VD
AC
INPUT
AC
48VDC CLASS 2 OR
LIMITED PWR SOUR
RTN
48V
A
A B
B
T5A
250V
4. Plug the other end of the ac power cord into your ac power receptacle.
5. Power the HotWire 8600 DSLAM chassis by closing the circuit breakers or
reinstalling the fuses.
6. Make sure the PWR A and DC PWR B LEDs on the front panel are both ON
(green).


