32
Using the File Manager
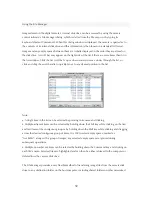
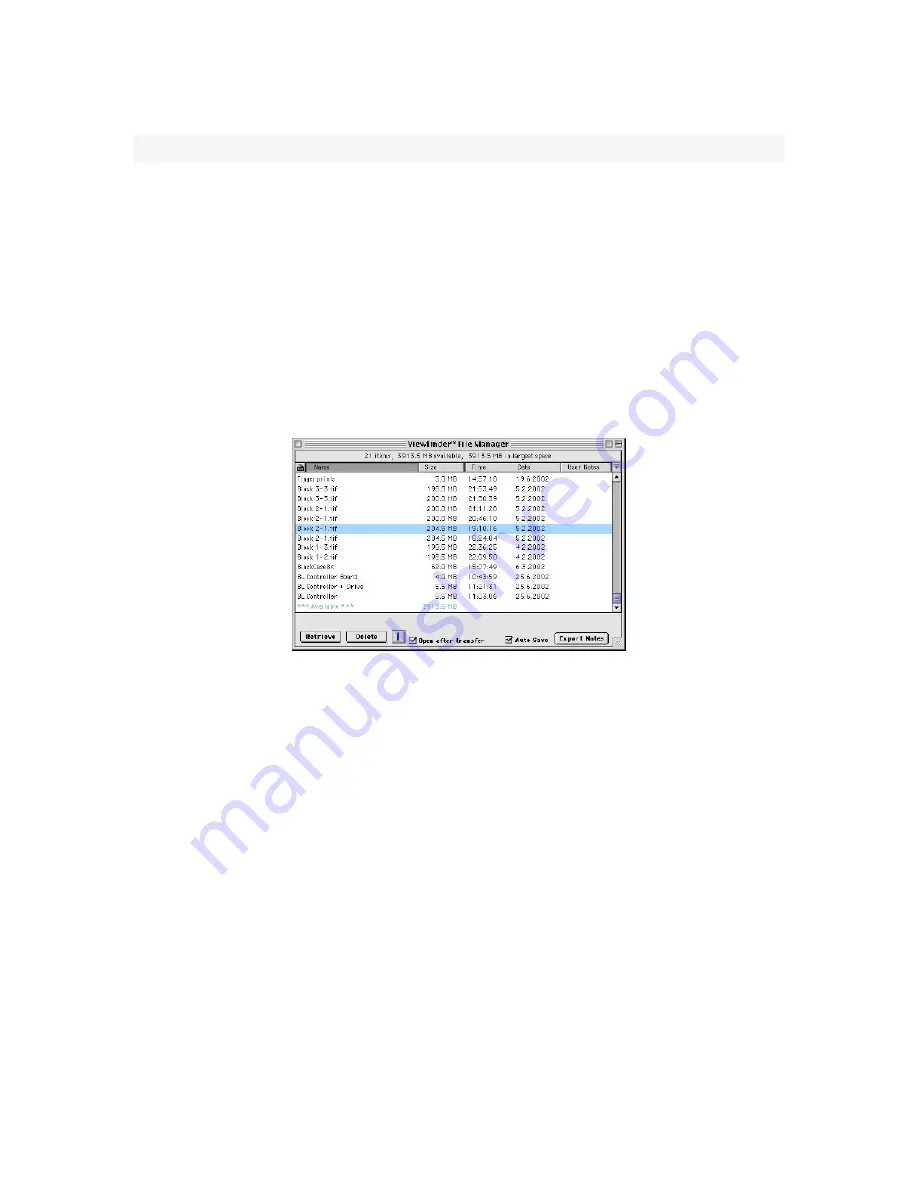
Images stored on the digital camera’s internal disk drive can be accessed by using the camera
control software’s File Manager dialog, which is started from the File menu, or by typing its
keyboard shortcut Command-F. When this dialog window is displayed, the camera is queried as to
the contents of its internal disk drive and this information is then shown in a standard list format.
Images and any empty spaces between them are initially displayed in the order they are stored on
the disk drive. A scroll bar may appear on the right side of the list if there are more items than fit in
the list window. Click the list scroll bar’s up or down arrows to move slowly through the list, or
click and drag the scroll handle to quickly move to any desired position in the list.
Note:
• A single item in the list can be selected by pointing to its name and clicking.
• Multiple adjacent items can be selected by holding down the Shift key while clicking on the first
and last items of the contiguous group or by holding down the Shift key while clicking and dragging
across the desired contiguous group of items. It is OK to select empty spaces (marked as
“Available”) along with a group of images; any selected empty spaces are ignored during
subsequent operations.
• Multiple non-adjacent items can be selected by holding down the Command key and clicking on
each file’s name. Selected files are highlighted and can then be either retrieved to the computer or
deleted from the camera disk drive.
The File Manager provides a very flexible method of transferring image files from the camera disk
drive to any destination folder on the host computer, including shared folders on other networked
Summary of Contents for MARK TWO
Page 1: ...PANOSCAN MARK TWO OPERATION MANUAL V1 1 ...
Page 37: ...37 ...

