22
Making Your First Scans
Now that you have successfully set up your camera and configured your preferences we can begin
scanning images.
1.
Begin by setting a reasonable focus and aperture setting for your lens. Don’t make things too
difficult for your first scans. Start with a wide aperture setting like F 4.0.
2.
Select a reasonable ISO and Line Time for an indoor scan. Try ISO 1000 and 1/60
th
of a second.
3.
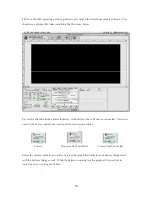
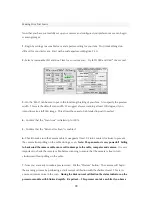
On the ‘Pano” tab be sure to put in the focal length setting of your lens. Also specify the preview
width. This sets the default scan width. We suggest always scanning at least 390 degrees if you
intend to make a full 360 image. This allows the seam to be blended in post if needed.
4.
Confirm that the “Scan Area” is dialed up to 100%.
5.
Confirm that the “Return after Scan” is enabled.
6.
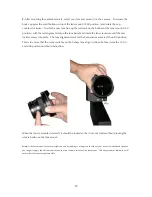
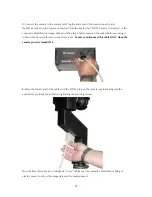
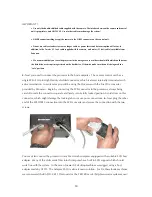
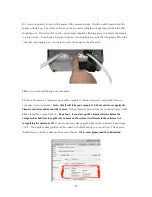
Check to make sure the camera cable is wrapped at least 1/2 turn counter clockwise to prevent
the camera from pulling on the cable during a scan.
Note: The pan motor is very powerful! Failing
to back wind the camera cable can result in damage to the cable, computer and camera.
It is very
important to check the camera cable before scanning to ensure that the camera is free to turn
clockwise without pulling on the cable.
7.
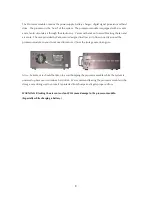
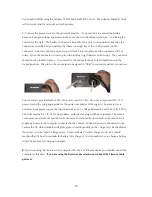
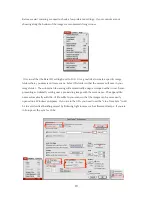
Now you are ready to make a preview scan. Hit the “Preview” button. The camera will begin
the scanning process by performing a dark current calibration with the shutter closed. This is to
ensure minimum noise in the scan.
During the dark current calibration the status indicator on the
processor module with blink red rapidly. Be patient… This process can take a while if you have a
Summary of Contents for MARK TWO
Page 1: ...PANOSCAN MARK TWO OPERATION MANUAL V1 1 ...
Page 37: ...37 ...

