21
Steps to adjust projector settings:
1. Select Test Pattern (7)
2. Choose Projector Type (4)
3. Enable Laser Output (6)
4. Adjust Scan Speed (1) Use Pattern in window 9 as example)
5. Adjust Color Balance
6. Ok To Accept
Note: Any changes in this area will require that you upload al the cues to the memory card for the
settings to take effect. Also you should save the workspace file or the settings will not take effect and next
time you open the workspace you will have to reset them and re-upload the cues to memory again as the
memory card information will be different from the workspace. ALWAYS SAVE YOUR WORK!
(Tip) Vector Display Settings are there for more professional users however they are set to default
standards. Most users find it better to optimize the vector settings in the cue properties for each individual
cue rather than adjusting the main vector settings.
WARNING:
Do not adjust the scan speed to high if you do not know the scan speed capabilities of
your device. Failure of the scanners can occur. Consult the manufacturer if you question the scan speed of
your device. You can overdrive scanners with any professional laser control system.
Use the ILDA test pattern in the projector settings menu section to test the performance of the scanner and
refer to the ILDA standard for the test pattern (Contact us if you have questions about this). Consult your
Pangolin user manual for the proper scan speed adjustment.
Projection Zones
It is important to set your projection zones so that graphics go to the screen Aerial effects project to the
right place, and targeted beams go to the bounce mirror area.
Each cue can be set to one of four projection zones to make a more dynamic show. Your projection
device has a maximum X and Y mechanical zone or area the projector is capable of projecting in. Zones
divide that area into special projection areas of slices.
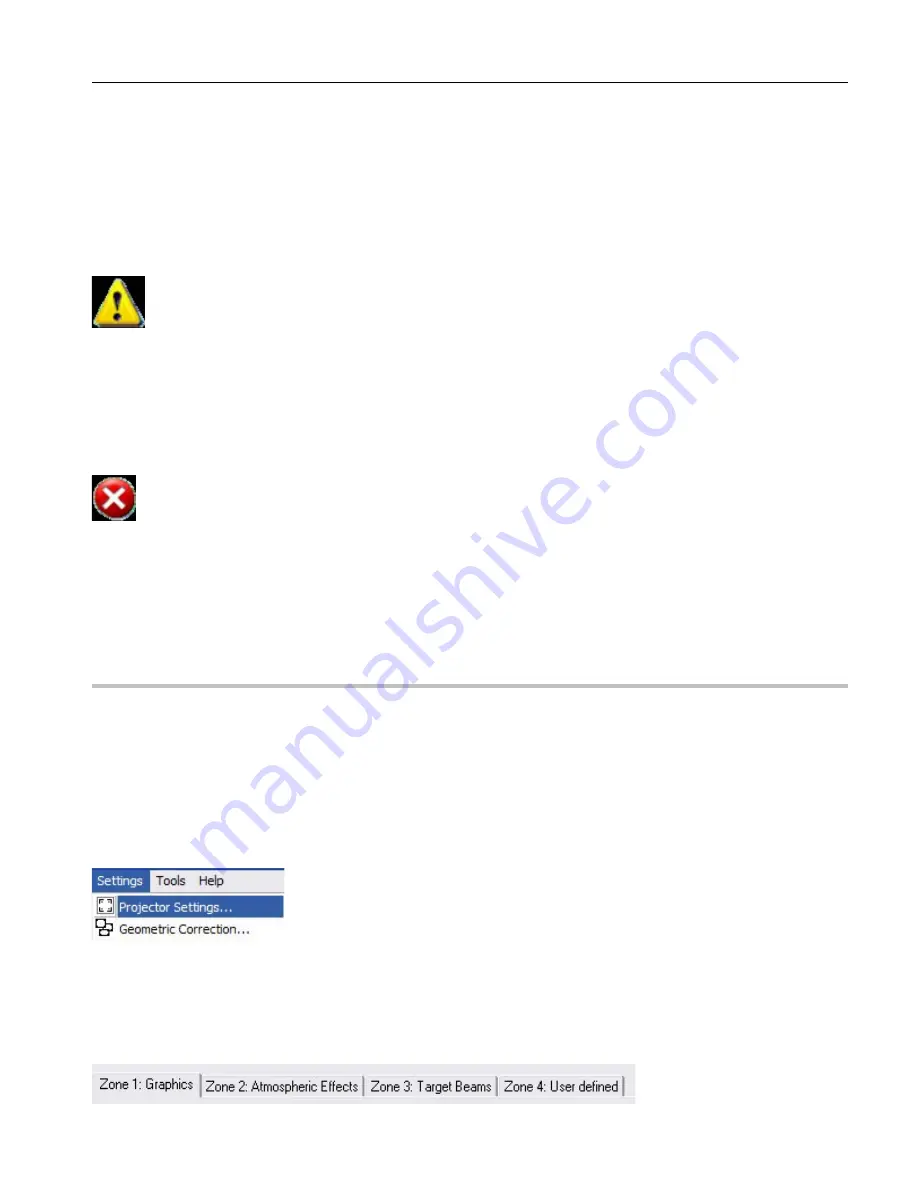
You can access the Projection Zones dialogue box through the Settings Menu under Geometric
Correction.
Another aspect to Zones is Geometry Correction (Geo Correction). This is used when your
projection surface for graphics is off angle to the projector or is odd shaped. You can use Geo
Correction to compensate for these factors and make it appear as if the projector device is true (inline)
with the projection surface.
Summary of Contents for Flashback 3 XE
Page 2: ......
Page 53: ...Appendix A 53 DMX Channel Assignment Listed on the table next page...
Page 54: ...54...
Page 56: ...56 2OO9 Pangolin Laser Systems Inc All rights reserved...


