User Manual For Cyclone LC Programmers
93
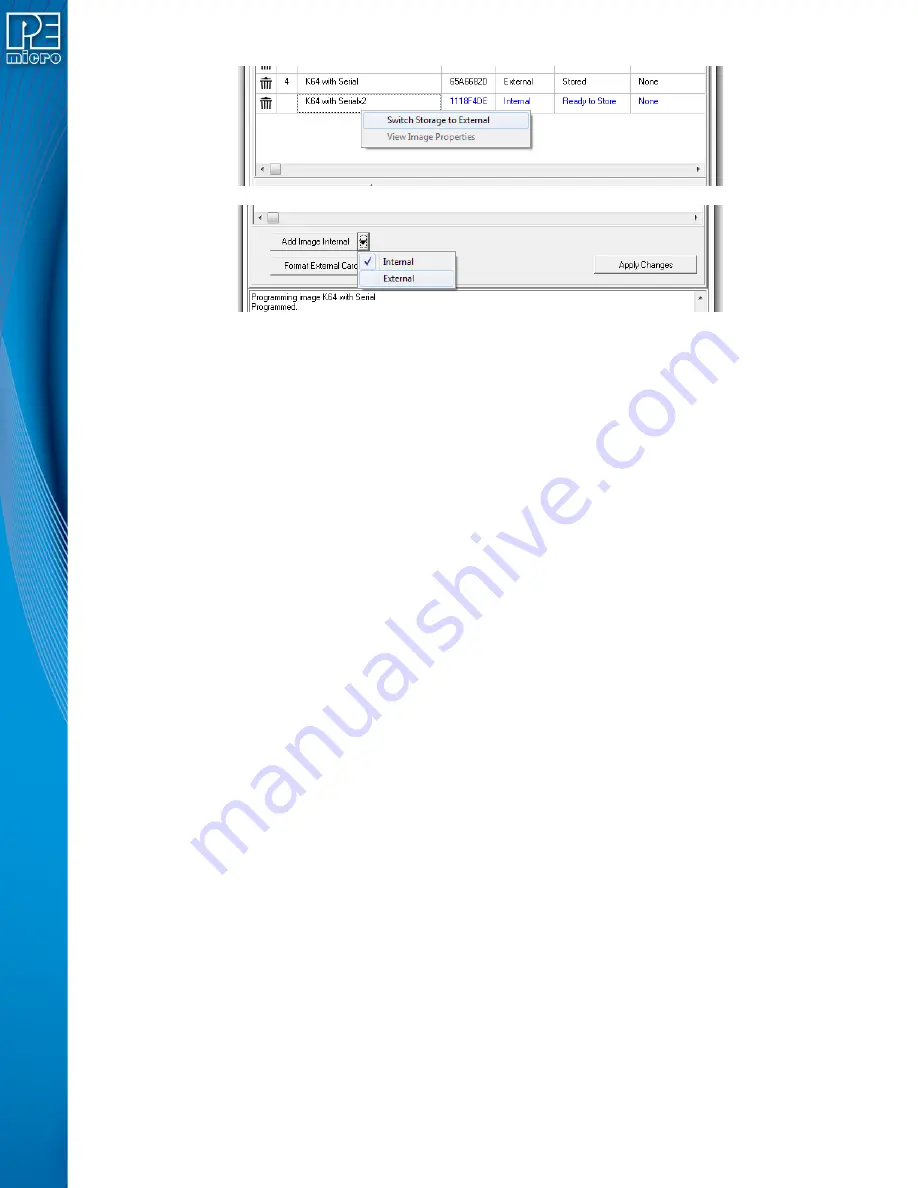
Figure 8-5: Changing Storage Area - Right Click or Drop-Down Selections
Note:
An image displayed in blue is not yet committed, so disconnecting from the Cyclone before the
“Apply Changes” button is clicked will discard any changes not committed.
Erasing an image can be done by clicking on the trashcan icon at the left of the image, it can also
be done by selecting the image and click the DELETE key on the keyboard. The “Apply Changes”
buttons must be clicked for any changes to the Cyclone to take place.
To format the external memory card click on the “Format External Card” button. This will erase all
image information stored in the external card.
8.4.2.1.1 Categories
The following information is displayed for each image in the Images Tab:
Delete Image
- Clicking the trash icon will designate an image for deletion. Apply Changes
must be clicked to execute this action.
Number
- Displays the Cyclone’s numbering for each image.
Name
- Displays the Image Name.
CRC
- Displays the CRC value for each image.
Storage Area
- “IN” designates that the image is stored in the Cyclone’s internal memory;
“EX” designates that it is stored in external memory (SDHC Card).
Status
- This displays whether the image is “Stored” on the Cyclone, “Ready to store”, or
“Ready to erase”. A stored image that is encrypted but missing its ImageKey will always show
“Key Missing!” to indicate that the user must provision the Cyclone with this key in order to
program that encrypted image.
Encryption
- Displays “Encrpyted” for encrypted images, and “None” for images that have not
been encrypted.
For more about encrypted programming images, please see
8.4.2.1.2 View Image Properties
From this tab a user can also access the image properties of images in the Cyclone. Just right click
on the image then click on “View Image Properties” and a window with public image properties will
pop up.


