10
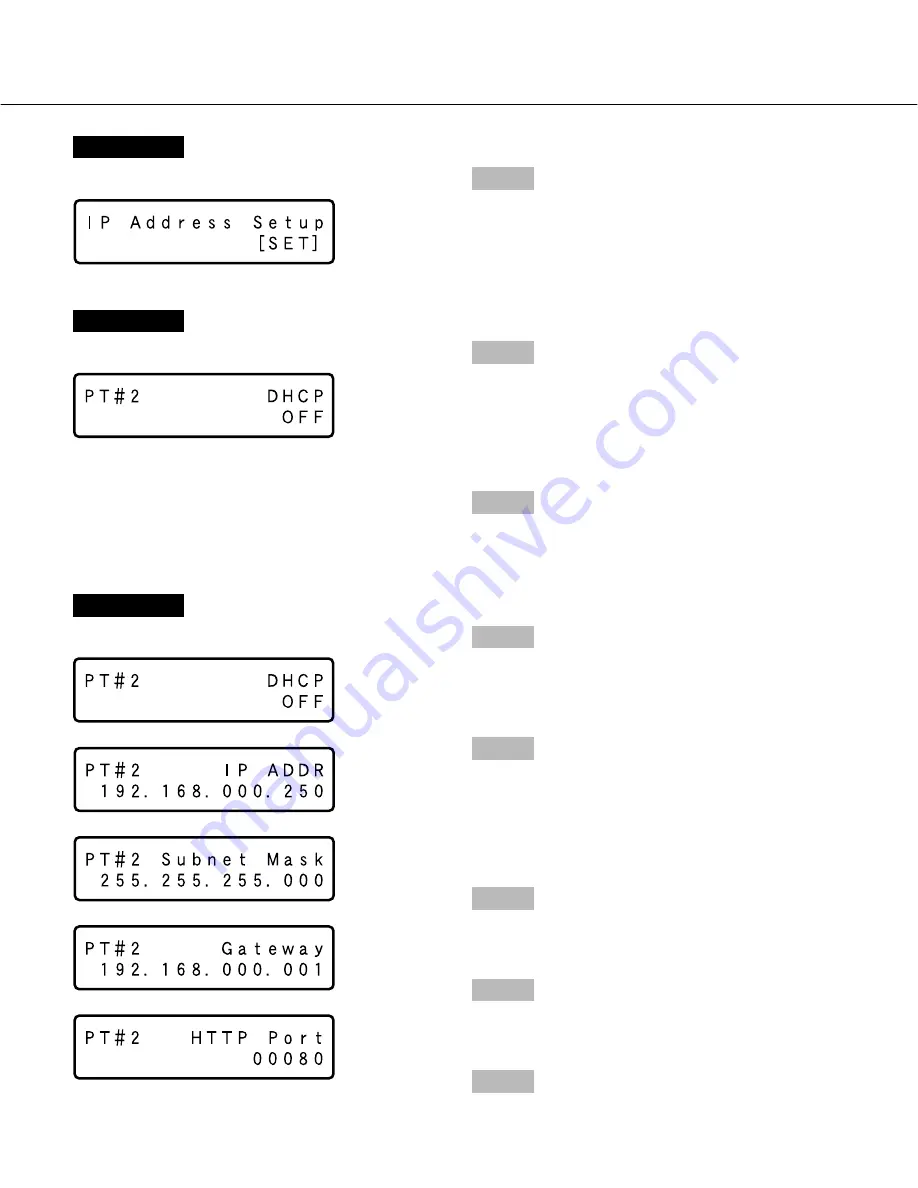
Screenshot 3
The DHCP Setup window will be displayed.
Screenshot 4
The setup item display for each item will be displayed.
Step 5
After confirming that the cursor is positioned on "
l
",
press the [Set] button, and move the cursor to the num-
ber area.
Step 6
Set the value as follows. The cursor appears as a "_"
(underscore).
To move the cursor:
Press the arrows button (
A
) or
(
B
).
To input values:
Press the arrows button (
C
) or (
D
).
Step 7
After setting the value, press the "ESC" button to move
the cursor on "
l
" and finalize the setting.
Step 8
To set the next item, press the arrows button (
C
) or (
D
)
to change the menu screen.
Step 9
Repeat steps 5 – 7 to set other items.
Step 3
Select the desired network port by pressing the arrows
button (
A
or
B
).
PT#1:
Camera port
PT#2:
Client PC port
PT#3:
Maintenance port
Step 4
Display the desired settings item by pressing the arrows
button (
C
or
D
).
Screenshot 2
The IP address setup display will be displayed.
Step 2
Click the [SET] button.
Summary of Contents for WJ-ND300 Administrator Console
Page 2: ...2 ...


