14
15
Quick Start Guide
INITIAL
GUIDE SETUP
for
TV Guide
First
T
ime
Setup
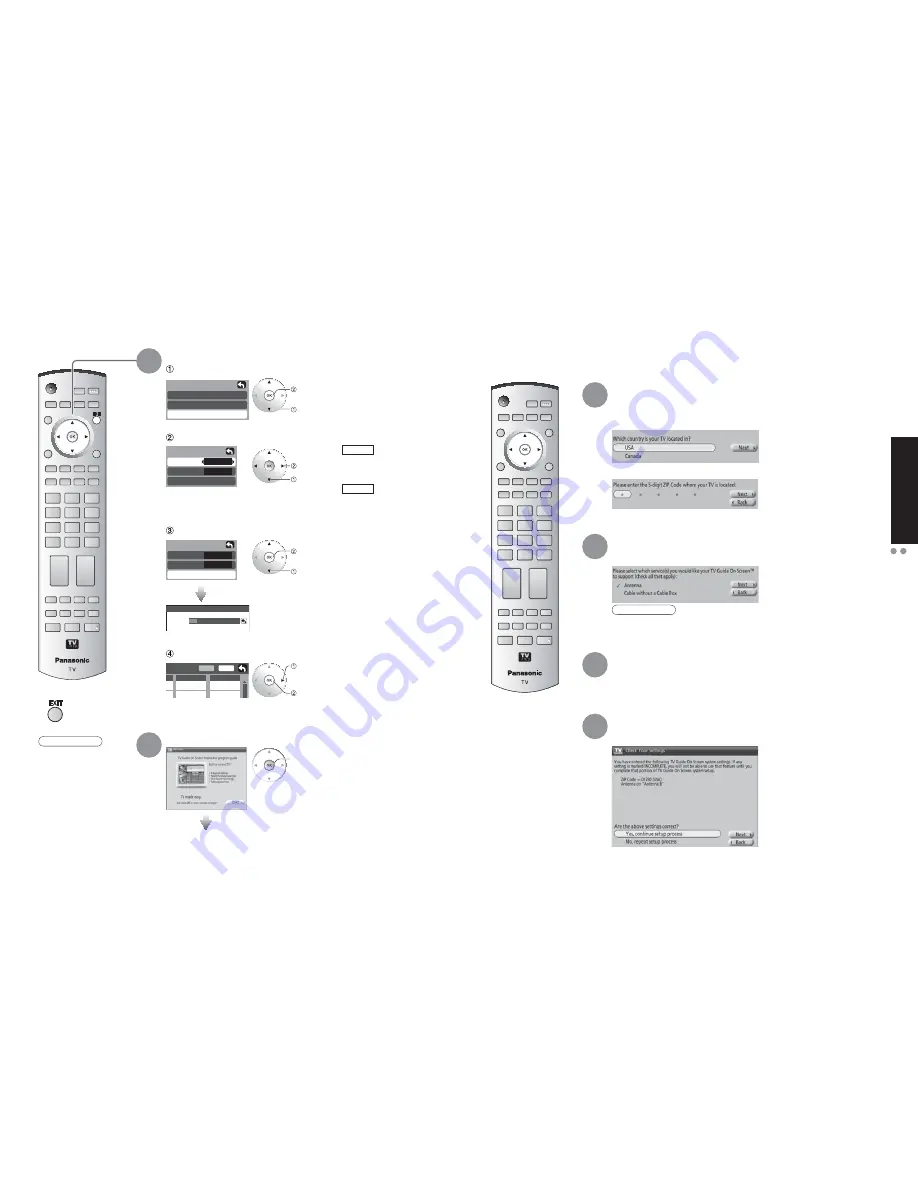
First time setup
Language
Clock
Auto program
Now scanning analog channel ...
Progress
Auto program
ANT In
Mode
Start scan
All
Cable
Auto program
ANT In
Mode
Start scan
All
Cable
Edit
- - -
2
Favorite
Apply
No
Yes
Add
set
select
start
select “Start scan”
select “Apply”
ok
next
select
First Time Setup
ANT In
Cable: Cable TV
Antenna: Antenna
Mode
All: digital and analog
Analog: analog only
(Reduces time
for scanning)
Auto channel setup
4
Start scanning the channels
Select “Auto program”
Select antenna and input modes
Confirm registered channels
•
Available channels (analog/digital)
are automatically set.
•
If OK is not pressed after selecting “Apply”, the channels will not be
memorized.
Note
•
Auto program is not
available while the
CableCARD™ is
inserted.
•
About broadcasting
systems
Analog:
traditional TV
system
Digital: new system
that allows
you to view
more channels
featuring high-
quality video
and sound
Ŷ
Press to exit
INITIAL GUIDE SETUP for TV Guide
5
start
Follow the instructions on the screen to perform setup. (p. 20-25)
INITIAL GUIDE SETUP for TV Guide
The TV Guide Welcome Screen is displayed when you use TV Guide function for the first time, or at first
time setup. (p. 13)
The Guide uses setup information to provide TV show listings and channel
lineups for your area.
a. Select Your Country
b. Use the numeric keys or
Ÿ
/
ź
to enter a ZIP Code or Postal Code.
Select the connected video source(s) for which you would like to receive show
listings.
Note
•
If you do not have cable, you must select Antenna in order to receive a
channel lineup and listings.
For each service you chose in Step 2, you are asked to select the corresponding
input.
Additional setup screens appear based on the types of service(s) you selected.
After you have configured all services you selected in Step 2 you are asked to
check your settings.
If you select
Yes, continue setup process
, go to Step 5 (p. 16).
If you select
No, repeat setup process
, return to Step 1.
Identify Your Location
1
Select Your Service(s)
2
Configure Your Service(s)
3
Check Your Settings
4
Summary of Contents for TH-50PX600U
Page 34: ...66 67 Note Note...


