34
35
Advanced
Control with HDMI “HDA
VI Control
TM
”
-
Setup
Other adjust
About
Reset
Other adjust
Auto power on
Side bar
Off
Off
Prog-out stop
Off
On
Set
Set
Ctrl with HDMI
Power off link
Power on link
Menu
Home theater
Picture
Audio
Lock
Setup
Memory card
Timer
TVG/Photo
Menu
Home theater
Picture
Audio
Lock
Setup
Timer
TVG/Photo
Menu
TV speakers
Picture
Audio
Lock
Setup
Memory card
Timer
TVG/Photo
select
next
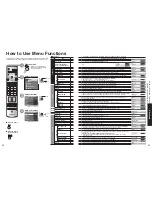
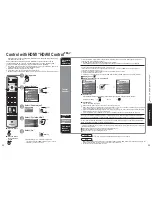
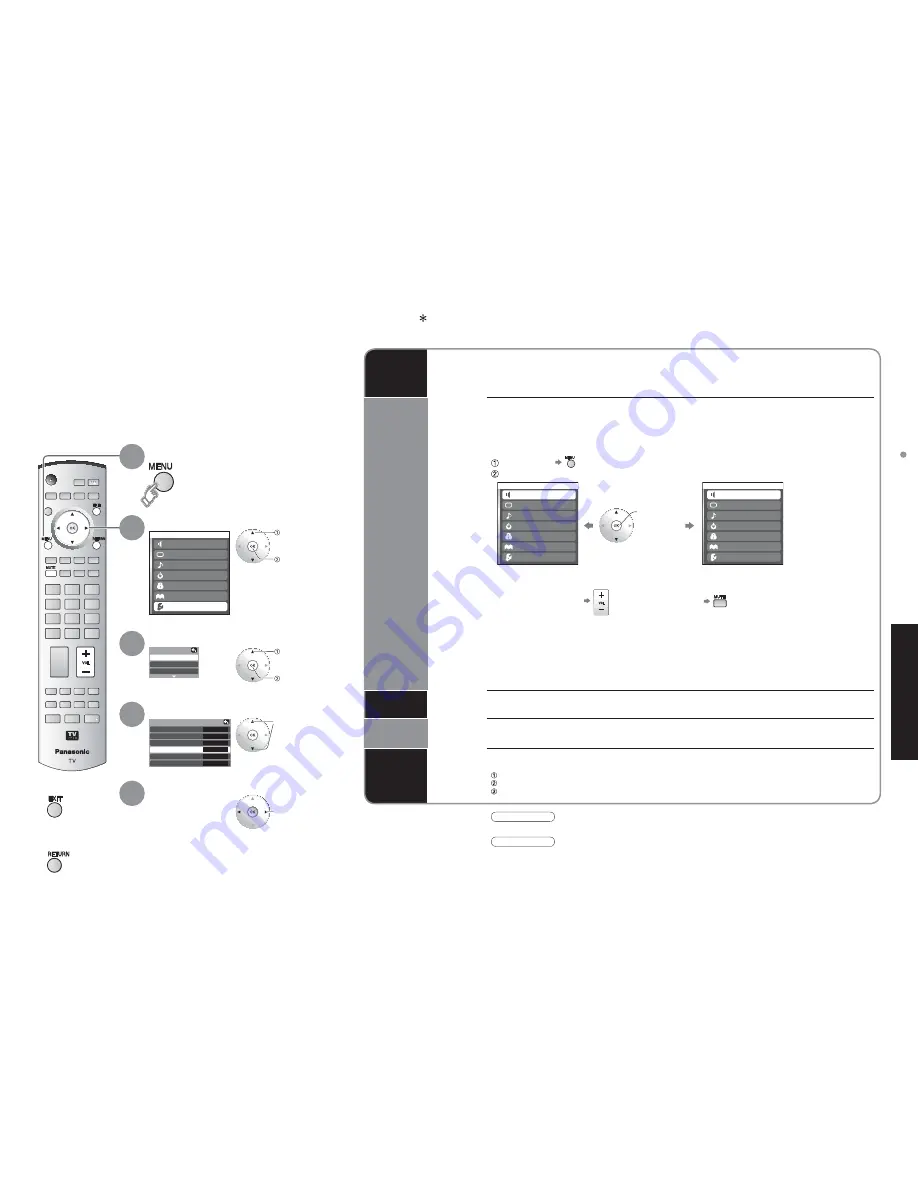
Control with HDMI “HDAVI Control
TM
”
* Simultaneously control all Panasonic “HDAVI Control” equipped components using
one-button on one remote.
Newer Panasonic audio-video products with HDMI output connections can be
controlled using the TV’s remote. Limited features such as home theater system
volume and automatic switching to the TV’s HDMI input are available.
•
This feature is limited to models incorporating Panasonic’s “Control with HDMI”. Refer to the
individual instruction manuals for compatibility information.
•
Non-HDMI-compliant cables cannot be utilized.
•
It is recommended that you use Panasonic’s HDMI cable.
Recommended part number: RP-CDHG15 (1.5 m), RP-CDHG30 (3.0 m), RP-CDHG50 (5.0 m)
Ŷ
Press to return
to TV
Ŷ
Press to return
to the previous
screen
Select “Setup”
Select “Other adjust”
3
Select “Ctrl with HDMI”
4
select
select
next
Display menu
Select “On”
5
change
Automatic
input
switching
At the start of DIGA, Player theater or RAM theater playback, the TV’s input automatically switches to the input
corresponding to the playback equipment.
•
For RAM theater, the speakers automatically switch to theater.
If using DIGA operation, the TV’s input automatically switches to DIGA and the DIGA menu is displayed.
Theater
speaker
You can control the theater speaker with TV’s remote control.
“Home theater” with speaker icon appears when a Panasonic “Control with HDMI” home theater system is
connected via the HDMI input (1 or 2).
Pressing the OK button toggles between TV and home theater volume control.
•
“Ctrl with HDMI” must be set to “On”.
•
Limited to newer Panasonic Home Theater, RAM theater and DIGA/DVD models with “Control with HDMI”.
Display menu
Select “Home theater” or “TV speakers”
Ŷ
Home theater:
Adjustment for Panasonic Amplifier, Panasonic Player theater, Panasonic RAM theater
•
When selecting “Home theater”, the sound of TV speakers is muted.
•
When “Home theater” is selected, the home theater volume control can be raised or lowered using the TV remote
volume button. The TV will display “Home T / -” on screen.
•
If home theater/RAM theater/Player theater is currently off, selecting the “Home theater” option will automatically
turn the equipment on. See “Power on link” below.
•
If home theater/Player theater/RAM theater power is turned Off, speakers automatically switch to the TV.
Volume up / down
Mute
Ŷ
TV speakers:
The TV speakers are active.
change
1
2
Caution
•
The TV remains on even if the “Control with HDMI” compatible equipment is turned off.
•
Default setting is “On”. If no HDMI equipment is
connected or standard HDMI equipment (non- “Control
with HDMI”) is used, set to “Off”.
Power on
link
When “Set” is selected, this allows for the TV to automatically turn on and switch to the appropriate HDMI input
whenever a “Control with HDMI” compatible DVD player/recorder is initially turned on and Play mode is selected.
Power off
link
When “Set” is selected, this allows for the TV to turn off and also turn off the connected home theater/
RAM theater/player theater and/or DIGA-DVD player.
One-touch
theater
playback
If the “ONE TOUCH PLAY” key is pressed on the AV amp or Player theater remote control, the following sequence of operations
is performed automatically.
Home theater/Player theater power switches On, and playback begins.
TV power switches On, and the playback screen is displayed.
Audio is muted on the TV and switches to theater.
Note
•
Before using HDMI control functions, the connected equipment (DIGA, RAM theater, Player theater, AV amp) must
also be set. For details, see the operation manual for each equipment.
•
For equipment connection details, see p. 36.
Summary of Contents for TH-50PX600U
Page 34: ...66 67 Note Note...


