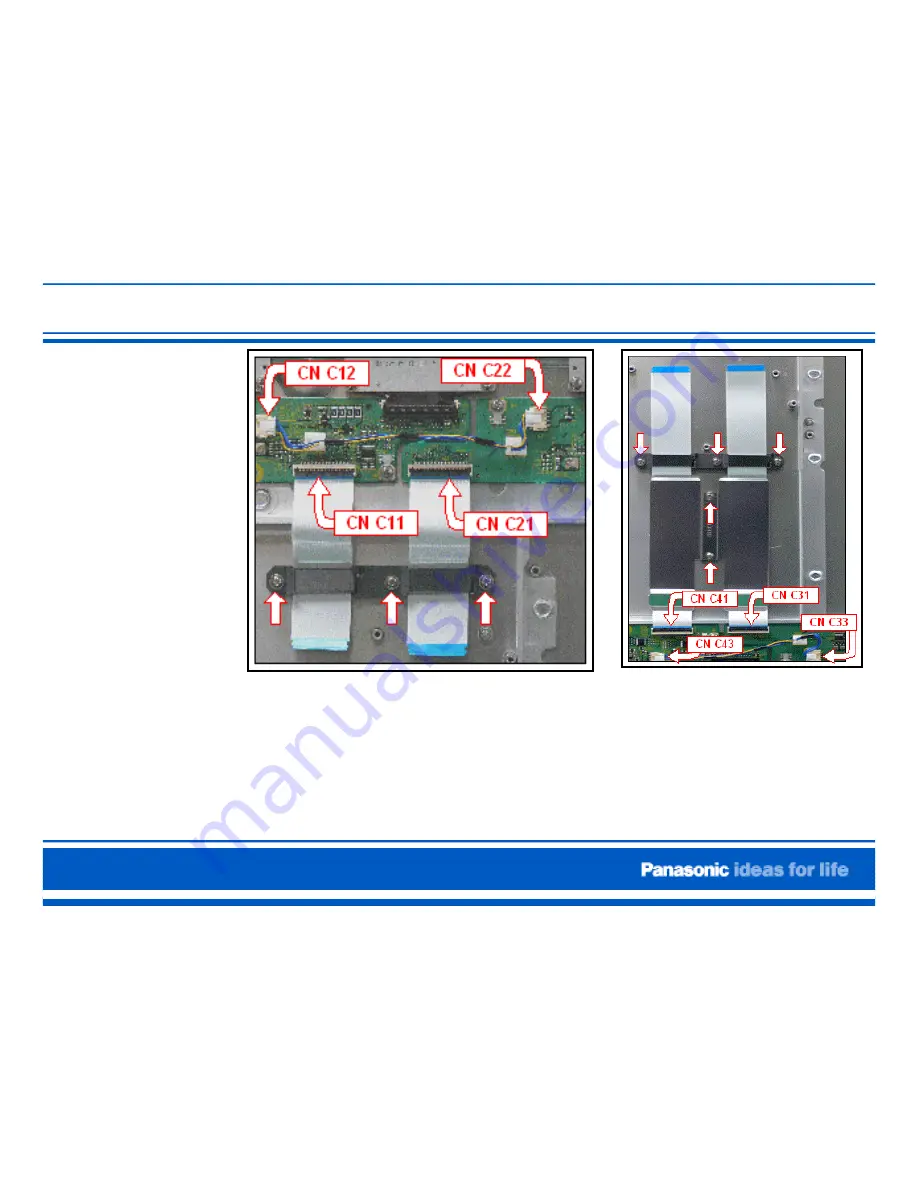
Removal of the C Boards Flex Cable
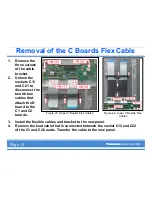
Figure 23. Upper C Boards Flex Cables
Figure 24. Lower C Boards Flex.
Cables
1.
Remove the
three screws
of the cable
bracket.
2.
Unlock the
sockets C11
and C21 to
disconnect the
two ribbon
cables that
attach the D
board to the
C1 and C2
boards.
3.
Install the flexible cables and bracket to the new panel.
4.
Remove the lead cable that is connected between the socket C12 and C22
of the C1 and C2 boards. Transfer the cable to the new panel.
Page 13
Summary of Contents for TH-42PX50U
Page 1: ...Panel Replacement Procedure TH 37PX50U TH 42PD50U TH 42PX50U...
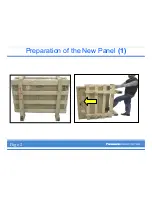
Page 11: ...Preparation of the New Panel 1 Page 2...
Page 13: ...Preparation of the New Panel 3 Page 3...
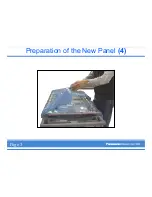
Page 14: ...Preparation of the New Panel 4 Page 3...
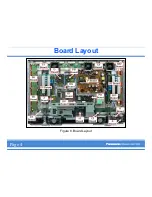
Page 16: ...Board Layout Figure 8 Board Layout Page 4...
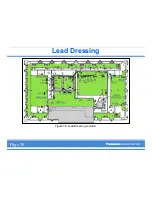
Page 31: ...Lead Dressing Figure 39 Lead Dressing Location Page 20...
Page 38: ...I2C Mode Menu Structure B Page 32...
Page 42: ...PDP White Balance Adjustment Step 2 Adjust the Sub Bright Setting to 10cd m2 Page 34...
Page 56: ...Examples Of Defective Panels Horizontal and Vertical error Page 37...
Page 57: ...Examples Of Defective Panels 2 Errors Changing Not a Full Width Page 38...
Page 58: ...Examples Of Defective Panels 3 Errors in 2 places Errors Changing Page 38...
Page 60: ...Panel Replacement Procedure...

