21
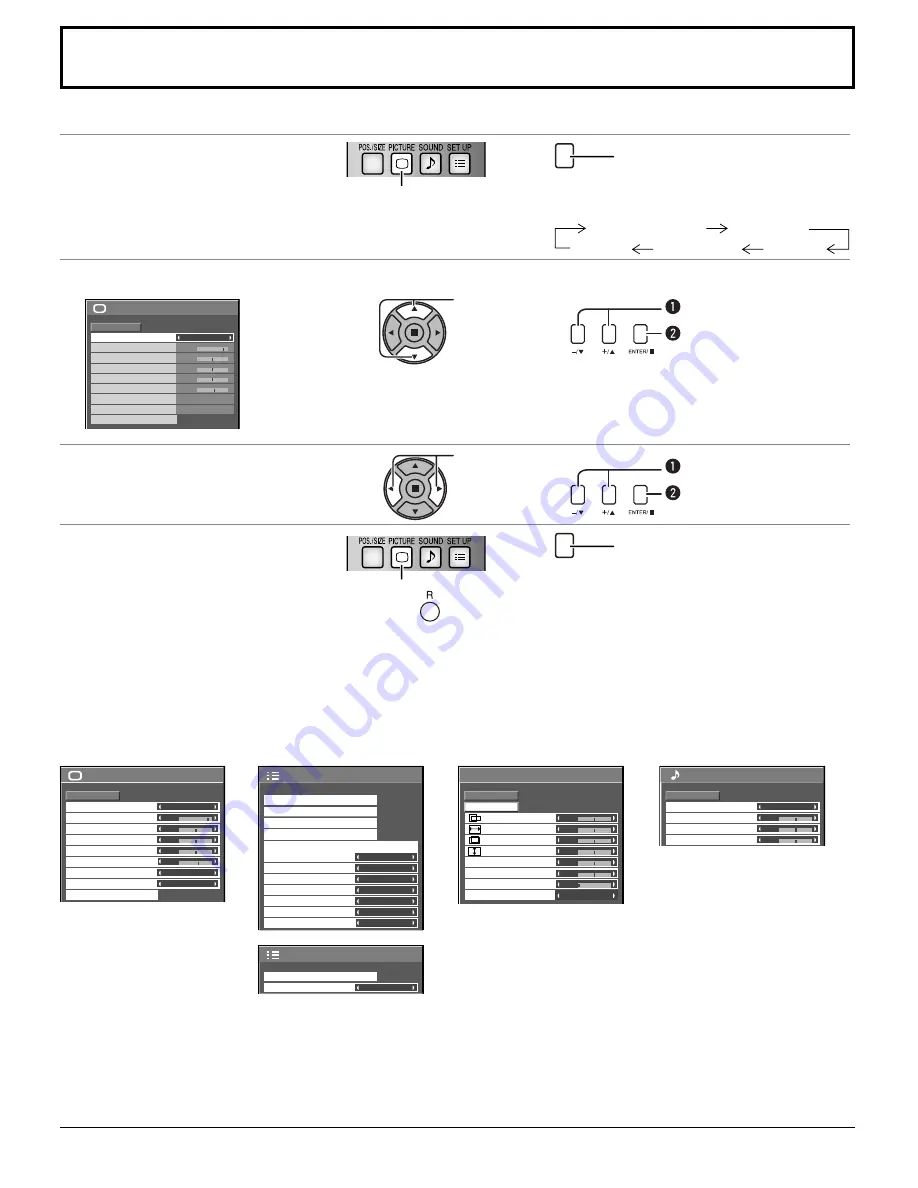
On-Screen Menu Displays
Remote Control
Unit
1
Display the menu screen.
Press to select.
(Example: PICTURE menu)
MENU
Press several times.
Each time the MENU button is pressed, the
menu screen will switch.
Normal Viewing
PICTURE
SOUND
POS./SIZE
SET UP
2
Select the item.
25
0
0
0
5
PICTURE
NORMAL
NORMALIZE
STANDARD
BRIGHTNESS
SHARPNESS
PICTURE MENU
COLOR
PICTURE
TINT
COLOR MANAGEMENT
ADVANCED SETTINGS
COLOR TEMP
NORMAL
OFF
( Example:
PICTURE menu)
Select.
Select.
Press.
3
Set.
Set.
Set.
Press.
4
Exit the menu.
Press.
Press
to return to the previous menu.
MENU
Press several times.
Menu display list
PICTURE menu
see page 24, 25
see page 27-41
see page 22, 23
see page 26
SET UP menu
POS./SIZE menu
SOUND menu
25
0
0
0
5
PICTURE
NORMAL
NORMALIZE
STANDARD
BRIGHTNESS
SHARPNESS
PICTURE MENU
COLOR
PICTURE
TINT
COLOR MANAGEMENT
ADVANCED SETTINGS
COLOR TEMP
NORMAL
OFF
1/2
SIGNAL
EXTENDED LIFE SETTINGS
INPUT LABEL
SET UP
OFF
ON
OFF
ENABLE
DISABLE
OSD LANGUAGE
ENGLISH (US)
COMPONENT/RGB-IN SELECT
RGB
SCREENSAVER
PC POWER MANAGEMENT
DVI-D POWER MANAGEMENT
NO SIGNAL POWER OFF
NO ACTIVITY POWER OFF
POWER SAVE
2/2
SET UP
MULTI DISPLAY SETUP
DISPLAY ORIENTATION
LANDSCAPE
0
0
NORMAL
NORMALIZE
AUTO SETUP
POS./SIZE
V-POS
0
H-POS
V-SIZE
DOT CLOCK
H-SIZE
CLAMP POSITION
CLOCK PHASE
OVER SCAN
OFF
0
0
0
0
0
0
0
SOUND
NORMAL
NORMALIZE
STANDARD
TREBLE
AUDIO MENU
BALANCE
BASS
Note:
Menu that cannot be adjusted is grayout. Adjustable menu changes depending on signal, input and menu setting.


